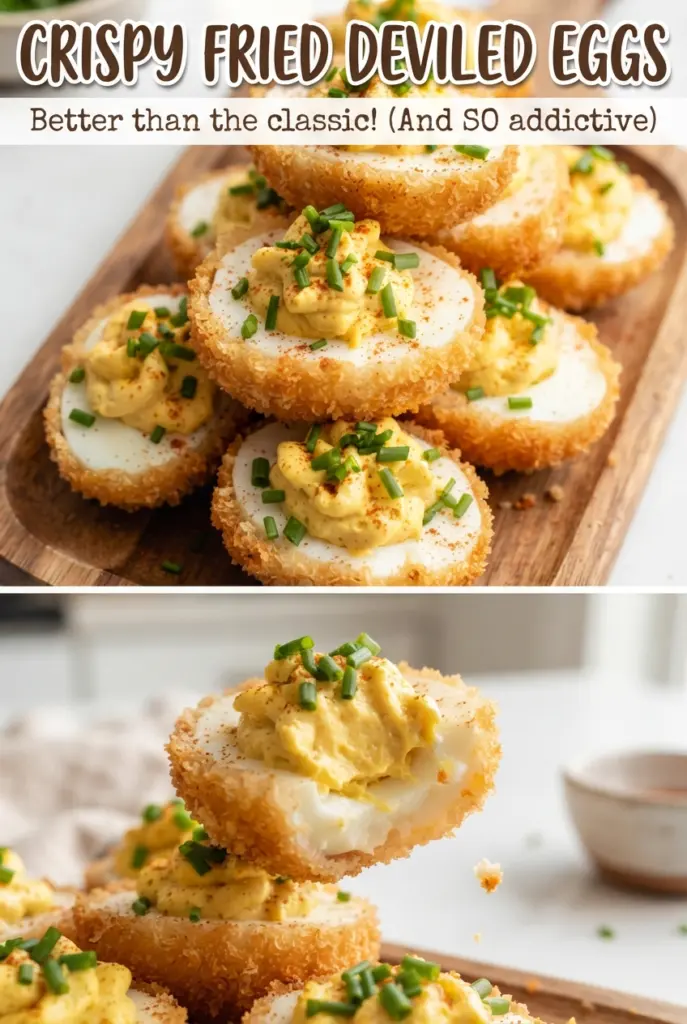
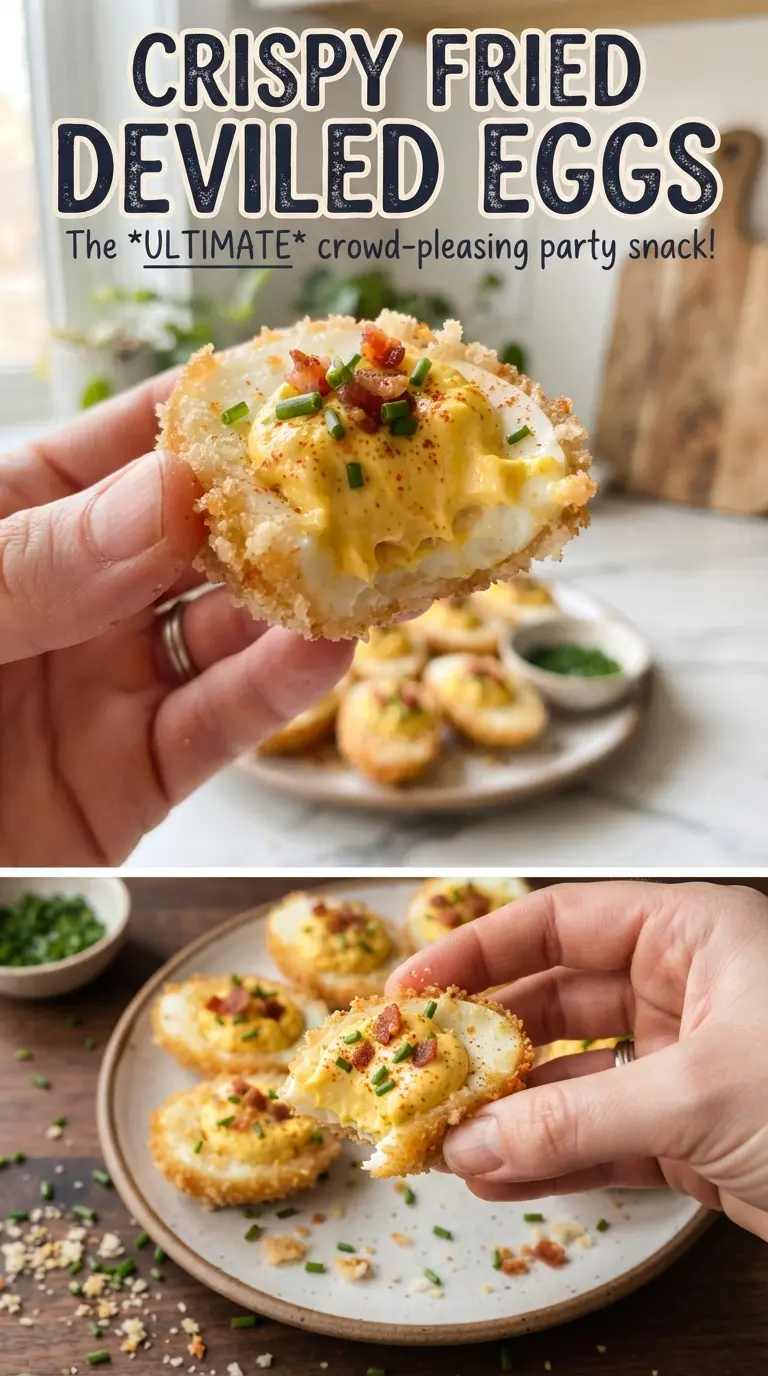
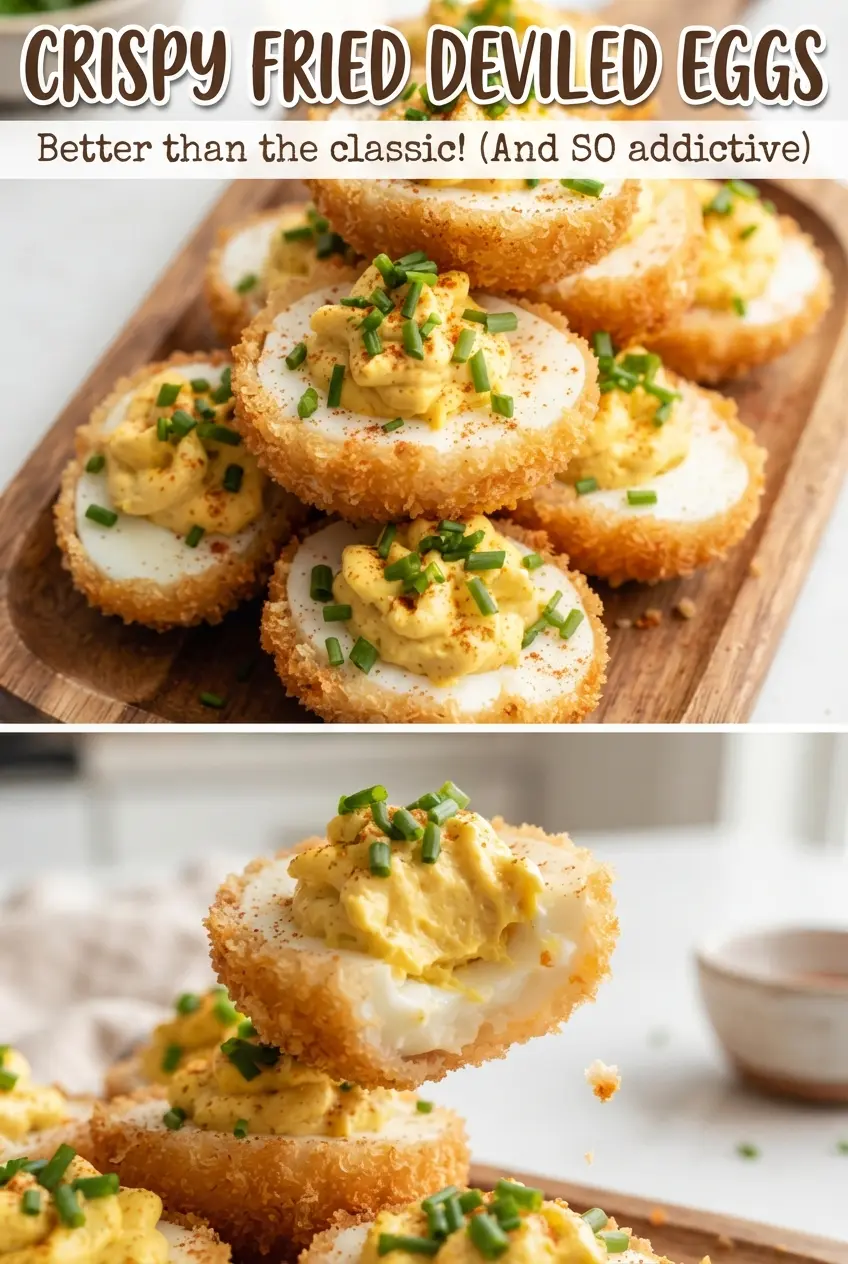
Crispy fried deviled eggs bring the best parts of two classics into one bite: a shattering golden crust around the egg white and a cool, tangy yolk filling piped in after frying. The contrast is what makes them memorable. You get crunch first, then that creamy deviled egg center, and the whole thing lands somewhere between appetizer and party trick.
The method works because the egg whites are chilled and firm before they hit the flour, egg, and panko. That dry-to-wet-to-dry coating gives the crust something to cling to, and the panko keeps the outside light instead of heavy. The yolk filling stays off to the side until the shells are crisp and drained, which keeps the texture sharp instead of soggy.
If you’ve ever had fried appetizers lose their crunch before they reached the table, the timing here matters. Below, I’ll walk through the part that keeps the coating intact, the best way to pipe the filling, and a few smart swaps for making these work for different crowds.
The panko stayed crisp even after I piped the filling, and the sweet relish in the yolks made the whole bite taste just like a deviled egg with a fried shell.
Save these crispy fried deviled eggs for the appetizer platter that needs a crunchy shell and a creamy yolk filling.
The Trick to Keeping the Coating on the Egg Whites
The coating sticks best when the egg whites are dry, cold, and handled gently. After boiling and chilling, peel the eggs cleanly and pat the halves dry before dredging. Any leftover moisture turns the flour into paste, and paste is what makes the panko slide off in the fryer. The other thing that helps is letting the flour layer go on first and not skipping the beaten egg, because that middle layer gives the breadcrumbs something to grab.
The oil temperature matters just as much. If it drops below 350F, the crumbs soak up fat instead of setting fast, and the crust comes out dull and heavy. If it runs too hot, the panko browns before the egg white warms through. A steady medium-high fry gives you that clean crunch without a greasy bite.
What Each Part of the Filling Is Doing
- Egg yolks — These give the filling its body and the classic deviled egg taste. Mash them while they’re still warm from the peeled eggs if you can, because they break down more smoothly and blend with the mayo faster.
- Mayonnaise — This is the fat that makes the filling pipeable and rich. Use a good one here; a thin or overly sweet mayo can make the filling loose and flat.
- Sweet pickle relish — This brings acidity, sweetness, and a little texture. Finely chopped pickles can work in a pinch, but relish distributes more evenly and won’t clog a piping tip.
- Dijon mustard — Dijon sharpens the filling without making it taste mustardy. Yellow mustard can replace it, but the result will be softer and a little less polished.
- Panko breadcrumbs — Panko is the difference between crisp and heavy. Standard breadcrumbs will work, but they pack tighter and won’t give you the same airy crunch.
Frying, Draining, and Filling Without Losing the Crunch
Boiling and Chilling the Eggs
Start with cold water and bring the eggs up to a boil, then cover the pot, pull it off the heat, and let them stand for 12 minutes. That gives you set whites without the rubbery edge that comes from hard boiling too aggressively. Chill the eggs fully before peeling, because warm eggs tear more easily and ragged whites never coat as evenly.
Mixing the Yolks Into a Pipeable Filling
Mash the yolks with mayonnaise, relish, Dijon, and salt until the mixture looks smooth and glossy. If it seems stiff, add a tiny spoonful more mayo rather than overmixing. Spoon it into a piping bag and chill it while you fry; cold filling holds its shape better and won’t soften the crust once it’s inside.
Building the Panko Shell
Set up your flour, beaten eggs, and panko mixed with garlic powder in separate bowls. Coat each egg white half in flour first, then egg, then panko, pressing lightly so the crumbs actually stick instead of dusting the surface. The biggest mistake here is rushing the coating and ending up with bare spots, which fry into weak patches that split when filled.
Frying to a Deep Golden Finish
Heat about an inch of oil to 350F and fry in small batches for 1 to 2 minutes, just until the crust turns golden. Don’t crowd the pan or the temperature will fall fast and the crust will turn soggy before it browns. Drain the halves on paper towels, then let them sit for about 5 minutes so steam escapes before you pipe in the filling.
Filling and Serving
Pipe the yolk mixture into the crisp whites, then finish with paprika and chives. Serve them right away while the shells still have their snap. If they sit too long after filling, the steam from the yolks softens the crust, and you lose the whole reason for frying them in the first place.
Three Ways to Change the Flavor Without Losing the Crunch
Spicy Southern Version
Add a pinch of cayenne or a little hot sauce to the yolk mixture, then finish with extra paprika. You’ll get a sharper, warmer bite without changing the texture, and it works especially well if you’re serving these with other rich appetizers.
Gluten-Free Coating
Use a gluten-free all-purpose flour and certified gluten-free panko. The coating still fries up light and crisp, though the crumbs may color a little faster, so keep an eye on the pan and pull them once they turn deep gold.
Dairy-Free by Default
This recipe is already dairy-free as written, so there’s nothing to replace. Just choose a mayonnaise you like, since that ingredient carries most of the richness and sets the tone for the filling.
Make-Ahead Party Prep
Boil, peel, and split the eggs up to one day ahead, and mix the filling separately. Fry the whites a few hours before serving if you need to, but don’t fill them until close to the party, since the crisp shell is what makes the recipe special.
Storage and Reheating
- Refrigerator: Store the fried whites and filling separately for up to 2 days. Once assembled, the crust softens fast.
- Freezer: I don’t recommend freezing these. The egg white texture turns spongy and the coating loses its snap after thawing.
- Reheating: Re-crisp the fried whites in a 375F oven for a few minutes, then cool slightly before filling. Microwaving softens the crust and makes the coating leathery.
Answers to the Questions Worth Asking
Crispy Fried Deviled Eggs
Ingredients
Equipment
Method
- Place the eggs in a pot, cover with cold water, and bring to a boil; cover, remove from heat, and let stand 12 minutes.
- Chill the eggs, peel them, and halve lengthwise, keeping yolks for filling.
- Mash the yolks with mayonnaise, sweet pickle relish, Dijon mustard, and salt until smooth.
- Transfer the filling to a piping bag and chill until firm enough to pipe.
- Coat each egg white half in flour, then in the beaten eggs, then in panko mixed with garlic powder.
- Heat about 1 inch of oil to 350F in a Dutch oven.
- Fry the coated whites in batches for 1-2 minutes until golden, then drain on paper towels.
- Cool the fried egg whites for 5 minutes to help the crust set.
- Pipe the chilled filling into the crispy egg white halves.
- Dust with paprika and chives and serve right away.