
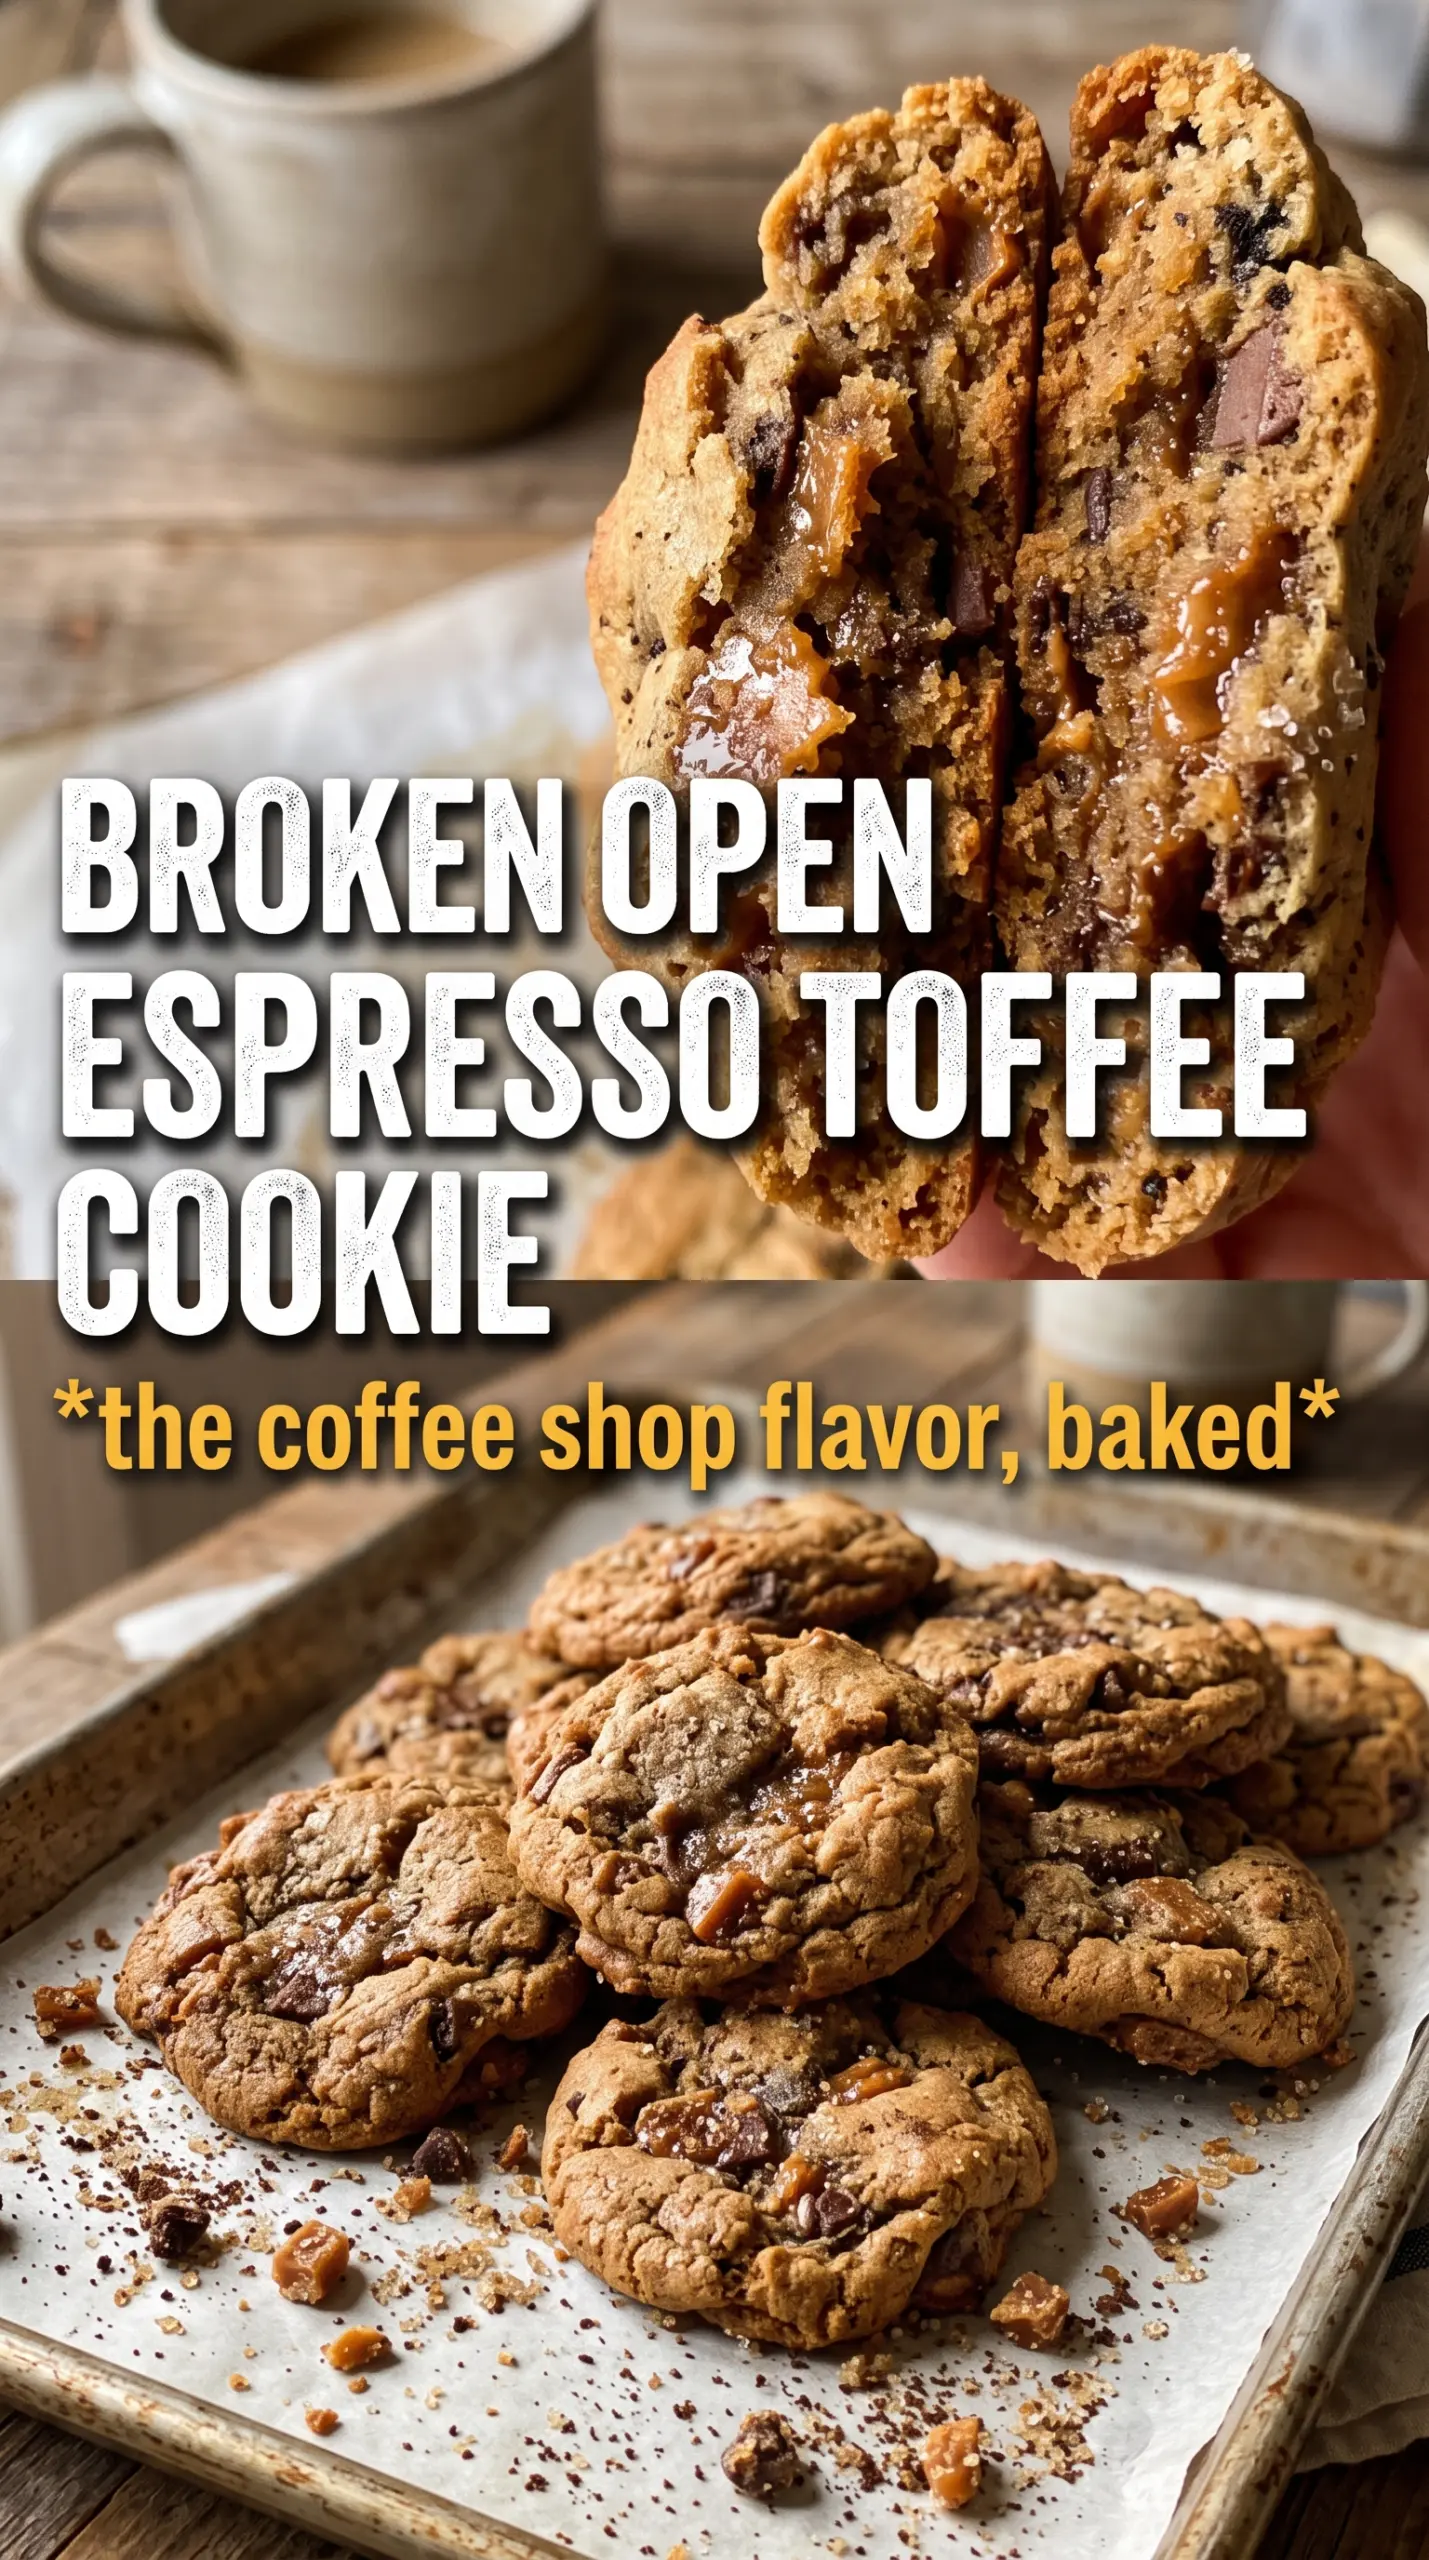
Espresso brown butter toffee cookies bake up with crisp edges, soft centers, and those little pockets of melted toffee that turn sticky and caramel-like in the oven. The brown butter brings a deep nutty note that makes the cookies taste grown-up without losing the comfort of a classic drop cookie, and the espresso sharpens the chocolate instead of making the whole cookie taste like coffee.
The key is cooling the browned butter until it’s solid but still scoopable. If it’s too warm, the dough spreads before the cookies set. The espresso powder goes right into the dry ingredients, where it blends evenly and keeps every bite balanced. A final sprinkle of flaky salt pulls the whole thing together and keeps the sweetness in check.
Below, you’ll find the timing that keeps the centers soft, the ingredient swap that works if you can’t find toffee bits, and the storage notes for keeping the cookies chewy after they cool.
The browned butter gave these such a deep caramel flavor, and the centers stayed soft while the toffee bits melted into little crunchy pockets. I baked the second tray for just 10 minutes and they came out perfect.
Save these espresso brown butter toffee cookies for the nights when you want a chewy cookie with nutty depth, melty toffee, and a salty finish.
The Trickiest Part Is the Brown Butter Cooling Stage
Brown butter is what gives these cookies their edge, but it also creates the most common failure point. If you cream it while it’s still warm, the dough turns greasy and the cookies spread into thin, uneven puddles. You want the butter cooled until it’s opaque and firm enough to scoop, but still soft enough to beat with the sugars. That texture gives you a dough that bakes up thick at the edges and tender in the center.
The espresso powder doesn’t need to shout. It should quietly deepen the chocolate and echo the toasted notes from the butter and toffee. That’s why this cookie tastes layered instead of just sweet. The salt on top matters, too — it keeps the finish crisp and makes the toffee flavor stand out.
- Browned butter — This is the backbone of the recipe. You can’t swap in melted butter and get the same nutty, toasted flavor, and you’ll lose the cookie’s depth.
- Espresso powder — Use instant espresso powder, not brewed coffee. It blends into the dough without adding extra liquid, and it sharpens the chocolate without making the cookies taste like a mocha drink.
- Toffee bits — These melt and caramelize at the edges, which is what gives the cookies those crunchy, sticky pockets. If you chop up a candy bar, use small pieces so they distribute evenly.
- Flaky sea salt — Sprinkle it right after baking while the tops are still hot. Fine salt in the dough seasons the cookie; flaky salt on top finishes it.
What Each Ingredient Is Actually Doing in This Recipe
- Primary ingredient (the star) — Quality matters most. Choose the best you can find.
- Cooking medium (oil, butter, or broth) — This carries flavors and prevents dryness.
- Seasonings (salt, pepper, spices, herbs) — Layer flavors so nothing overpowers. Build depth gradually.
- Aromatics (garlic, onion, herbs) — Cook with fat to bloom flavors. Become the foundation.
- Supporting ingredients — Complement the main ingredient without overpowering it.
- Sauce or liquid (if applicable) — Brings flavors together. Balance richness with acid.
- Acid (lemon, vinegar, wine, or other) — Brightens and prevents flat-tasting results.
- Final finish (garnish, glaze, or sauce) — Prevents one-dimensional taste and adds visual appeal.
Build the Dough When the Butter Is Cool, Not Soft
Browning the Butter Until It Smells Nutty
Cook the butter over medium heat and keep it moving so the milk solids toast evenly instead of scorching on the bottom. The butter is ready when it turns deep golden brown and smells like toasted hazelnuts. Pull it off the heat as soon as you see brown flecks, because those few seconds between nutty and burnt happen fast. Pour it into a bowl right away so the pan’s residual heat doesn’t keep cooking it.
Cooling It to the Right Texture
Refrigerate the browned butter until it’s solid but still scoopable, about an hour. If it’s liquid, the dough won’t cream properly and the cookies will spread. If it’s rock hard, let it sit at room temperature for a few minutes so the mixer can work it with the sugars. You’re looking for a texture like soft shortening or chilled peanut butter.
Mixing Just Until the Dough Comes Together
Beat the butter and sugars until creamy, then add the eggs one at a time and the vanilla. Once the flour goes in, stop as soon as the streaks disappear. Overmixing at this stage makes the cookies dense and tough instead of tender, and it can also knock out the air you worked into the butter.
Baking for Soft Centers and Crisp Edges
Scoop the dough into 2-tablespoon rounds and bake until the edges are golden but the centers still look a little underdone. That’s the sign to pull them. They finish setting on the hot pan, and if you wait until the centers look fully baked in the oven, you’ll lose the chewy middle. Sprinkle with flaky salt immediately, then leave them on the pan for 5 minutes before moving them.
How to Adapt These Cookies Without Losing the Good Parts
Gluten-Free Version
Use a 1:1 gluten-free all-purpose flour blend with xanthan gum already included. The cookies will still brown nicely and hold their shape, though the centers may bake up a touch softer. Don’t swap in almond flour by itself; it won’t absorb the butter the same way and the dough will spread too much.
No Toffee Bits on Hand
Chop a Heath bar or another almond toffee candy into small pieces and use the same amount. The texture lands a little more unevenly, which can be a good thing because you get a mix of crunchy shards and melty pockets. Keep the pieces small enough that the dough still scoops cleanly.
Milk Chocolate Instead of Dark
Milk chocolate makes the cookies sweeter and softer in flavor, which works if you want a more classic candy-bar cookie. The espresso will be a little less noticeable, so keep the flaky salt on top. If you use milk chocolate, I’d leave the toffee bits as-is so the cookie still has some contrast.
Storage and Reheating
- Refrigerator: Store baked cookies in an airtight container for up to 5 days. They stay chewy, though the toffee bits will firm up a little as they chill.
- Freezer: Freeze the scooped dough balls on a tray, then move them to a freezer bag for up to 3 months. Bake straight from frozen and add 1 to 2 minutes.
- Reheating: Warm baked cookies for 8 to 10 seconds in the microwave or 2 to 3 minutes in a 300F oven. Don’t overheat them or the toffee will harden instead of turning gooey again.
Questions I Get Asked About This Recipe

Espresso Brown Butter Toffee Cookies
Ingredients
Equipment
Method
- Brown the butter in a saucepan over medium heat until golden and nutty-smelling, then pour into a bowl. Refrigerate until solid but scoopable, about 30 minutes.
- Preheat the oven to 375F and line baking sheets with parchment. This ensures the cookies bake evenly right after mixing.
- Whisk all-purpose flour, baking soda, espresso powder, and salt in a bowl. Whisk until the espresso powder is evenly distributed.
- Beat the solidified brown butter with both sugars until creamy. Scrape the bowl as needed so no darker sugar pockets remain.
- Add the eggs one at a time, then mix until each egg is fully incorporated. Mix in the vanilla extract until smooth.
- Fold in the flour mixture until just combined, stopping as soon as you don’t see dry streaks. Overmixing can make cookies tough.
- Fold in the toffee bits and dark chocolate chips until evenly scattered. The dough should look thick and studded.
- Scoop the dough into 2-tablespoon rounds and space them on the prepared baking sheets. Press lightly to help them hold their shape.
- Bake for 10 to 12 minutes until the edges are golden but the centers look slightly underdone. The carryover heat will set the middle.
- Sprinkle with flaky sea salt immediately, then cool on the pan for 5 minutes. Move to a rack or plate after 5 minutes for best texture.