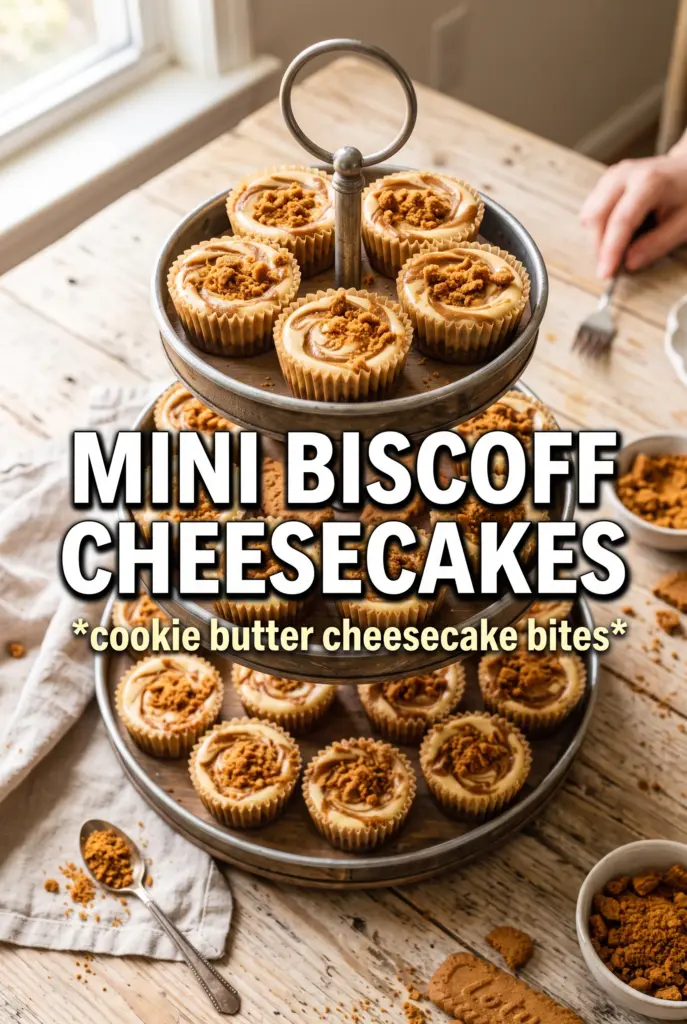
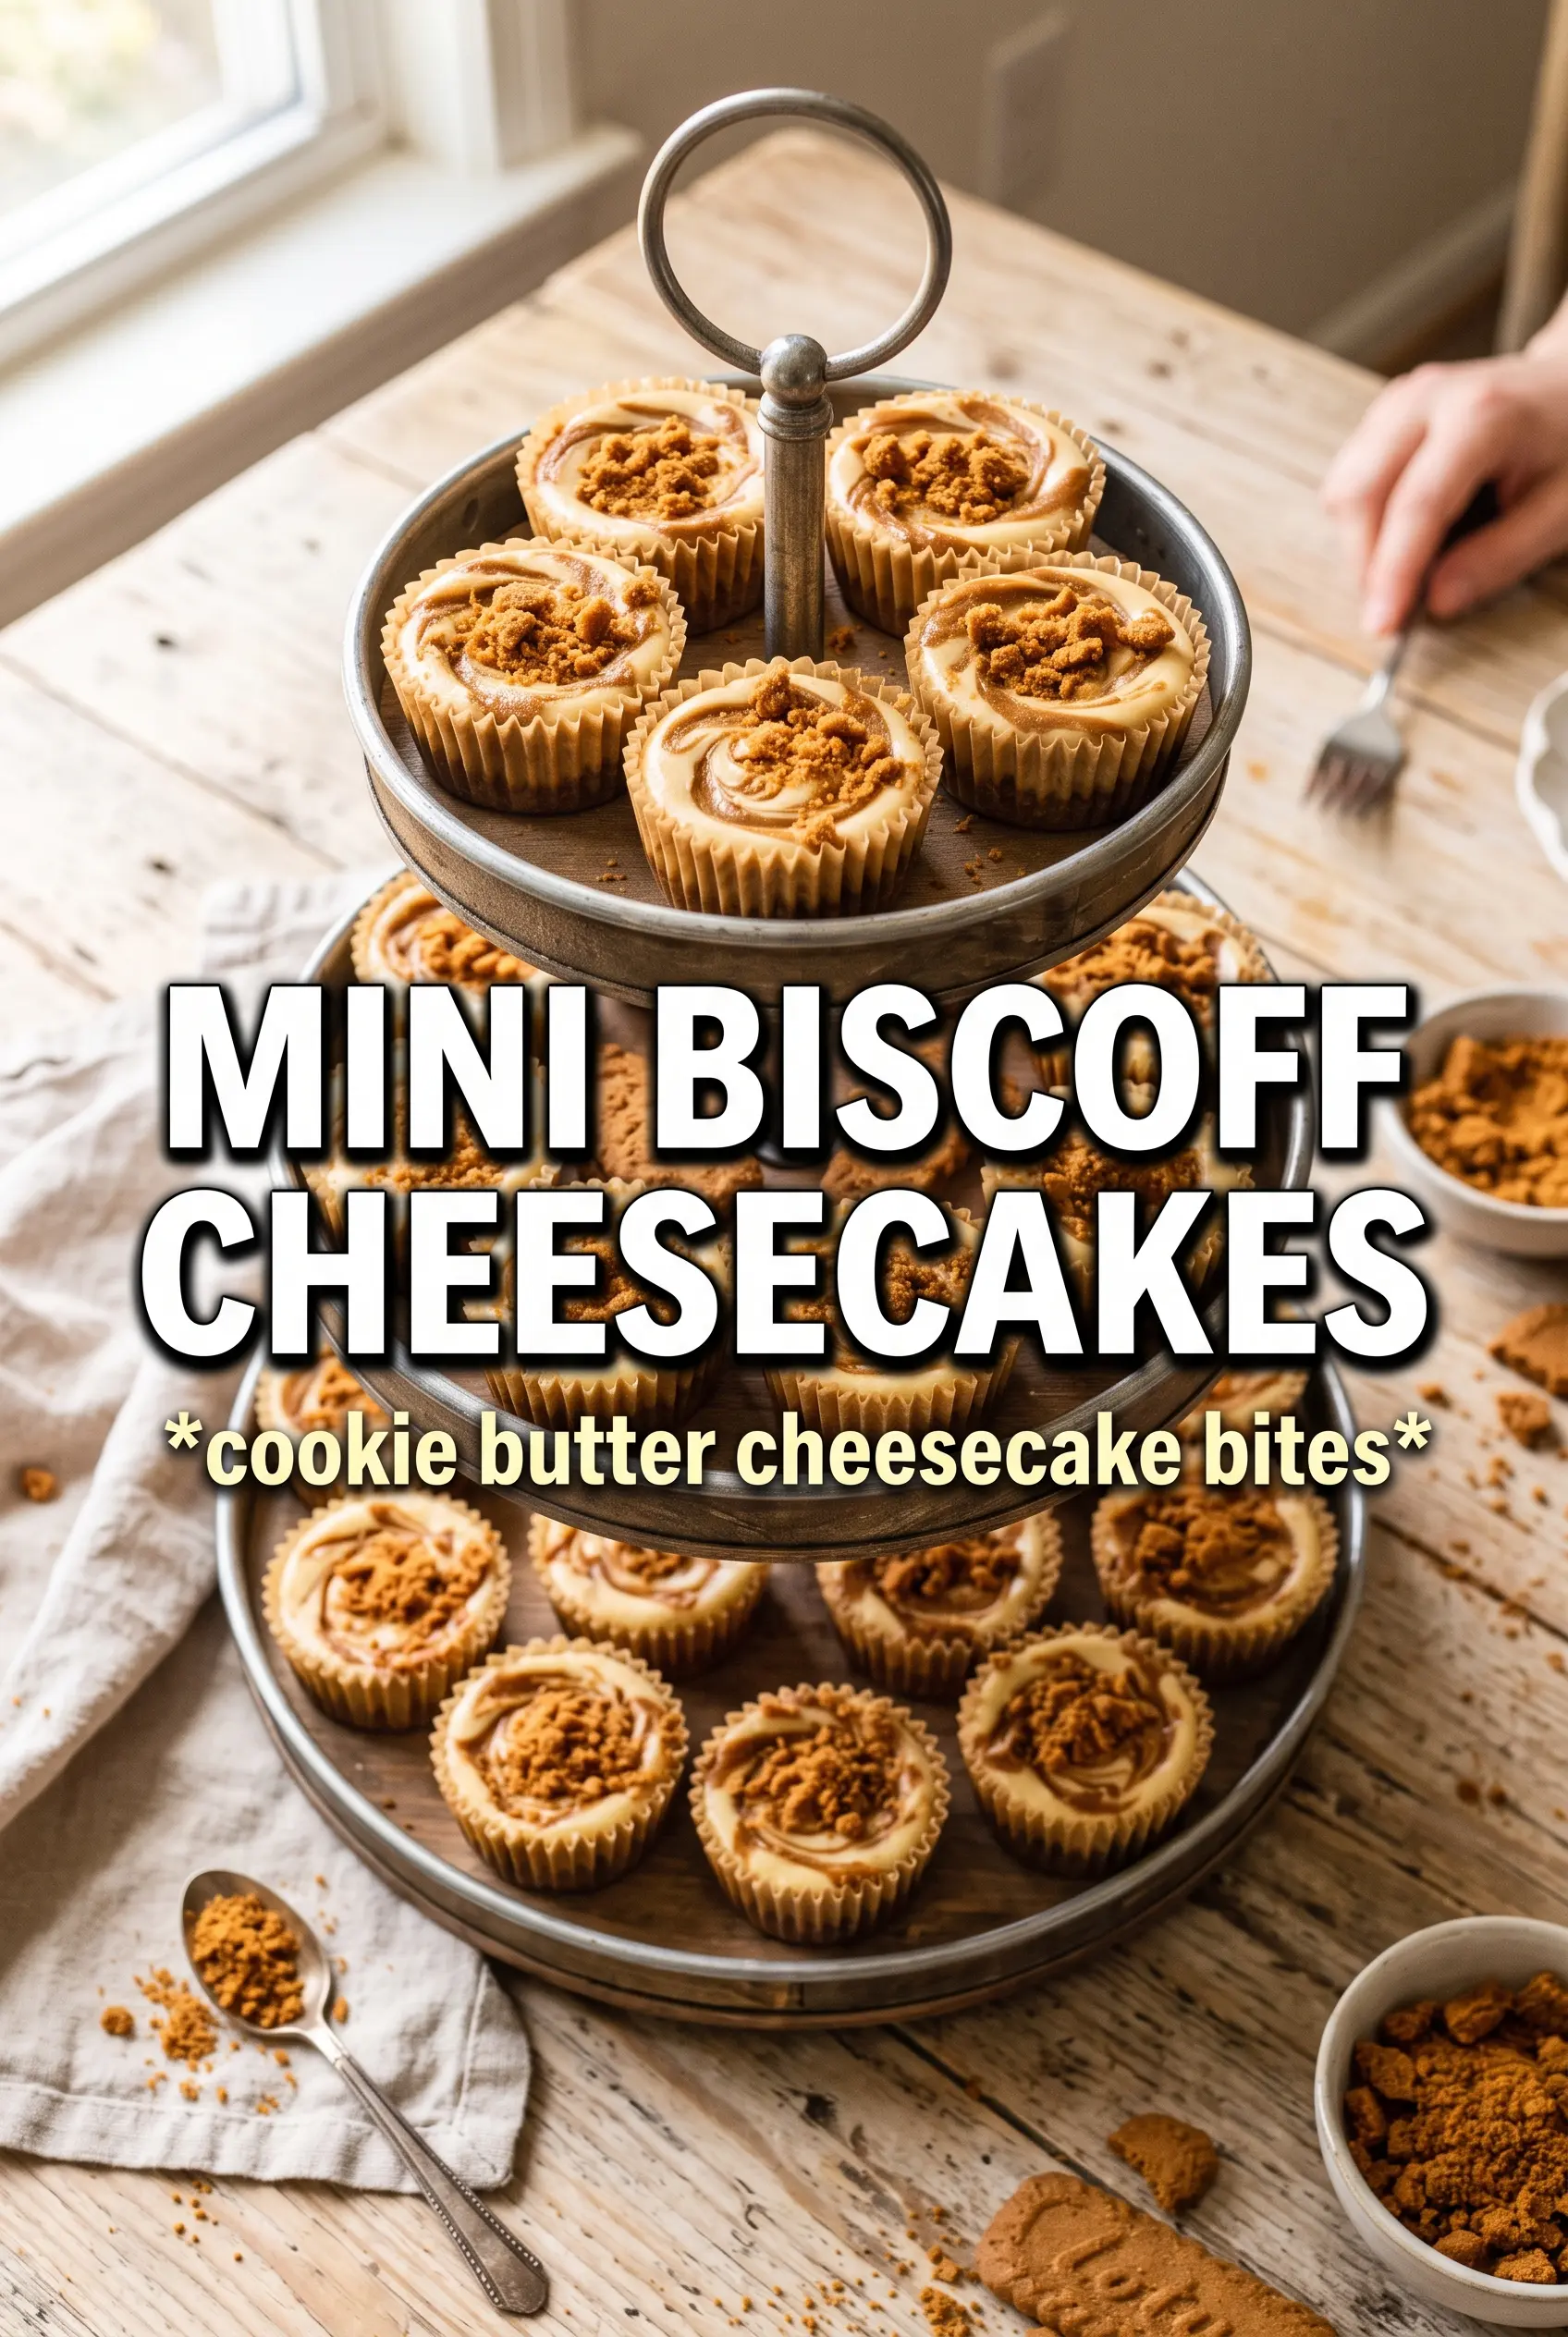
Mini Biscoff cheesecakes bake up with a buttery cookie crust, a silky spiced filling, and that unmistakable caramelized cookie butter flavor in every bite. The mini format gives you all the payoff of a classic cheesecake without the long bake, water bath, or nerve-wracking cracks. What you get instead is a tidy little dessert with a firm base, creamy center, and just enough Biscoff drizzle on top to make each one feel finished.
The key is treating the filling like cheesecake, not cupcake batter. Cream cheese needs to be fully softened so it beats smooth with the sugar, and the eggs go in one at a time so the mixture stays light instead of dense. The crust gets a quick pre-bake, which helps it stay crisp under the filling instead of turning sandy once the cheesecakes chill. A little sour cream keeps the texture plush, while the cinnamon plays up the warm spice in the cookie butter without taking over.
Below, I’ll walk through the one place people usually go wrong with mini cheesecakes, plus the smartest way to swap, store, and serve them so the tops stay neat and the crust holds together.
The crust stayed crisp after chilling and the filling baked up smooth with no cracks. I warmed the Biscoff spread for the drizzle and it set into that perfect glossy top my family kept stealing off the cupcakes.
Save these Mini Biscoff Cheesecakes for the nights when you want a creamy cheesecake bite, a crisp cookie crust, and a glossy cookie butter drizzle.
The Crust Needs a Quick Bake Before the Filling Goes In
The biggest mistake with mini cheesecakes is pressing in a crust and pouring the batter straight over it. That sounds efficient, but it leaves you with a soft base that can go sandy once the cakes chill. A five-minute pre-bake sets the butter and sugar just enough to lock the cookie crumbs together, so the bottoms stay firm when you bite into them.
Press the crust down with real pressure. Use the bottom of a small glass or measuring spoon and pack it evenly into the liners, especially around the edges where crumbs like to loosen up. If the crust looks pale after baking, that’s fine; it just needs to smell fragrant and feel set, not browned.
What Each Ingredient Is Doing in These Mini Cheesecakes
- Biscoff cookies — These give you the crust’s spiced, caramelized base. Graham crackers won’t taste the same here; they’ll make a perfectly fine crust, but you lose the signature cookie butter echo that makes these cheesecakes distinctive.
- Biscoff cookie butter — This is the flavor anchor in the filling and the topping. The spread should be warmed before drizzling, but don’t cook it hard or it can seize and turn thick and stubborn.
- Cream cheese — Full-fat cream cheese gives the filling its structure and that dense-but-creamy cheesecake bite. Low-fat cream cheese can work in a pinch, but the texture will be looser and less rich.
- Sour cream — This softens the filling just enough to keep it from tasting heavy. If you need a swap, plain full-fat Greek yogurt is the closest match, though it brings a little more tang.
- Cinnamon — It doesn’t make these taste like cinnamon cheesecake. It quietly rounds out the cookie butter and makes the spice in the Biscoff cookies read more clearly.
Building the Batter Without Adding Too Much Air
Start with smooth cream cheese
Beat the softened cream cheese with the sugar until the mixture looks glossy and no lumps remain. Cold cream cheese leaves tiny bits behind that bake into little pockets in the filling, and once they’re there, they don’t disappear. Stop and scrape the bowl a couple of times so the center and edges mix evenly.
Add the eggs one at a time
Drop in the eggs one at a time and mix just until each one disappears. Overbeating at this stage whips in extra air, which can puff the cheesecakes in the oven and leave them more likely to sink as they cool. The batter should look thick, smooth, and a little satiny, not foamy.
Finish with the Biscoff and sour cream
Stir in the sour cream, cookie butter, vanilla, and cinnamon until the batter is uniform. If the Biscoff spread looks streaky at first, keep mixing on low just until it blends; don’t crank up the speed, or the batter can loosen too much. Divide it evenly among the liners so they bake at the same rate and finish with similar centers.
Watch for the gentle set
Pull the pan when the edges look set and the centers still have a slight jiggle. Mini cheesecakes keep cooking from residual heat, so waiting for a fully firm center usually means they’ll end up dry. Let them cool in the pan first, then chill for the full three hours so the texture firms up cleanly before you add the topping.
How to Adapt These Mini Biscoff Cheesecakes
Gluten-Free Cookie Crust
Swap in a gluten-free spiced cookie that crushes finely and bakes crisp. You’ll keep the same structure, but the flavor may be a little less caramelized than classic Biscoff, so the cookie butter topping matters even more.
Dairy-Free Version
Use a dairy-free cream cheese and a plant-based butter for the crust, then choose a cookie butter spread that fits your diet. The filling will be a touch softer, so chill it a little longer before serving to help the centers set fully.
More Pumpkin-Spice Style Warmth
Add an extra 1/4 teaspoon cinnamon and a pinch of nutmeg if you want a warmer spice note. Don’t push the spices too far or they’ll cover up the cookie butter instead of supporting it.
Make Them Ahead for a Party Tray
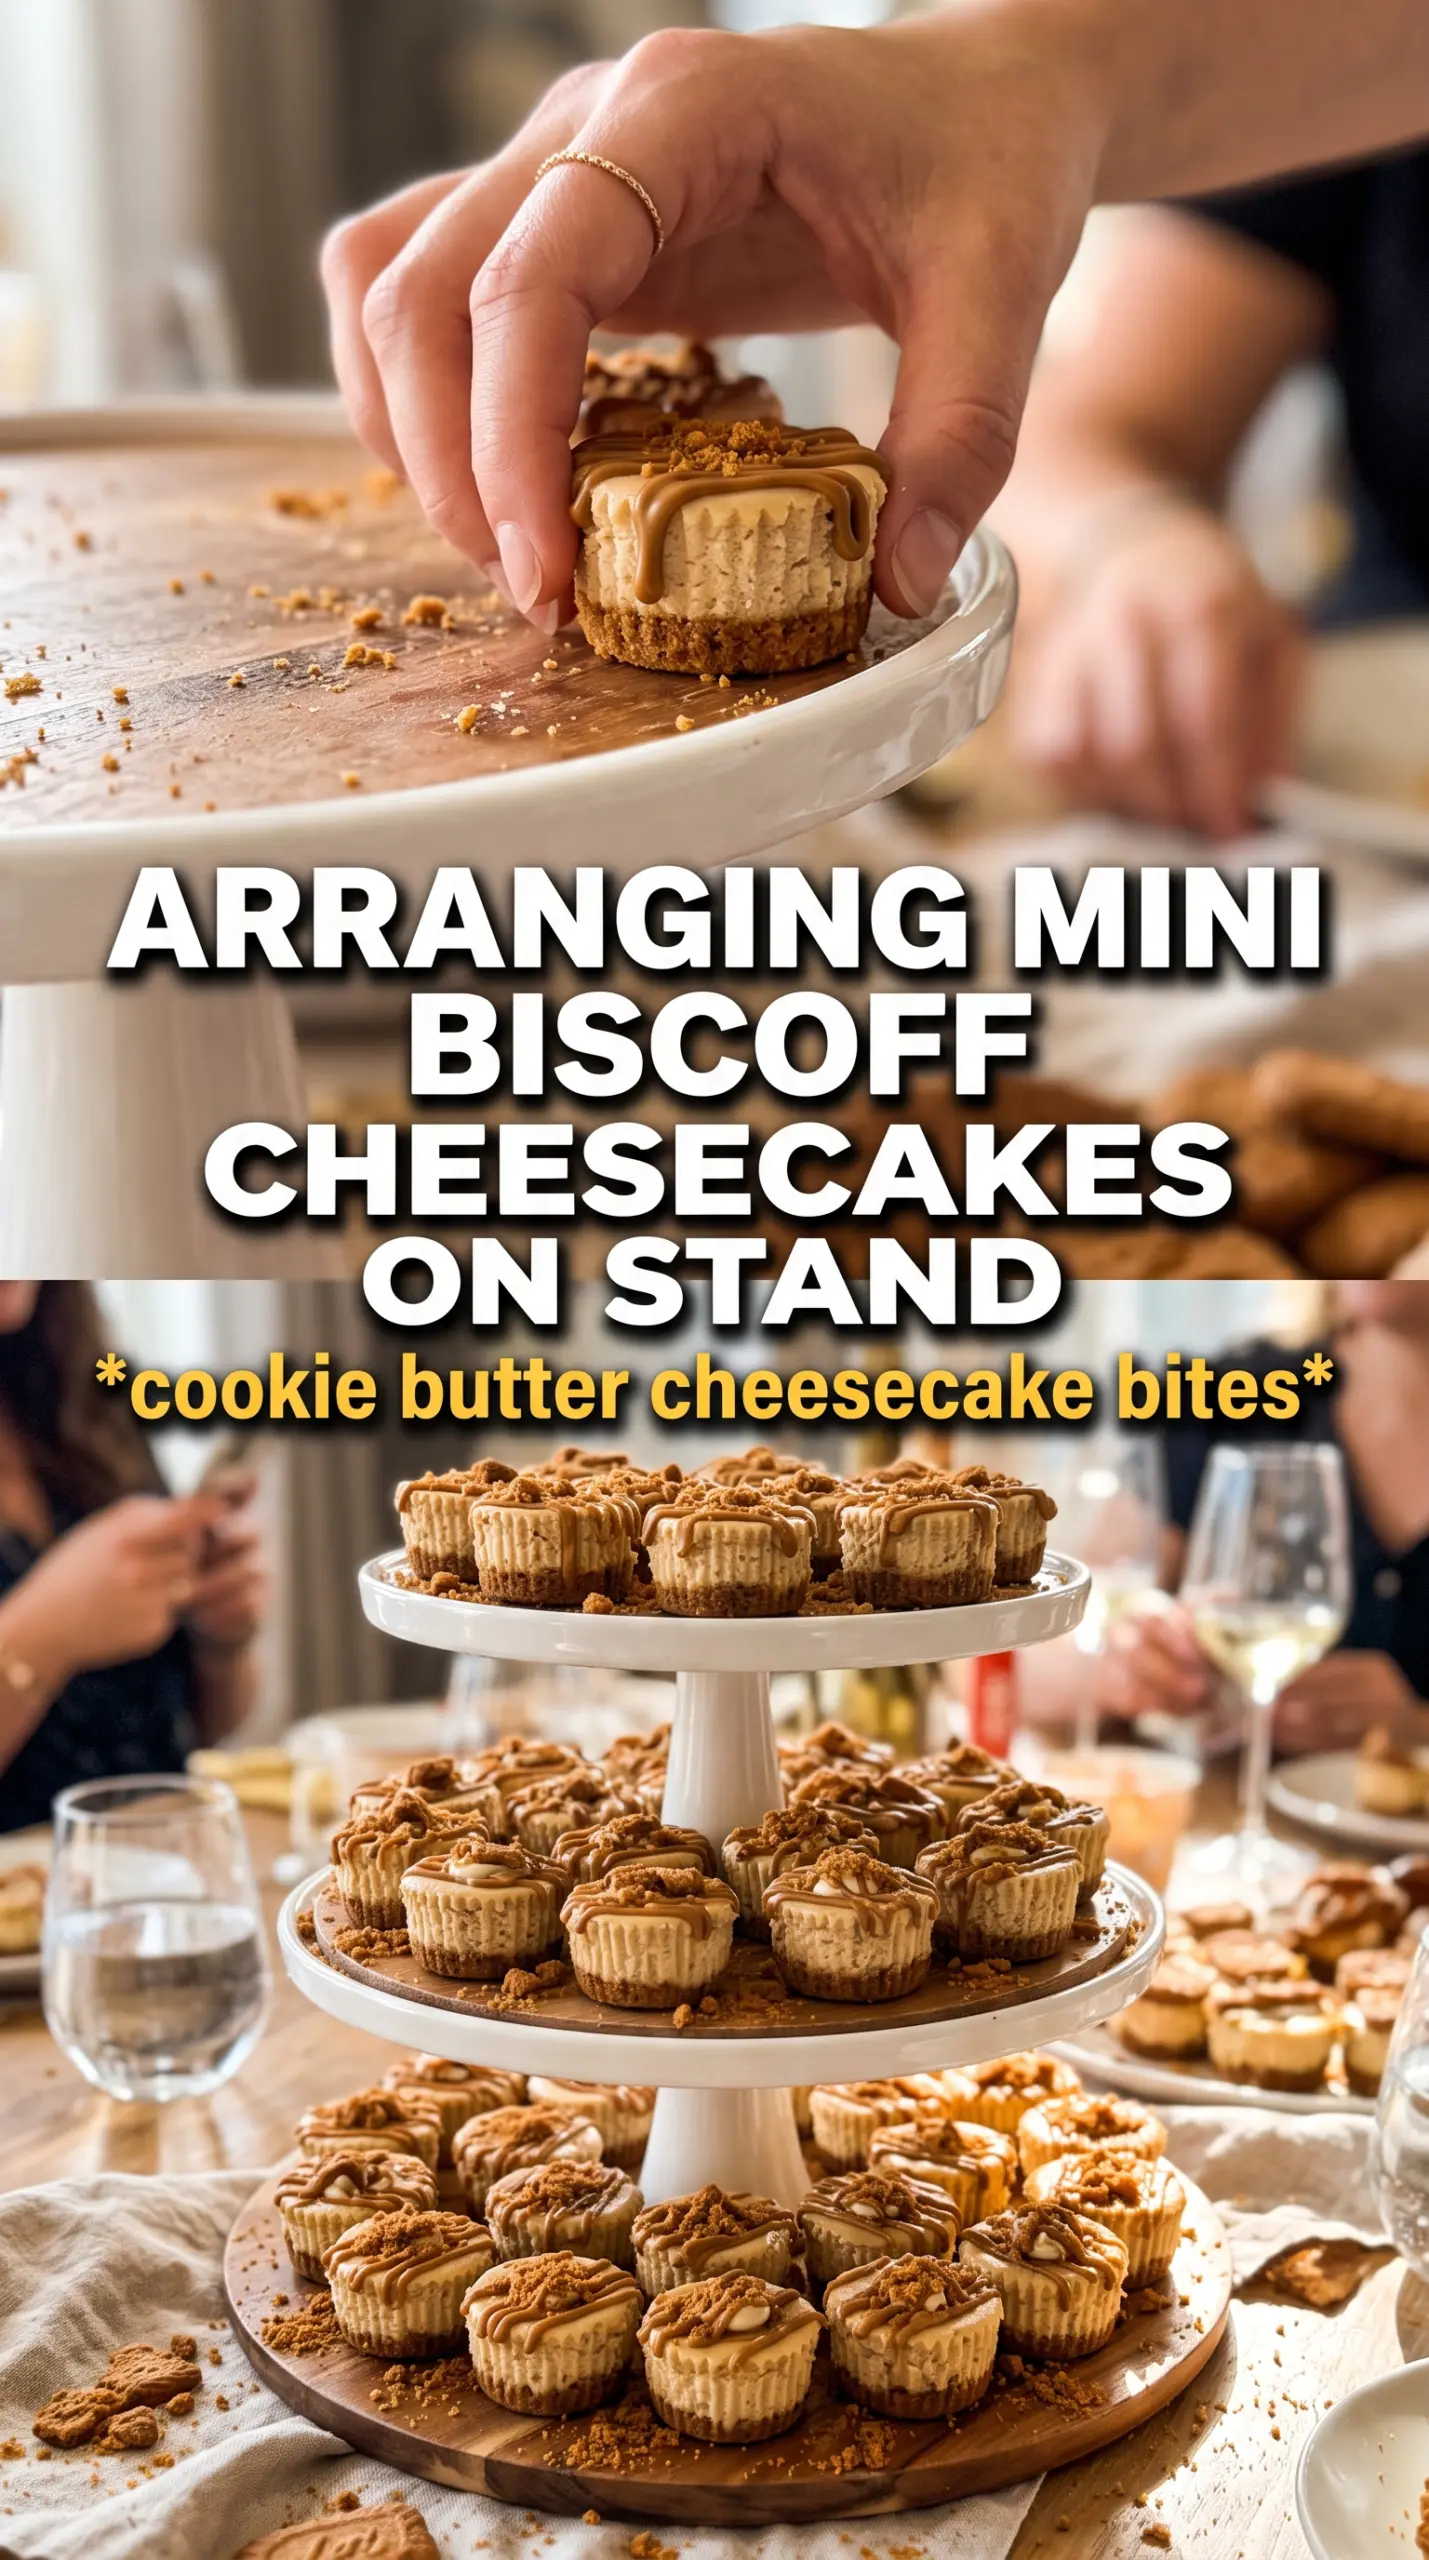
Bake and chill the cheesecakes a day ahead, then add the warm drizzle and cookie topper just before serving. That keeps the cookie on top crisp and the drizzle glossy instead of dulled by the fridge.
Storage and Reheating
- Refrigerator: Store covered for up to 4 days. The crust stays best in the first two days, though the filling will still taste great after that.
- Freezer: Freeze the cheesecakes without the drizzle and cookie topper for up to 1 month. Wrap them well and thaw overnight in the refrigerator before finishing them.
- Reheating: Don’t reheat these. Cheesecake is meant to be served chilled, and warming it turns the texture soft and loose. Add the topping after chilling so everything stays neat.
Answers to the Questions Worth Asking
Mini Biscoff Cheesecakes
Ingredients
Equipment
Method
- Preheat the oven to 325F, then line a 12-cup muffin tin with liners.
- Mix the crushed Biscoff cookies, melted unsalted butter, and sugar until evenly moistened, then press firmly into each liner.
- Bake the crusts for 5 minutes, then remove and let them cool slightly while you make the filling.
- Beat the cream cheese and granulated sugar until smooth.
- Add the eggs one at a time, beating after each addition until fully combined.
- Stir in the sour cream, Biscoff cookie butter, vanilla extract, and cinnamon until the batter looks glossy and uniform.
- Divide the filling among the cups, filling each liner to near the top.
- Bake at 325F for 18-20 minutes, until the centers are just set and still look slightly soft.
- Cool the mini cheesecakes to room temperature before covering.
- Refrigerate for 3 hours to fully chill and firm the filling.
- Warm the Biscoff spread so it is pourable, then drizzle it over each cheesecake.
- Press a whole Biscoff cookie into the top of each cheesecake so it adheres to the spread.