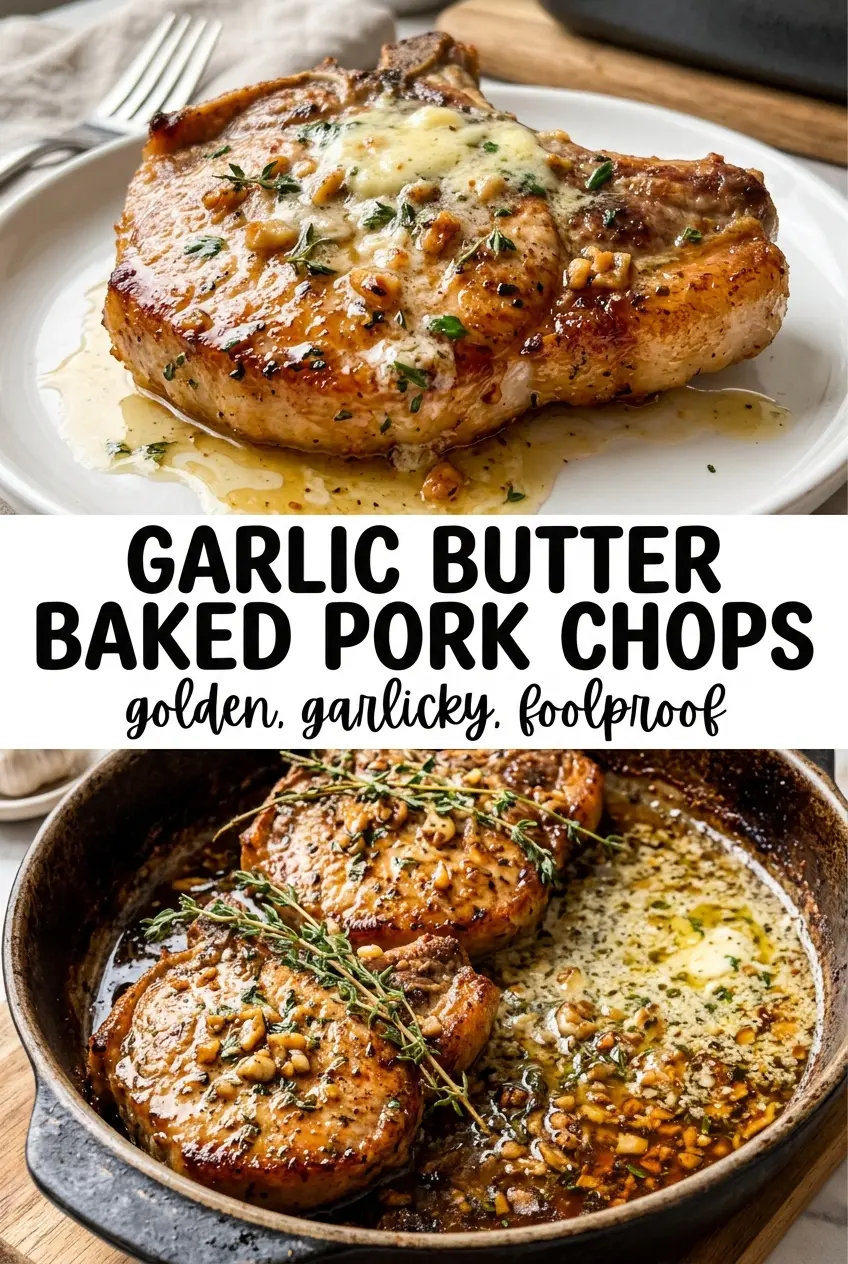
Garlic butter baked pork chops come out with a browned, glossy top and a juicy center when the pan is handled the right way. The butter pools around the chops as they bake, carrying garlic, lemon, and paprika into every bite, while the oven does the work without drying out the meat. It’s the kind of dinner that looks like you spent much longer on it than you did.
The difference here is heat management and thickness. Bone-in chops hold onto moisture better than thin boneless ones, and a 400°F oven gives you enough heat to build color before the pork overcooks. The garlic butter goes on before baking, then gets spooned back over the chops once during cooking so the top stays glossy instead of turning dry.
Below, I’ll walk through the few details that matter most, including how to judge doneness without cutting into the meat and what to do if your chops are thicker or thinner than the ones I used.
The garlic butter pooled around the chops and the tops browned beautifully without drying out. I used a thermometer like you said, and they hit 145° right on time with the juices still clear.
These garlic butter baked pork chops stay juicy and golden, so pin them for the nights when you want a fast oven dinner with big flavor.
The Fastest Way to Dry Out Pork Chops Is Overcooking Them
Pork chops get a bad reputation because they’re often cooked past the point where they’re still tender. The line between juicy and dry is narrow, and bone-in chops give you a little more forgiveness, but only if you pull them at the right temperature. The goal is 145°F in the thickest part, then a short rest so the juices settle back into the meat instead of running onto the cutting board.
Another common mistake is crowding the baking dish with cold chops straight from the fridge and expecting the tops to brown evenly. Room-temperature chops cook more evenly, and a light coating of butter on both sides helps the seasoning cling while protecting the surface from drying out. If the chops are much thinner than 1 inch, they’ll finish sooner and need a closer eye; thick chops may need the full bake time and a minute or two more.
What Each Ingredient Is Doing in This Dish

- Bone-in pork chops — These stay juicier than boneless chops and handle the oven heat better. A 1-inch thickness is the sweet spot here; thinner chops cook too fast, and much thicker ones need more time than this recipe allows without adjusting the bake.
- Butter — Melted butter is the base of the sauce and the reason the top turns glossy and browned. Unsalted butter gives you control over the seasoning, but salted works if that’s what you have; just go lighter with the added salt.
- Garlic — Fresh minced garlic gives the sauce its punch and perfumes the butter as it bakes. Jarred garlic works in a pinch, but it won’t taste as sharp or fresh after 20 minutes in the oven.
- Lemon juice and parsley — The lemon keeps the butter from tasting flat, and the parsley gives the finished dish a clean, fresh edge. Don’t skip the lemon if you want the sauce to taste balanced rather than heavy.
- Paprika — This adds color and a warm note that helps the chops look as good as they taste. Sweet paprika is the easiest choice here; smoked paprika is stronger and will shift the dish in a more rustic direction.
How to Bake the Chops So the Garlic Butter Stays Glossy
Mix the butter while the oven heats
Preheat the oven to 400°F and grease a baking dish before you do anything else. Stir the melted butter with the garlic, parsley, lemon juice, and paprika until it looks evenly flecked, not separated. If the butter is piping hot, let it sit for a minute so it doesn’t start cooking the garlic before it reaches the oven.
Season and coat every surface
Pat the pork chops dry, then season both sides with salt and black pepper. Lay them in the baking dish in a single layer and pour the garlic butter over the top, turning each chop so both sides get coated. Dry meat browns better; if there’s a lot of surface moisture, the chops will steam under the butter instead of taking on color.
Bake until the center hits 145°F
Bake for 18 to 22 minutes, depending on thickness, and start checking with a thermometer near the end of that window. The tops should look golden, and the butter at the edges should be bubbling with little browned garlic bits. If the pan looks dry before the chops are done, spoon the drippings over the meat rather than adding more butter.
Baste once, then rest briefly
Spoon the pan drippings over the chops once during cooking to keep the tops shiny and flavorful. When they reach 145°F, pull the dish from the oven and let the chops rest for 3 to 5 minutes. That short rest matters; cut too soon and the juices will flood out instead of staying in the meat.
How to Adapt These Pork Chops When You Need a Small Change
Boneless chops instead of bone-in
Boneless chops work, but they dry out faster and usually finish a few minutes sooner. Start checking early and pull them as soon as the center reaches 145°F. You’ll lose a little flavor and protection from the bone, so the thermometer matters even more.
Dairy-free version
Use a neutral dairy-free butter substitute that melts smoothly. The sauce will still carry the garlic and lemon, though it won’t brown quite as richly as real butter. Pick a substitute with a clean, buttery taste rather than one with a strong coconut or olive oil note.
Make it a little sharper
Add a little extra lemon juice or a pinch of lemon zest if you want more brightness. That cut helps the butter taste lighter and keeps the garlic from reading heavy. Don’t add too much or the sauce starts tasting thin instead of balanced.
Storage and Reheating
- Refrigerator: Store in an airtight container for up to 4 days. The butter will firm up, and the pork will taste best when reheated gently.
- Freezer: Freeze for up to 2 months, wrapped well with some of the pan juices if you have them. The texture won’t be quite as tender after thawing, but it still works for sliced pork over rice or potatoes.
- Reheating: Warm covered in a 300°F oven with a spoonful of drippings or a splash of broth until just heated through. High heat is what makes leftover pork turn dry and chalky.
Answers to the Questions Worth Asking
Garlic Butter Baked Pork Chops
Ingredients
Equipment
Method
- Preheat oven to 400°F and grease a baking dish to prevent sticking.
- Mix melted butter with garlic, parsley, lemon juice, and paprika until evenly combined.
- Season pork chops with salt and black pepper on both sides, then place them in the baking dish.
- Pour garlic butter mixture over each pork chop, making sure both sides get coated and garlic bits are visible in the pooled butter.
- Bake 18–22 minutes at 400°F until internal temperature reaches 145°F and the tops are golden.
- Baste with pan drippings once during cooking, then return the dish to the oven to finish baking.
- Serve with lemon slices.