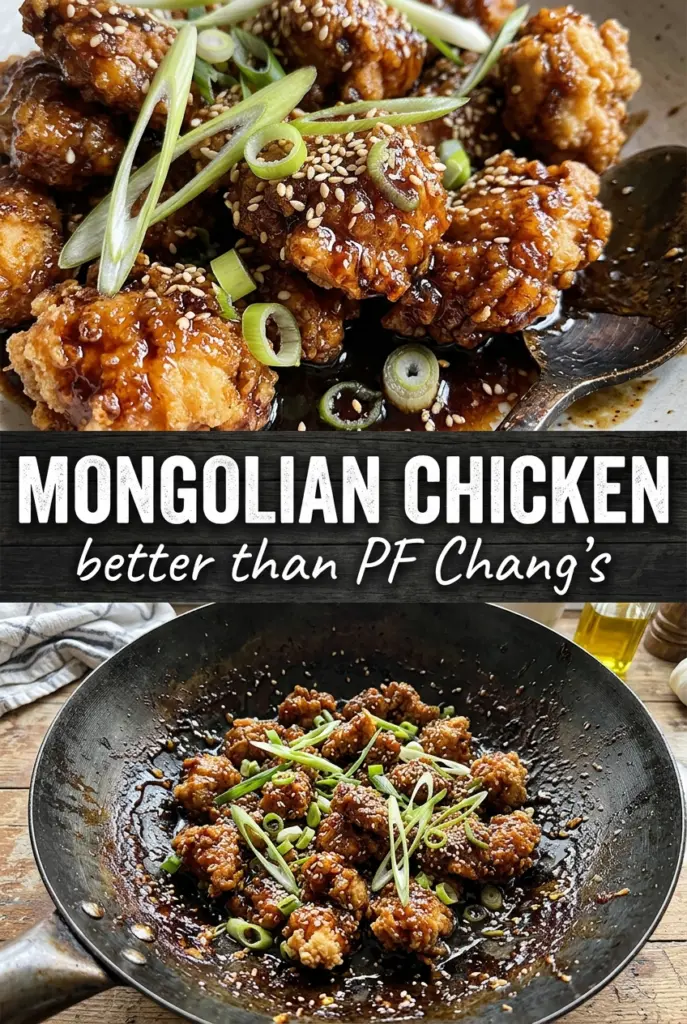
Crispy-edged chicken coated in a glossy, dark Mongolian sauce is one of those dinners that disappears fast because it hits every note at once: salty, sweet, garlicky, and just a little sticky on the fork. The best versions don’t drown the chicken. They cling to it. That coating matters, because the contrast between the browned crust and the lacquered sauce is what makes this dish taste like takeout in the best possible way.
The trick is giving the chicken a light cornstarch coating before it hits the hot pan. That does two jobs at once: it helps the chicken brown fast, and it gives the sauce something to grip later. The sauce itself is built from soy sauce, brown sugar, hoisin, ginger, and garlic, then finished with a small cornstarch slurry so it turns shiny instead of thin and watery.
Below, I’ll walk through the part that matters most: getting the chicken deeply golden before the sauce goes in, plus the small timing detail that keeps the green onions crisp-tender instead of soft and dull.
The sauce thickened up perfectly and coated every piece instead of pooling in the pan. I used chicken thighs and it still got that crispy edge my husband kept talking about.
Save this Mongolian Chicken for the nights when you want sticky, crispy takeout-style chicken without the delivery bill.
The Coating Is What Keeps Mongolian Chicken Crisp Instead of Soggy
A lot of Mongolian chicken recipes go soft because the chicken goes straight from the pan into a sauce that’s still too thin. By the time it reaches the table, the crust has vanished. The cornstarch coating here changes that. It creates a dry, light shell that browns fast in hot oil and stands up long enough for the sauce to cling without turning the whole dish mushy.
The other mistake is crowding the pan. If the chicken pieces sit too close together, they steam before they sear and you lose that deep golden edge. Cook in a layer with space around the pieces, and leave them alone until the underside has browned enough to release cleanly.
- Chicken breasts — Thin slicing matters more than the cut itself here. Smaller pieces cook quickly and stay tender in a high-heat skillet. Chicken thighs work too if you want a richer bite and don’t mind a slightly softer texture.
- Cornstarch — This is doing the heavy lifting for both the crust and the sauce. You can’t swap in flour and expect the same crisp, glossy finish.
- Soy sauce — Use a regular soy sauce, not low-sodium unless you plan to taste and adjust the salt at the end. It’s the backbone of the sauce, so the flavor has to be bold enough to stand up to the sugar.
- Hoisin sauce — This adds depth that plain brown sugar can’t give. If you don’t have it, a little extra soy plus a touch more sugar will work in a pinch, but the sauce will taste flatter.
- Fresh ginger and garlic — Fresh is worth it here. Powdered versions won’t give you the same sharp, fragrant lift when the sauce hits the hot pan.
- Green onions — Add them at the end so they stay bright and a little crisp. If they cook too long, they lose their bite and the whole dish tastes heavier.
What Each Ingredient Is Actually Doing in This Chicken
- Chicken (the protein star) — Pat dry so it browns instead of steams. Room temperature cooks more evenly.
- Oil or butter (the browning medium) — High-heat oil is essential. Creates flavor through browning.
- Seasonings (salt, pepper, spices, herbs) — Don’t hold back. Chicken carries the entire flavor profile.
- Aromatics (garlic, ginger, onion) — Cook with fat to bloom flavors. They become the foundation.
- Sauce or liquid (the moisture keeper) — This prevents dryness and adds flavor. Balance richness with acid.
- Acid (lemon, vinegar, wine, or tomato) — This brightens and prevents one-dimensional flavor.
- Optional vegetables — Layer by cooking time so everything finishes together.
- Proper doneness (165°F internal temperature) — Use a thermometer for accuracy. Overcooked is dry.
Building the Sauce So It Turns Glossy, Not Gritty
Coat the Chicken Before the Pan Heats
Toss the sliced chicken with cornstarch, salt, and pepper until every piece looks lightly dusted. You’re not making a thick breading; you’re creating a thin layer that helps the exterior fry and gives the sauce something to grab. If there are dry clumps of cornstarch in the bowl, keep tossing until they disappear, because those turn pasty in the pan instead of crisp.
Whisk the Sauce First
Mix the soy sauce, brown sugar, water, hoisin, sesame oil, and red pepper flakes before the chicken is done. Once the pan is hot, the rest of the cooking moves quickly, and you don’t want to be measuring while garlic is scorching. The sauce should look dark and smooth, with the sugar mostly dissolved.
Brown the Chicken Hard and Fast
Heat the oil until it shimmers, then lay in the chicken and leave it alone long enough for a crust to form. If you keep nudging it too soon, it will stick and tear instead of searing. You’re looking for deep golden edges and opaque centers; once the pieces are cooked through, pull them out so they don’t overcook while the sauce is reducing.
Finish in the Sauce
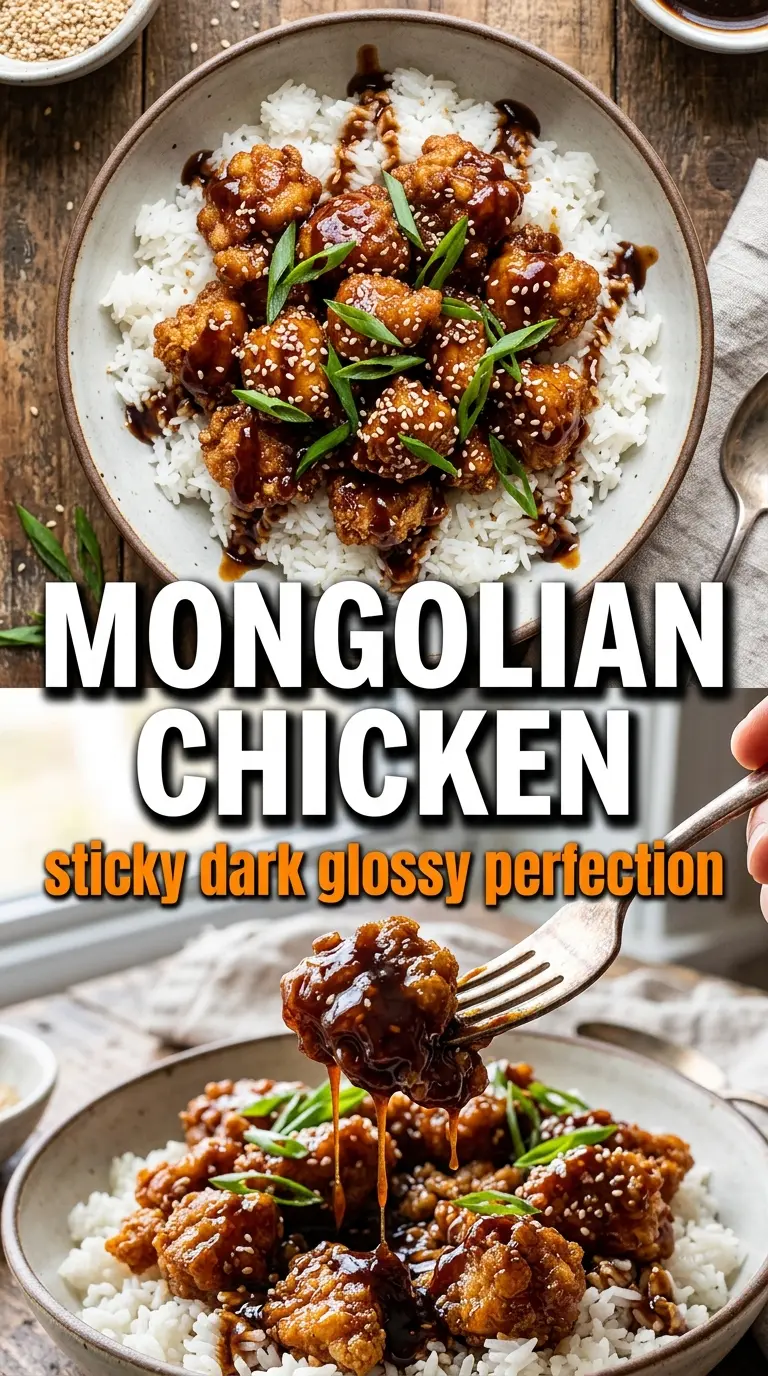
Garlic and ginger need only about 30 seconds in the pan. After that, pour in the sauce and let it bubble before adding the slurry. The sauce should thicken into a shiny glaze that coats a spoon. If it looks cloudy or pasty, the heat is too low; if it gets tight too fast, add a splash of water and stir until it loosens again.
Use Chicken Thighs for a Richer Bite
Chicken thighs work well if you want a juicier result and a little more forgiveness in the pan. They take a minute longer to brown, but the sauce still clings the same way. The finished dish will taste slightly richer and less lean than the breast version.
Make It Gluten-Free
Use a certified gluten-free soy sauce or tamari and check that your hoisin sauce is gluten-free too. The texture stays the same because the cornstarch is doing the thickening work. This is one of the easier swaps to make without changing the finished dish much at all.
Dial the Heat Up or Down
The red pepper flakes are flexible. Leave them out for a milder sauce, or double them if you want more heat running through the glaze. The sweetness will still balance the spice, so this is a good place to adjust without changing the structure of the recipe.
Storage and Reheating
- Refrigerator: Store in an airtight container for up to 4 days. The chicken will soften a little as it sits, but the flavor holds well.
- Freezer: It freezes reasonably well for up to 2 months, though the chicken won’t stay crisp. Freeze the chicken and sauce together in a sealed container, then thaw overnight in the refrigerator.
- Reheating: Warm it in a skillet over medium-low heat with a splash of water to loosen the sauce. Microwaving works in a pinch, but it tends to overcook the chicken and make the coating rubbery.
Answers to the Questions Worth Asking

Mongolian Chicken
Ingredients
Equipment
Method
- Toss the thinly sliced chicken with cornstarch, salt, and pepper until every piece is coated with a dry, starchy layer.
- Whisk together soy sauce, brown sugar, water, hoisin sauce, sesame oil, and red pepper flakes until the sugar looks mostly dissolved.
- Heat the vegetable oil in a large skillet or wok over high heat; add the chicken and cook 3-4 minutes per side until deeply golden and cooked through, then remove to a plate.
- Add the garlic and ginger to the same hot pan and stir-fry for 30 seconds, until fragrant and lightly sizzling but not browned.
- Pour in the sauce and bring it to a boil, watching it turn darker and more syrupy as bubbles break across the surface.
- Stir in the cornstarch slurry and cook for 1-2 minutes until thickened and glossy, with a smooth glaze that coats the back of a spoon.
- Return the chicken to the pan and toss to coat, then add the green onions and toss briefly until they look charred at the edges.
- Serve the glazed Mongolian chicken over steamed white rice with sesame seeds scattered on top.