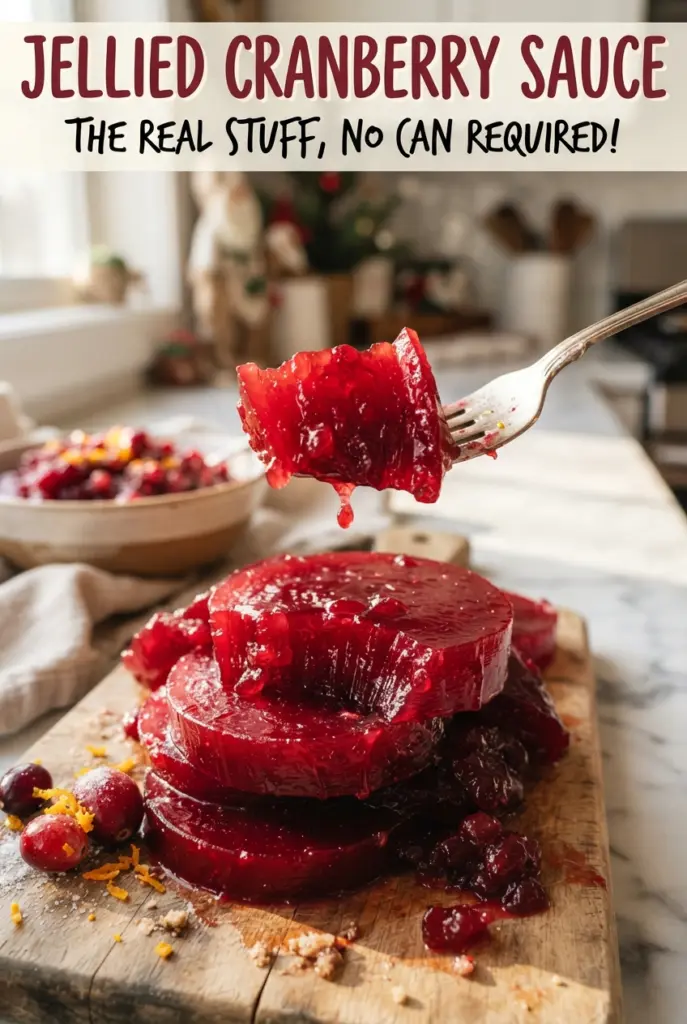
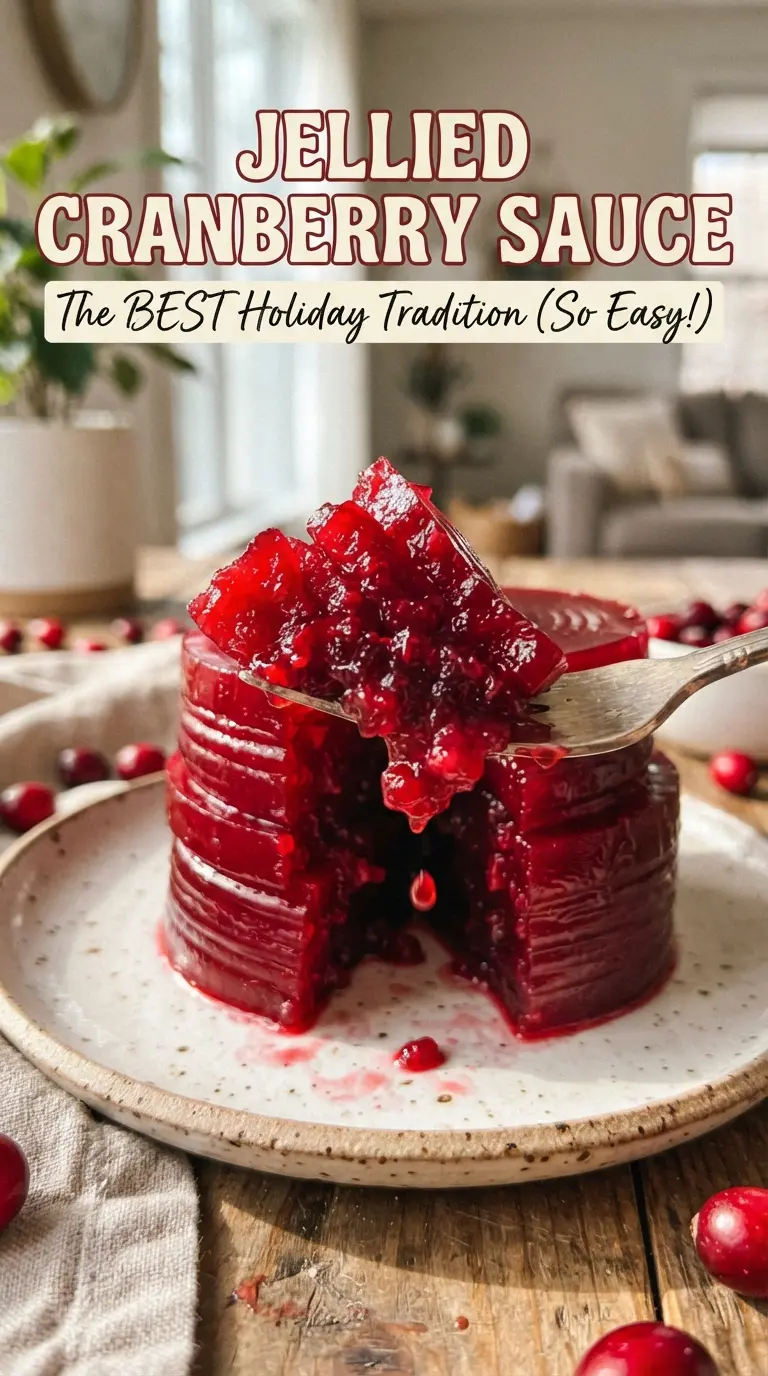
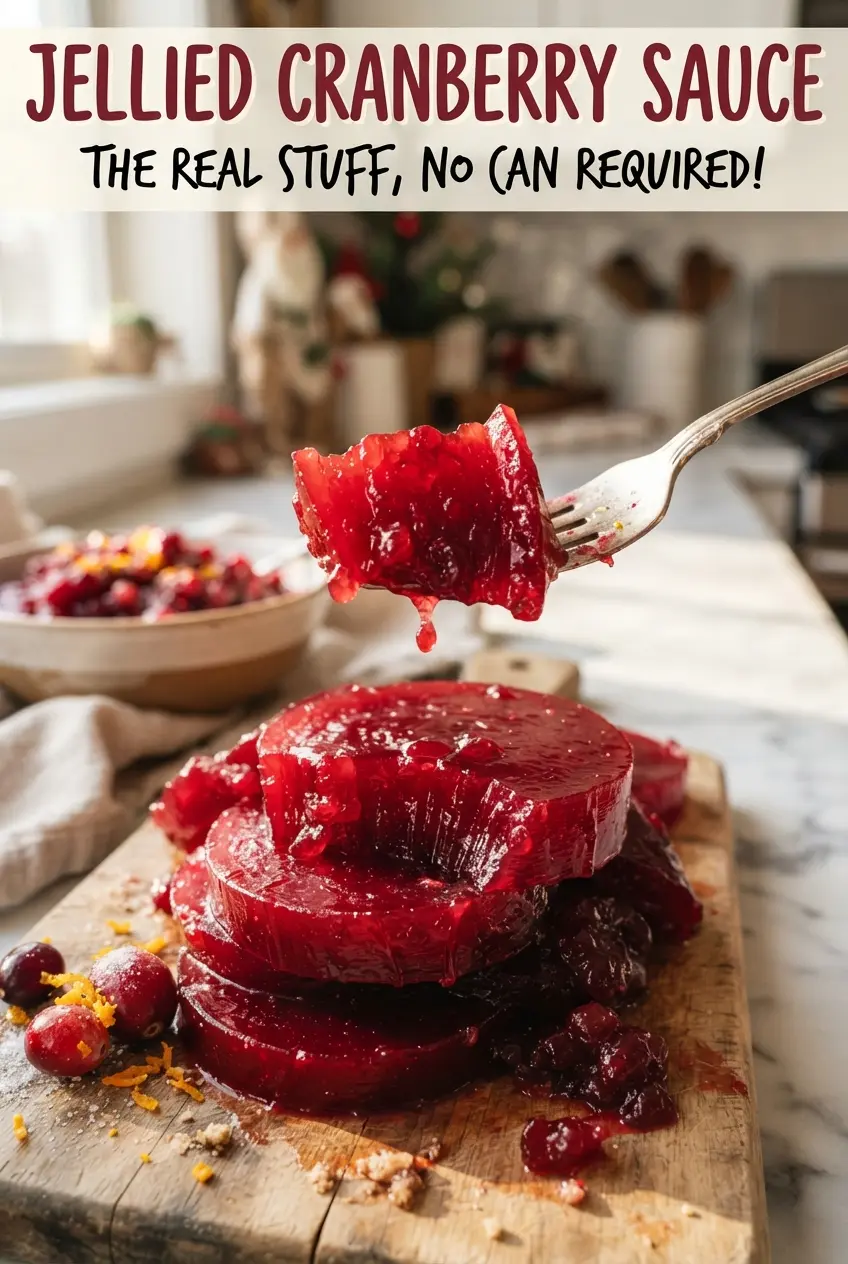
Jellied cranberry sauce sets up into that glossy, jewel-red mold that slices cleanly and holds its shape on the plate. The texture is smooth, the flavor is bright and tart, and the sweetness lands in just the right place once it’s fully chilled. It’s one of those side dishes that looks old-fashioned in the best way and earns its spot because it brings sharp contrast to rich holiday food.
The key is cooking the berries until every skin bursts, then pressing the puree through a fine-mesh strainer so the finished sauce turns silky instead of chunky. A short second boil after straining helps it thicken enough to unmold later, and the lemon juice keeps the flavor from tasting flat or candy-sweet. A little salt matters too; it sharpens the cranberry flavor without making the sauce taste salty.
Below, I’ve included the small timing detail that keeps the texture firm instead of loose, plus a few smart ways to shape it if you don’t have a classic mold. If you’ve ever had cranberry sauce that wouldn’t hold a slice, the process here fixes that.
I strained it really well and chilled it overnight, and it came out with that perfect can-shaped slice my mom used to serve. The texture was smooth all the way through, not watery at all.
Save this jellied cranberry sauce for the holiday table when you want a smooth, sliceable, ruby-red side dish.
The Trick Behind a Slice That Holds Together
The texture comes from letting the cranberries collapse completely and then reducing the strained mixture long enough for the natural pectin to do its job. If you pull it off the heat too early, it may taste fine but set too soft to unmold cleanly. That extra few minutes after straining matters more than most people think.
Another thing that helps is the order: cook the berries first, strain second, and only then add the final lemon juice and salt. The acid brightens the flavor without interfering with the initial softening of the fruit. If you add too much liquid back in at the end, the sauce stays loose, so keep the final boil short and focused.
What Each Ingredient Is Doing in the Mold
- Fresh cranberries — These bring the pectin that gives the sauce its set and the tart flavor that keeps it from turning cloying. Frozen cranberries work too; use them straight from the freezer and add a minute or two to the simmer.
- Sugar — This balances the sharp cranberry bite and helps the sauce gel with a glossy finish. Cutting it much lower changes the texture as well as the sweetness, so this isn’t a place to get aggressive with substitutions.
- Water — Just enough to get the berries moving in the pot and help them burst evenly. Too much water means a longer reduction later, which can dull the fresh cranberry flavor.
- Lemon juice — The final squeeze wakes everything up and keeps the sauce tasting bright after chilling. Bottled lemon juice works in a pinch, but fresh has a cleaner finish.
- Pinch of salt — Small amount, big effect. It sharpens the fruit and keeps the sweetness from flattening out.
Getting the Shine and Set Without Overcooking It
Boiling Until Every Berry Bursts
Bring the cranberries, sugar, and water to a full boil, then keep it at a steady simmer until the berries split open and the liquid turns deep red and syrupy. You want nearly every berry popped. If you stop while a lot of berries are still intact, the puree won’t be smooth and the set can end up uneven.
Pressing the Purée Smooth
Set a fine-mesh strainer over a bowl and press the hot mixture through with a spoon or spatula, scraping the underside as you work. The pulp should pass through easily, but the skins stay behind. Don’t rush this part; the more fully you press, the silkier the final texture will be. Any skins left in the puree will show up once it chills.
The Final Reduction Before Chilling
Return the strained puree to the pot with the lemon juice and salt, then boil it for 3 to 4 minutes while stirring. This is the thickening stage that gives the sauce enough body to unmold later. If the mixture looks thin and watery at this point, it needs a little more time on the heat; if it starts sticking heavily to the spoon, pull it off before it turns paste-like.
Setting the Mold Cleanly
Pour the hot mixture into a lightly oiled mold, loaf pan, or clean can, then chill it until completely firm. Six hours is the minimum, but overnight gives the cleanest release. To unmold, run a knife around the edge, dip the bottom of the mold in warm water for a few seconds if needed, and invert it onto a plate. If it wobbles but won’t release, it isn’t ready yet.
How to Adapt This Mold for Different Tables
Make-Ahead for Holiday Dinners
This is a great make-ahead side dish. Chill it the day before, unmold it when fully firm, then cover and refrigerate until serving. The texture actually improves after a night in the fridge, and slicing is cleaner the next day.
Lower-Sugar Version
You can reduce the sugar slightly, but don’t cut it in half if you want the same firm set and glossy finish. Less sugar gives a sharper, more tart sauce, yet it also makes the mold a little softer and less sliceable.
Using a Loaf Pan Instead of a Can
A lightly oiled loaf pan gives you neat, even slices and is easier to find than a classic mold. The shape will be less vintage-looking, but the texture is the same. Line the bottom lightly with parchment if you want extra insurance on release.
Storage and Reheating
- Refrigerator: Store covered for up to 1 week. The texture stays firm and sliceable.
- Freezer: It freezes reasonably well if wrapped tightly, though the surface can lose a little shine after thawing. Thaw overnight in the refrigerator.
- Reheating: This is meant to be served cold, not reheated. If it softens too much at room temperature, chill it again before slicing.
Answers to the Questions Worth Asking
Jellied Cranberry Sauce
Ingredients
Equipment
Method
- Combine fresh cranberries, sugar, and water in a pot and bring to a boil over high heat. Once boiling, reduce to a simmer and cook for 10 minutes until all the berries burst.
- Skim off any foam if needed and keep the mixture at a steady simmer so the berries continue to burst evenly. Watch for softened, broken berries throughout the pot.
- Press the hot mixture through a fine-mesh strainer into a bowl, scraping to push all the pulp through while discarding the skins. Continue until only skins remain in the strainer.
- Return the strained cranberry puree to the pot with lemon juice and salt. Stir well so the seasoning disperses.
- Boil the puree for 3-4 minutes, stirring frequently so it stays smooth and fully heated. Look for a glossy, cohesive puree that thickens slightly.
- Pour into a lightly oiled mold, loaf pan, or clean can. Spread evenly to avoid air pockets, then let cool briefly at room temperature before chilling.
- Chill at least 6 hours or overnight until firm. The surface should hold shape without wobbling when tapped.
- Run a knife around the edge, invert onto a plate, and slice into rounds. Wipe the blade between cuts for clean edges.