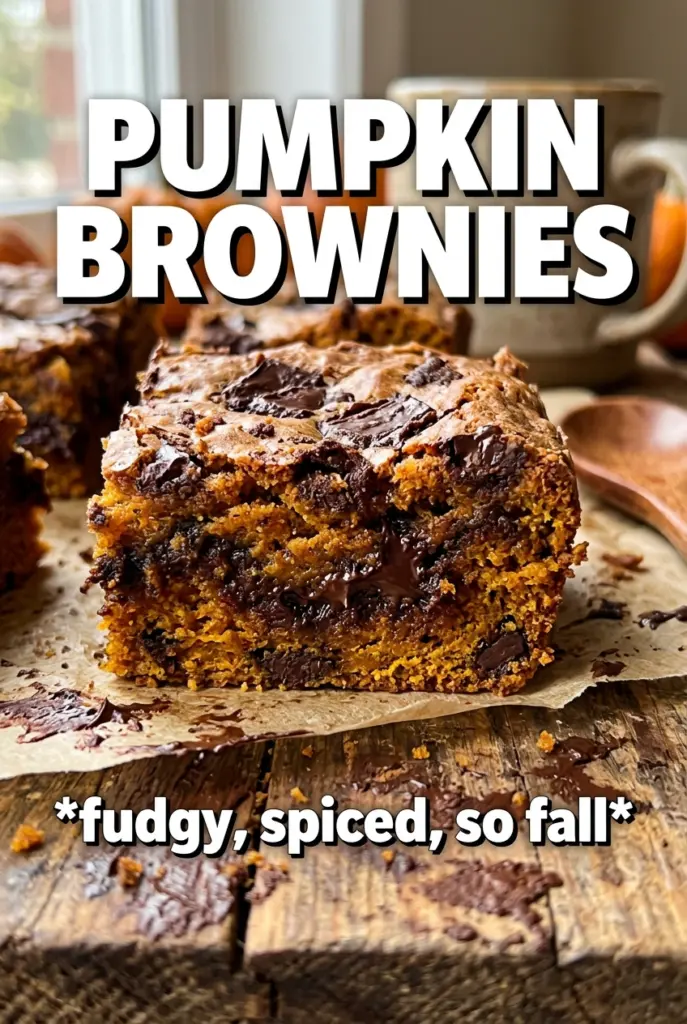
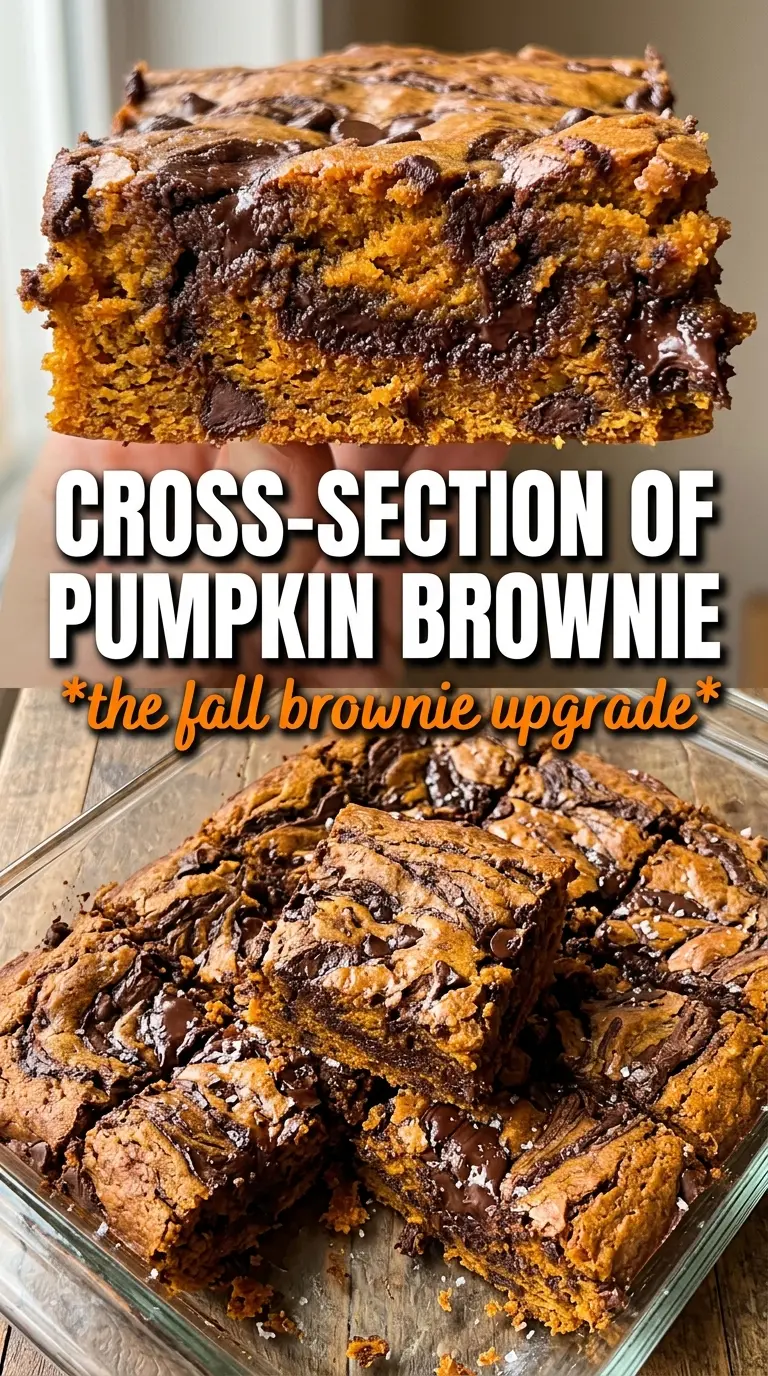
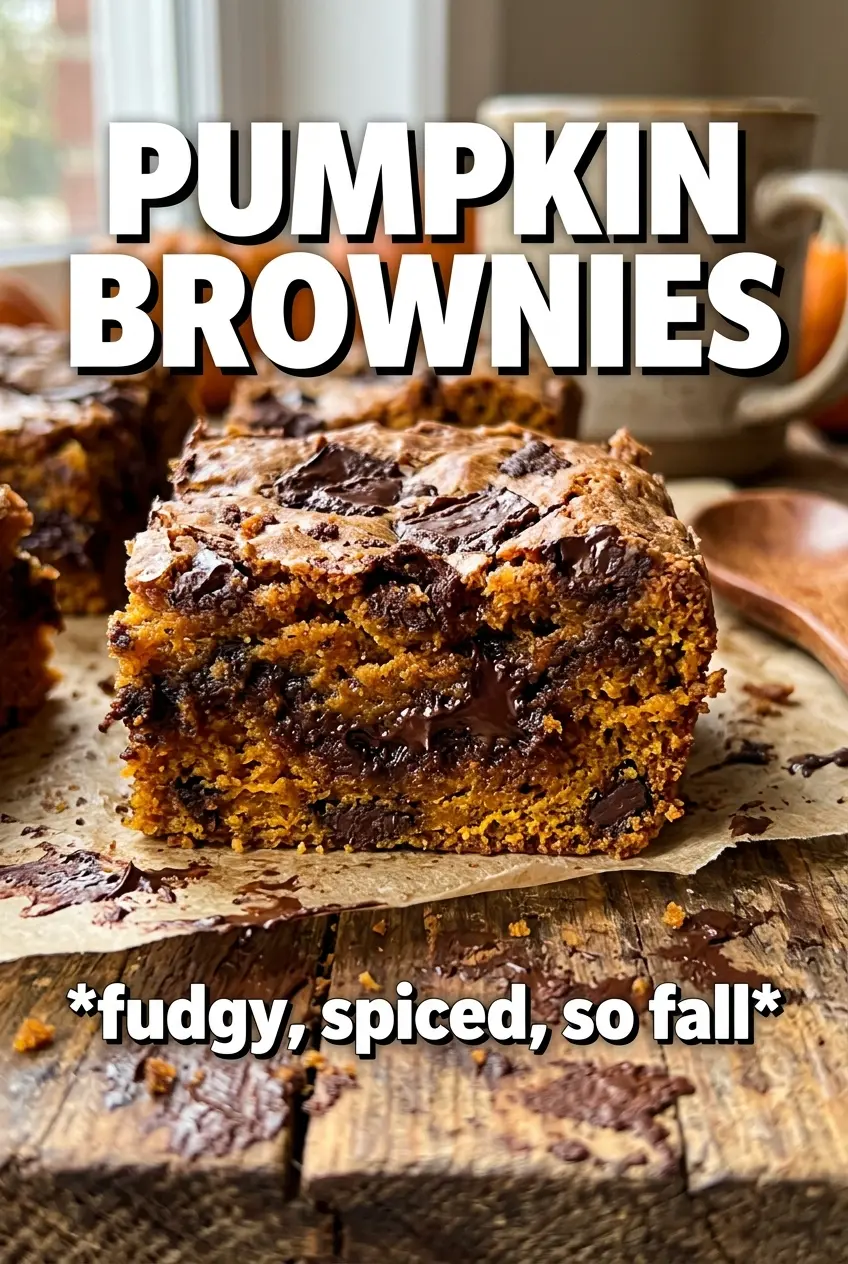
Fudgy chocolate brownies and a creamy pumpkin cheesecake swirl belong together in the same pan. The brownie layer bakes up dense and deeply chocolatey, while the pumpkin ribbon stays soft and tangy with just enough spice to taste like fall without turning the whole dessert cakey. The contrast is the whole point: crackly edges, a rich middle, and that marbled top that looks like you spent way more time on it than you did.
The trick here is keeping both batters in balance. The chocolate base gets melted butter and chopped dark chocolate for real depth, not a dry cocoa-only brownie, and the pumpkin layer uses cream cheese so it sets into a smooth swirl instead of disappearing into the batter. Letting the melted chocolate cool for a few minutes matters too; if it’s too hot, it can thin the batter and make the swirl harder to control.
Below, I’ve included the specific cues I look for when swirling and baking these so you don’t end up with a muddy top or an overbaked center. If you want clean slices, there’s one cooling step you shouldn’t skip.
The brownie base stayed fudgy and the pumpkin swirl baked up like a cheesecake layer instead of sinking in. I baked mine 33 minutes and the toothpick came out with moist crumbs, which was perfect after cooling.
Save these pumpkin brownies for when you want fudgy chocolate squares with a creamy marbled pumpkin swirl.
The Reason the Swirl Stays Distinct Instead of Melting In
The pumpkin layer works because it’s thick enough to sit on top of the brownie batter long enough to marble, not dissolve. Cream cheese is the anchor here. It gives the swirl body and a slight tang that keeps the dessert from tasting flat or overly sweet. If your swirl mixture looks loose, it will sink and streak into the brownies instead of holding those pretty ribbons on the surface.
The other key is not overworking the marbled top. A few deliberate passes with a knife create contrast; too much swirling turns everything into a brown-orange blur. The batter should look distinct when it goes into the oven, because the oven will do the rest of the merging for you.
- Dark chocolate — Use chopped chocolate rather than chocolate chips if you can. Chips often contain stabilizers that make the base a little less glossy and less fluid when melted.
- Cream cheese — This is what gives the pumpkin layer its cheesecake-like finish. It needs to be fully softened so the swirl mixes smooth; cold cream cheese leaves little lumps that don’t disappear in the oven.
- Pumpkin puree — Use plain pumpkin puree, not pumpkin pie filling. Pie filling already has sugar and spices added, which throws off the balance and makes the swirl too sweet.
- Brown sugar — It deepens the chocolate flavor and helps the brownies stay chewy. Light or dark brown sugar both work, though dark brown sugar gives a slightly richer finish.
What Each Ingredient Is Actually Doing in This Recipe
- Primary ingredient (the star) — Quality matters most. Choose the best you can find.
- Cooking medium (oil, butter, or broth) — This carries flavors and prevents dryness.
- Seasonings (salt, pepper, spices, herbs) — Layer flavors so nothing overpowers. Build depth gradually.
- Aromatics (garlic, onion, herbs) — Cook with fat to bloom flavors. Become the foundation.
- Supporting ingredients — Complement the main ingredient without overpowering it.
- Sauce or liquid (if applicable) — Brings flavors together. Balance richness with acid.
- Acid (lemon, vinegar, wine, or other) — Brightens and prevents flat-tasting results.
- Final finish (garnish, glaze, or sauce) — Prevents one-dimensional taste and adds visual appeal.
Building the Brownie Batter and Marbling the Top
Melt the Chocolate Until It’s Glossy, Then Let It Cool
Melt the butter and chocolate together until the mixture looks smooth and shiny, with no hard bits left in the bowl. Then let it sit for about 10 minutes. If you rush and add the eggs while it’s still hot, you can end up with streaky batter or partially cooked eggs, and the brownie texture won’t stay as fudgy.
Whisk for Shine, Fold for Density
Once the sugars, eggs, and vanilla go in, whisk until the mixture looks thick and a little lighter in color. That’s what helps build that thin crackly top. When you add the flour, cocoa, and salt, switch to a spatula and fold just until the dry spots disappear. Overmixing at this stage adds air and makes the brownies more cakey than dense.
Keep the Pumpkin Swirl Thick and Spoonable
Beat the cream cheese, pumpkin puree, sugar, egg, pumpkin pie spice, and cinnamon until the mixture is smooth and spoonable. It should fall from the spoon in thick dollops, not pour like batter. If it seems loose, the cream cheese wasn’t soft enough or the pumpkin had too much moisture, and the swirl will spread too much while baking.
Marble Lightly, Then Stop
Dollop the pumpkin mixture over the brownie batter in uneven spoonfuls so you get contrast across the pan. Drag a knife through the top in wide figure-eight motions, just enough to create ribbons. The biggest mistake is over-swirling; once the colors start to blend into one muddy layer, stop and move the pan to the oven.
Pull Them When the Center Still Has a Little Give
Bake until the edges are set and a toothpick comes out with moist crumbs, not wet batter. The center should look slightly softer than the edges when you take it out. These brownies finish setting as they cool, and if you wait for a fully clean toothpick, they’ll bake past fudgy into dry.
Orange Swirl with a Stronger Spice Note
Add an extra 1/2 teaspoon pumpkin pie spice if you want the pumpkin layer to stand out more against the dark chocolate. The brownies will still taste balanced, but the warm spice will read louder on the finish. Don’t go overboard or the swirl starts tasting dusty instead of creamy.
Gluten-Free Version
Use a 1:1 gluten-free baking flour in place of the all-purpose flour. The texture stays close to the original as long as your blend includes xanthan gum, but the brownies may be a touch more delicate when warm. Let them cool completely before slicing so the center firms up.
Dairy-Free Changes
Swap in plant-based butter and a dairy-free cream cheese that bakes well. The brownie layer still comes out fudgy, but the swirl will be a little less tangy and slightly softer after baking. Choose a block-style dairy-free cream cheese rather than a whipped tub for the best marbling.
Make-Ahead and Storage
- Refrigerator: Store covered for up to 5 days. The pumpkin swirl firms up in the fridge, which actually makes the squares slice cleaner.
- Freezer: These freeze well. Wrap individual squares tightly and freeze for up to 2 months, then thaw in the fridge so the swirl doesn’t get watery.
- Reheating: Warm a square for 10 to 15 seconds in the microwave if you want the brownie base soft again. Don’t overheat it or the pumpkin layer can turn rubbery around the edges.
Questions I Get Asked About This Recipe
Pumpkin Brownies
Ingredients
Equipment
Method
- Preheat oven to 350°F and line a 9x13 pan with parchment so the brownies lift out cleanly.
- Melt unsalted butter and dark chocolate together, then cool for 10 minutes until the mixture is warm, not hot.
- Whisk in granulated sugar, brown sugar, eggs, and vanilla until glossy and combined.
- Fold in all-purpose flour, cocoa powder, and salt until no dry streaks remain, leaving a thick batter.
- Pour the brownie batter into the prepared pan and smooth the top.
- Beat cream cheese, pumpkin puree, sugar, egg, pumpkin pie spice, and cinnamon until smooth and thick.
- Dollop the pumpkin swirl over the brownie batter in spoonfuls.
- Use a knife to create a marbled swirl pattern by dragging through the batter in gentle lines.
- Bake at 350°F for 30-35 minutes until the edges are set and a toothpick comes out with moist crumbs.
- Cool completely before slicing so the swirl firms up and the brownies cut into neat squares.