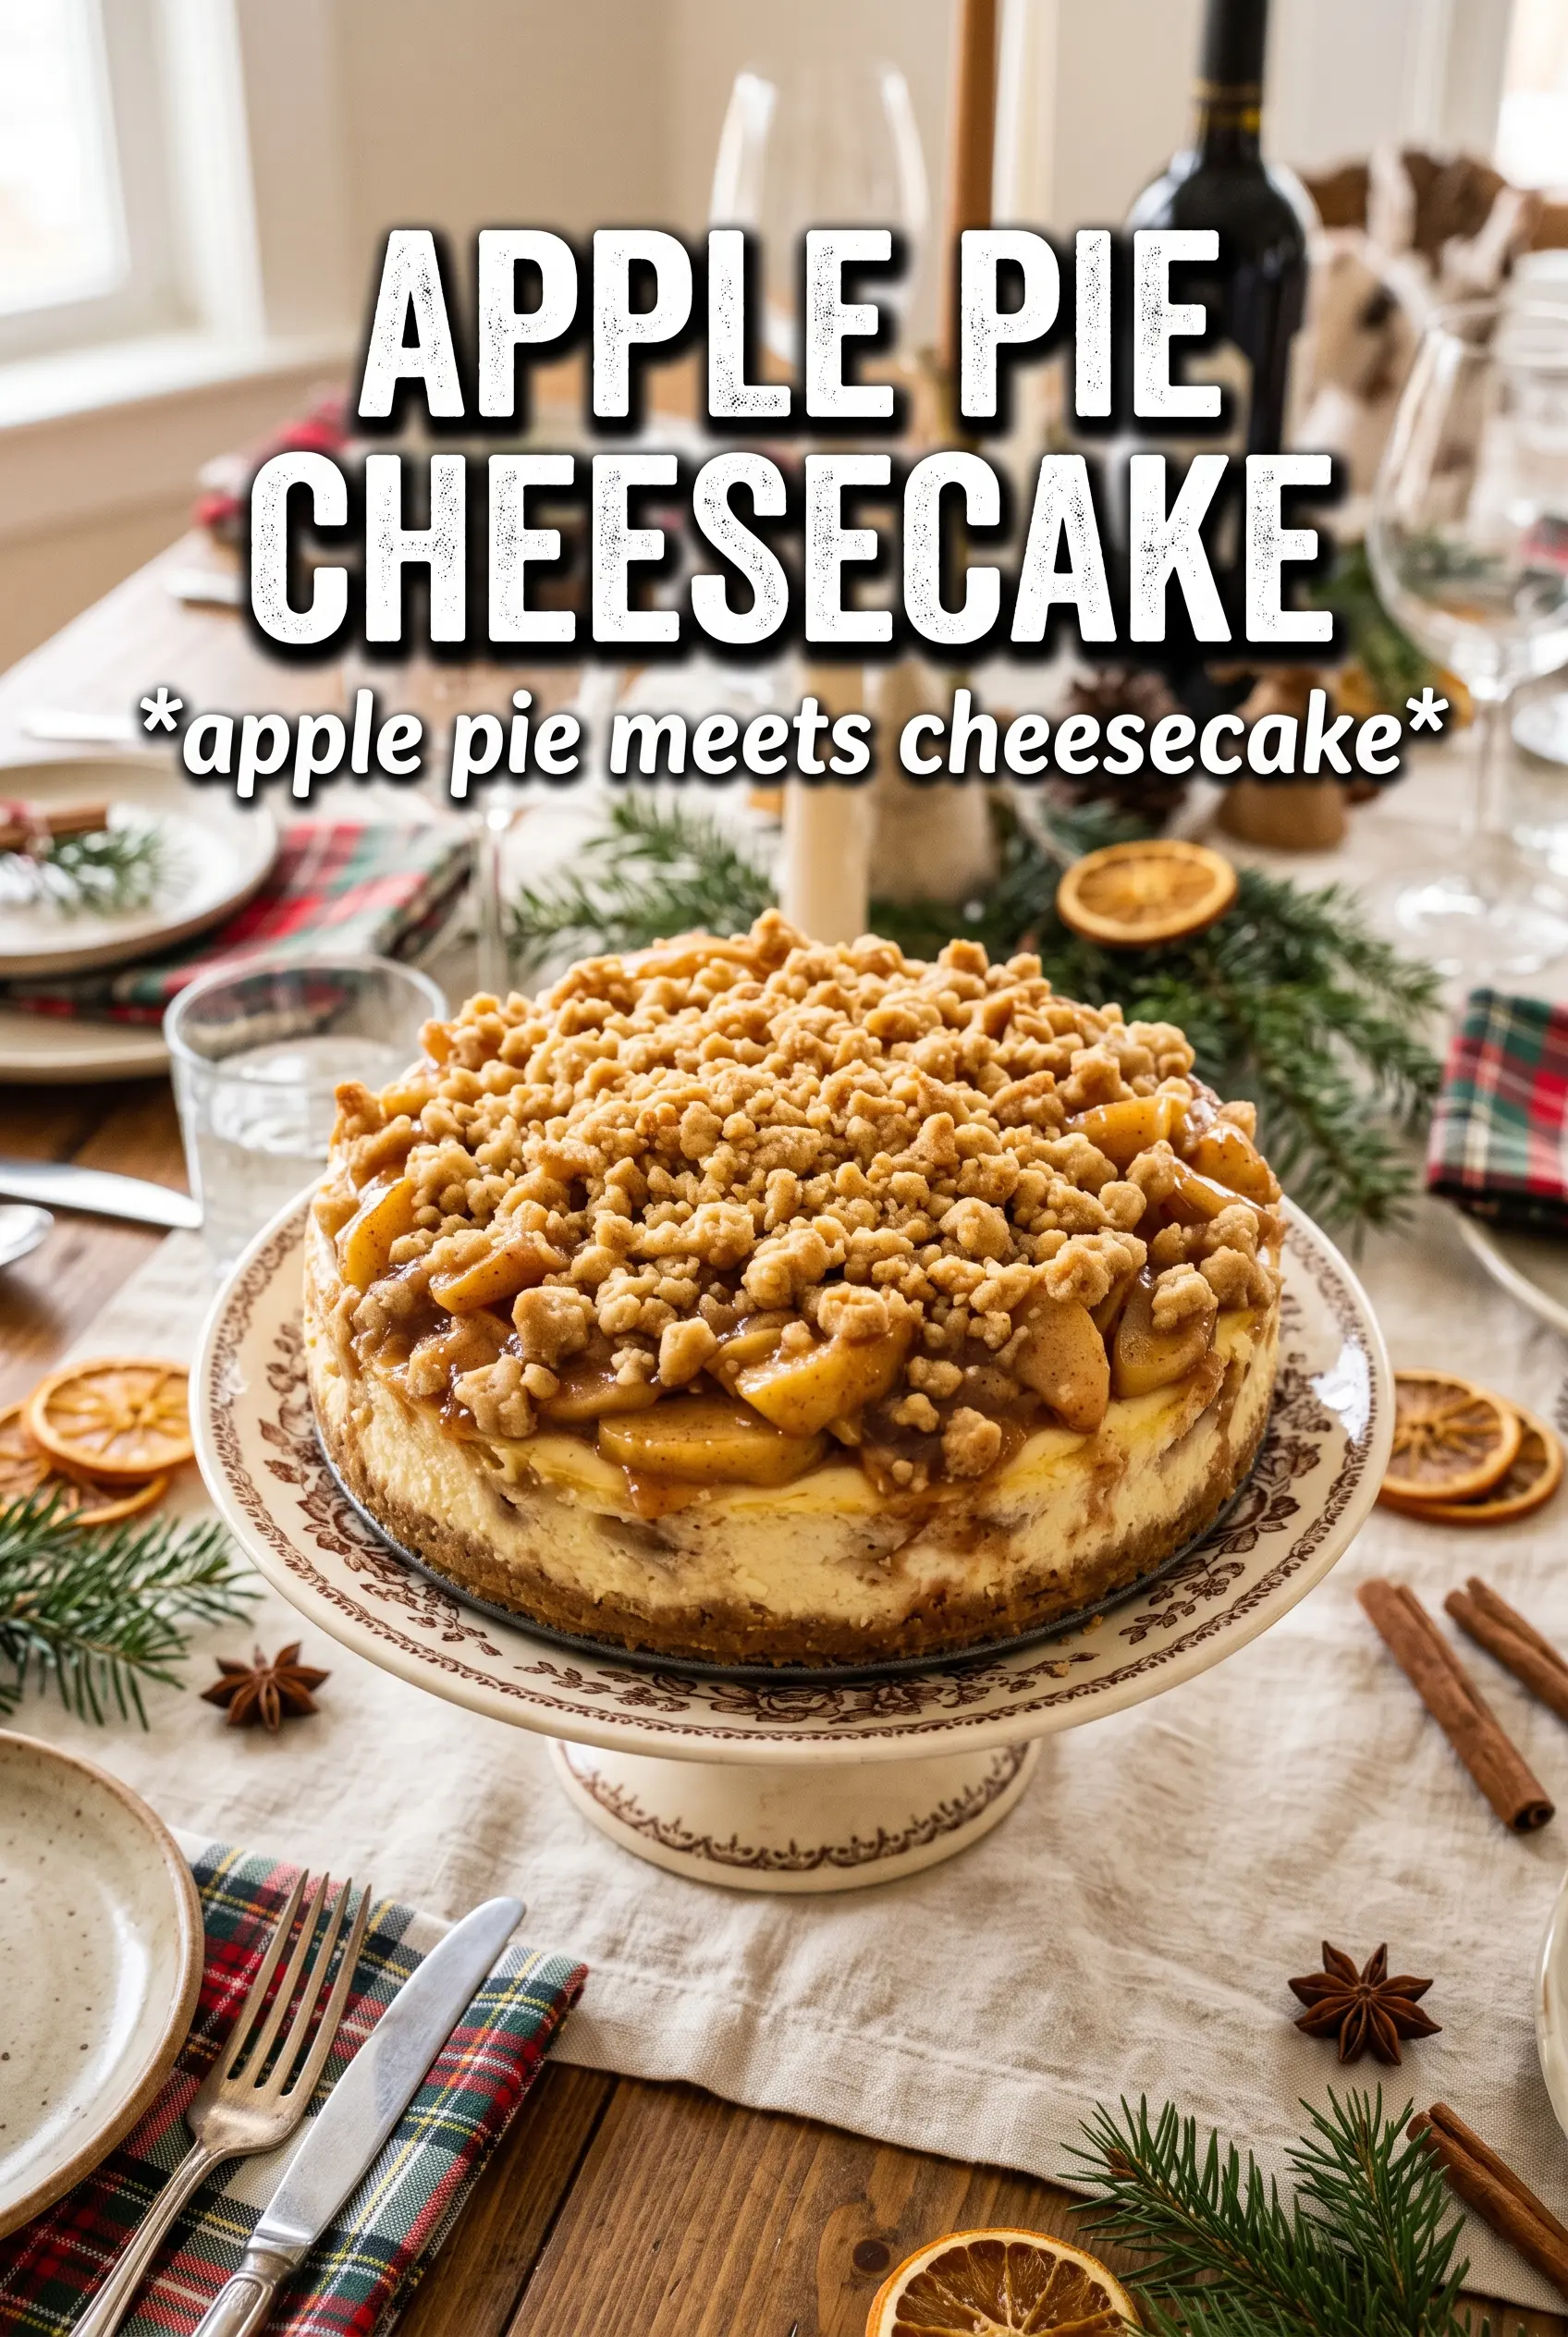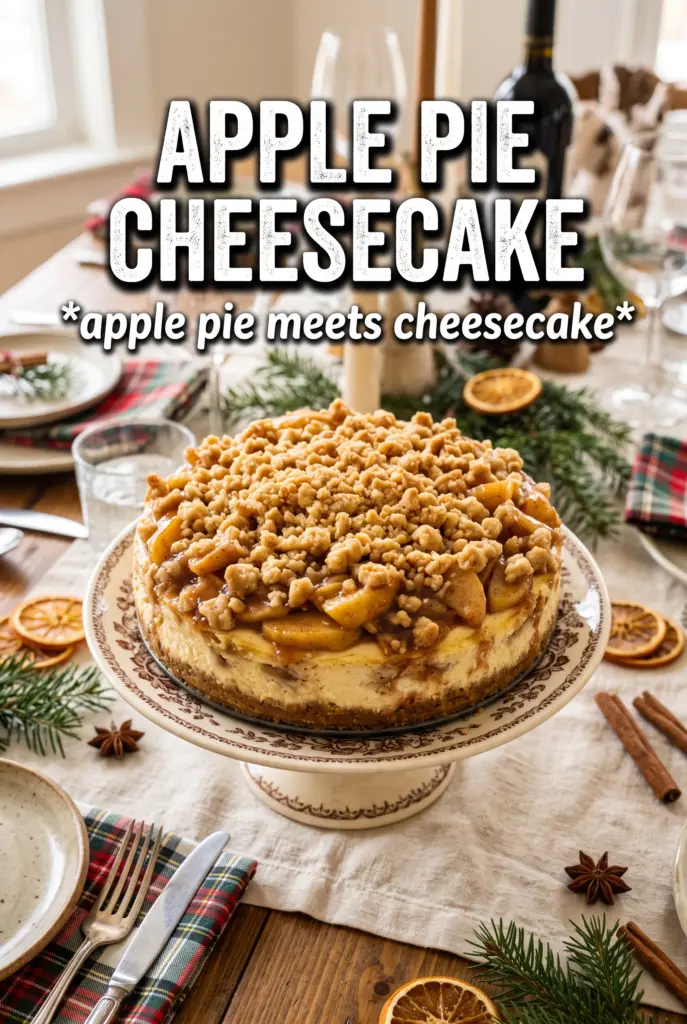
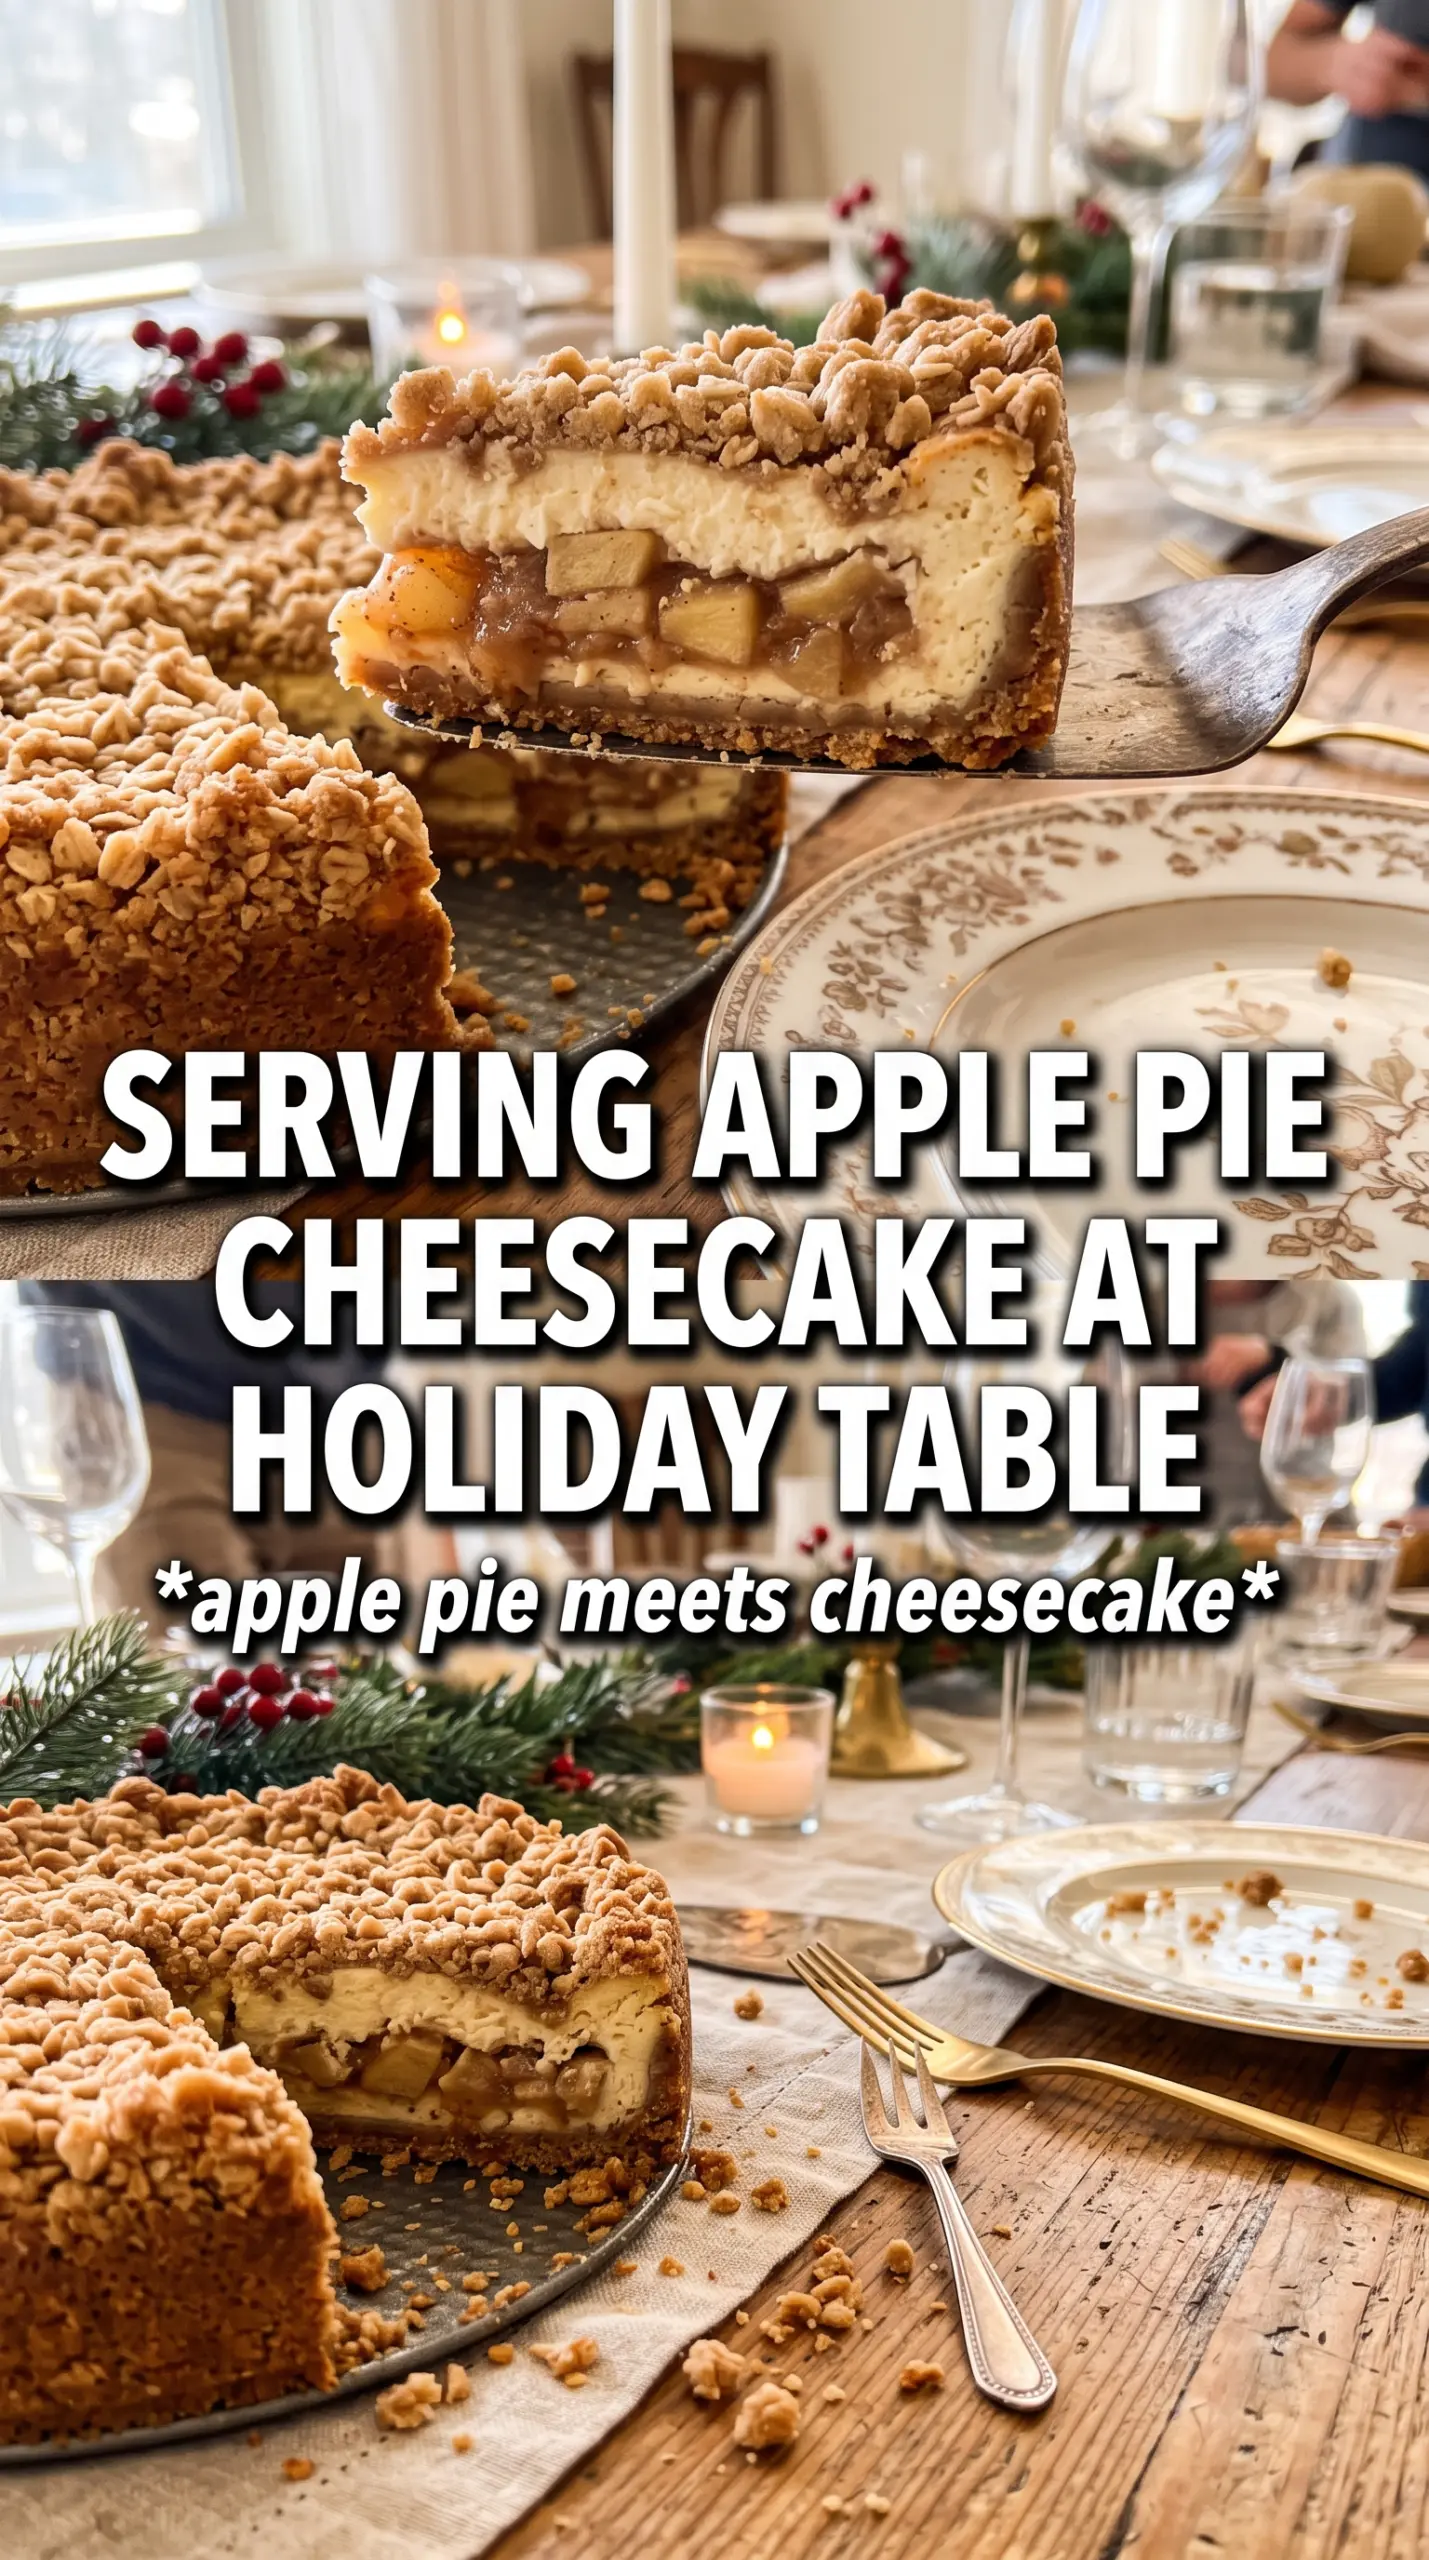
Apple Pie Cheesecake hits the sweet spot between silky and spiced: a cinnamon graham crust, a tangy cheesecake layer, tender apples, and a buttery streusel that bakes into a crisp top. The first slice always looks dramatic, and the second one disappears faster than the first because the layers hold together cleanly without tasting heavy.
What makes this version work is the order of the layers and the way each one is handled before it goes into the oven. The apples are cooked first so they don’t leak juice into the cheesecake, and the streusel starts cold so it stays sandy and crumbly instead of melting into paste. A water bath keeps the filling from drying out and helps the center bake up smooth instead of cracked.
Below you’ll find the timing that keeps the crust crisp, the filling creamy, and the apples thick enough to sit neatly on top. The caramel drizzle at the end is not a decoration here — it ties the whole dessert together.
The apple layer stayed thick and the cheesecake baked up creamy, not dense. I chilled it overnight and the slices came out neat with that caramel drizzle on top.
Save this Apple Pie Cheesecake for the dessert nights when you want clean slices, spiced apples, and a caramel finish.
The Trick to Keeping the Cheesecake Layer Smooth Under the Apples
The biggest mistake in a layered cheesecake like this is loading in soft fruit before the filling has any structure. The apples release juice as they bake, and if they go on top raw, that liquid works its way into the cheesecake and leaves you with a loose center. Cooking the apples first gives you control over the thickness, and it keeps the layers distinct after chilling.
The other thing that matters is temperature. Cream cheese that still has a chill in the middle will leave tiny lumps no matter how long you beat it, and overbeating once the eggs are in adds too much air. That air expands in the oven and then collapses as it cools, which is how you end up with cracks or a puffy center that sinks.
What Each Layer Is Doing in This Apple Pie Cheesecake
- Cinnamon graham cracker crumbs — These give the crust its warm spice and that pie-like flavor from the first bite. Regular graham crumbs work if that’s what you have, but cinnamon grahams add a little extra depth without any extra work.
- Cream cheese — This is the backbone of the dessert, so use full-fat blocks, not whipped tubs. The block style bakes dense and smooth; anything softer or lower fat tends to turn loose.
- Sour cream — This loosens the filling just enough to keep it creamy after chilling and adds a little tang that keeps the dessert from tasting flat. Plain Greek yogurt can work in a pinch, but it bakes a touch sharper and slightly less silky.
- Apples — You want a firm baking apple that keeps its shape, like Granny Smith, Honeycrisp, or a mix of both. Softer apples can collapse into applesauce during the pre-cook stage.
- Streusel topping — Cold butter is the key here. If it melts before baking, the topping turns dense instead of crumbly, so cut it in until you still see small bits of butter throughout.
- Caramel sauce — This is the finish that makes the whole dessert taste complete. Use a thick pourable caramel, not a thin syrup, so it sits on the slice instead of disappearing into the cheesecake.
Building the Layers So They Bake Cleanly
Pressing and Prebaking the Crust
Mix the cinnamon graham crumbs, sugar, and melted butter until every crumb looks evenly damp, then press it firmly into the bottom of the springform pan. A loose crust falls apart when you slice it, so use the flat bottom of a measuring cup to pack it down in an even layer. Ten minutes in the oven is enough to set it without pushing it into hard, toasted territory. Let it cool while you move on; a hot crust can start softening the filling the moment it goes in.
Cooking the Apples Until the Juices Thicken
Cook the diced apples with brown sugar, cinnamon, nutmeg, cornstarch, and butter until the fruit softens and the pan juices turn glossy and thick. You are not trying to cook them into mush. The apples should still hold their shape so the layer feels like pie filling instead of jam. If the mixture still looks watery, keep it on the heat a minute longer; that liquid is what causes a soggy middle later.
Mixing the Filling Without Whipping in Too Much Air
Beat the cream cheese and sugar until smooth before adding the eggs, then stop as soon as everything looks combined. Add the sour cream, vanilla, and cinnamon and mix just until the batter looks satiny. Scrape the bowl a few times so there are no hidden lumps along the bottom. If the mixer is on too long after the eggs go in, the filling traps air and bakes up fragile instead of creamy.
Baking in the Water Bath and Chilling Fully
Set the springform pan in a larger pan and add hot water around it before baking so the cheesecake cooks gently and evenly. The edges should look set while the center still has a soft wobble when you nudge the pan. That wobble is what you want; a fully firm center in the oven usually means the cheesecake will be dry once chilled. Let it cool slowly, then refrigerate it for at least 6 hours so the layers can firm up enough to slice cleanly.
Three Ways to Adjust This Without Breaking the Dessert
Gluten-Free Crust Swap
Use gluten-free graham-style crumbs and certified gluten-free oats. The texture stays nearly the same, but the crust may be a little more delicate when you slice it, so chill the cheesecake fully before unmolding.
Dairy-Free Version
Swap in a dairy-free cream cheese that bakes well and use plant-based butter in the crust, filling, and streusel. The filling will be a little softer and less rich, so give it the full chill time and cut it only when it’s cold all the way through.
Lighter Caramel Finish
If you want less sweetness, use a thin drizzle instead of a full pour of caramel. That keeps the apple-cinnamon layer front and center while still giving each slice the glossy finish that makes the dessert feel complete.
Storage and Reheating
- Refrigerator: Keeps for 4 to 5 days covered. The streusel softens a bit after the first day, but the cheesecake stays clean and creamy.
- Freezer: Freezes well if you skip the caramel until serving. Wrap individual slices tightly, then thaw overnight in the refrigerator.
- Reheating: Serve this cold or cool, not warm. Reheating softens the cheesecake and turns the streusel soggy, which works against the texture that makes the dessert special.