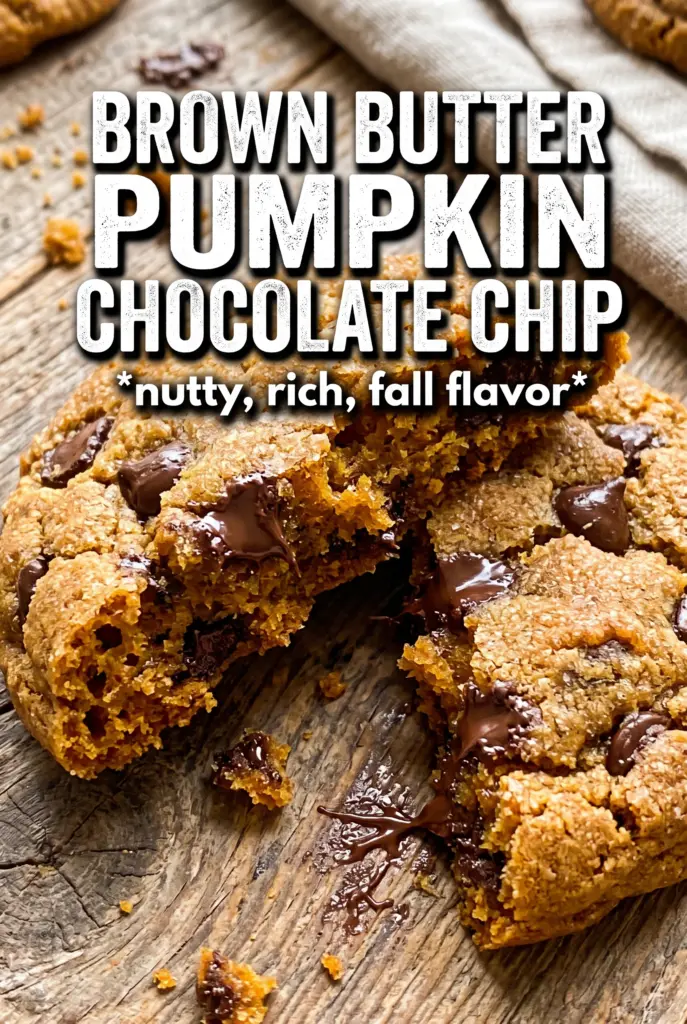
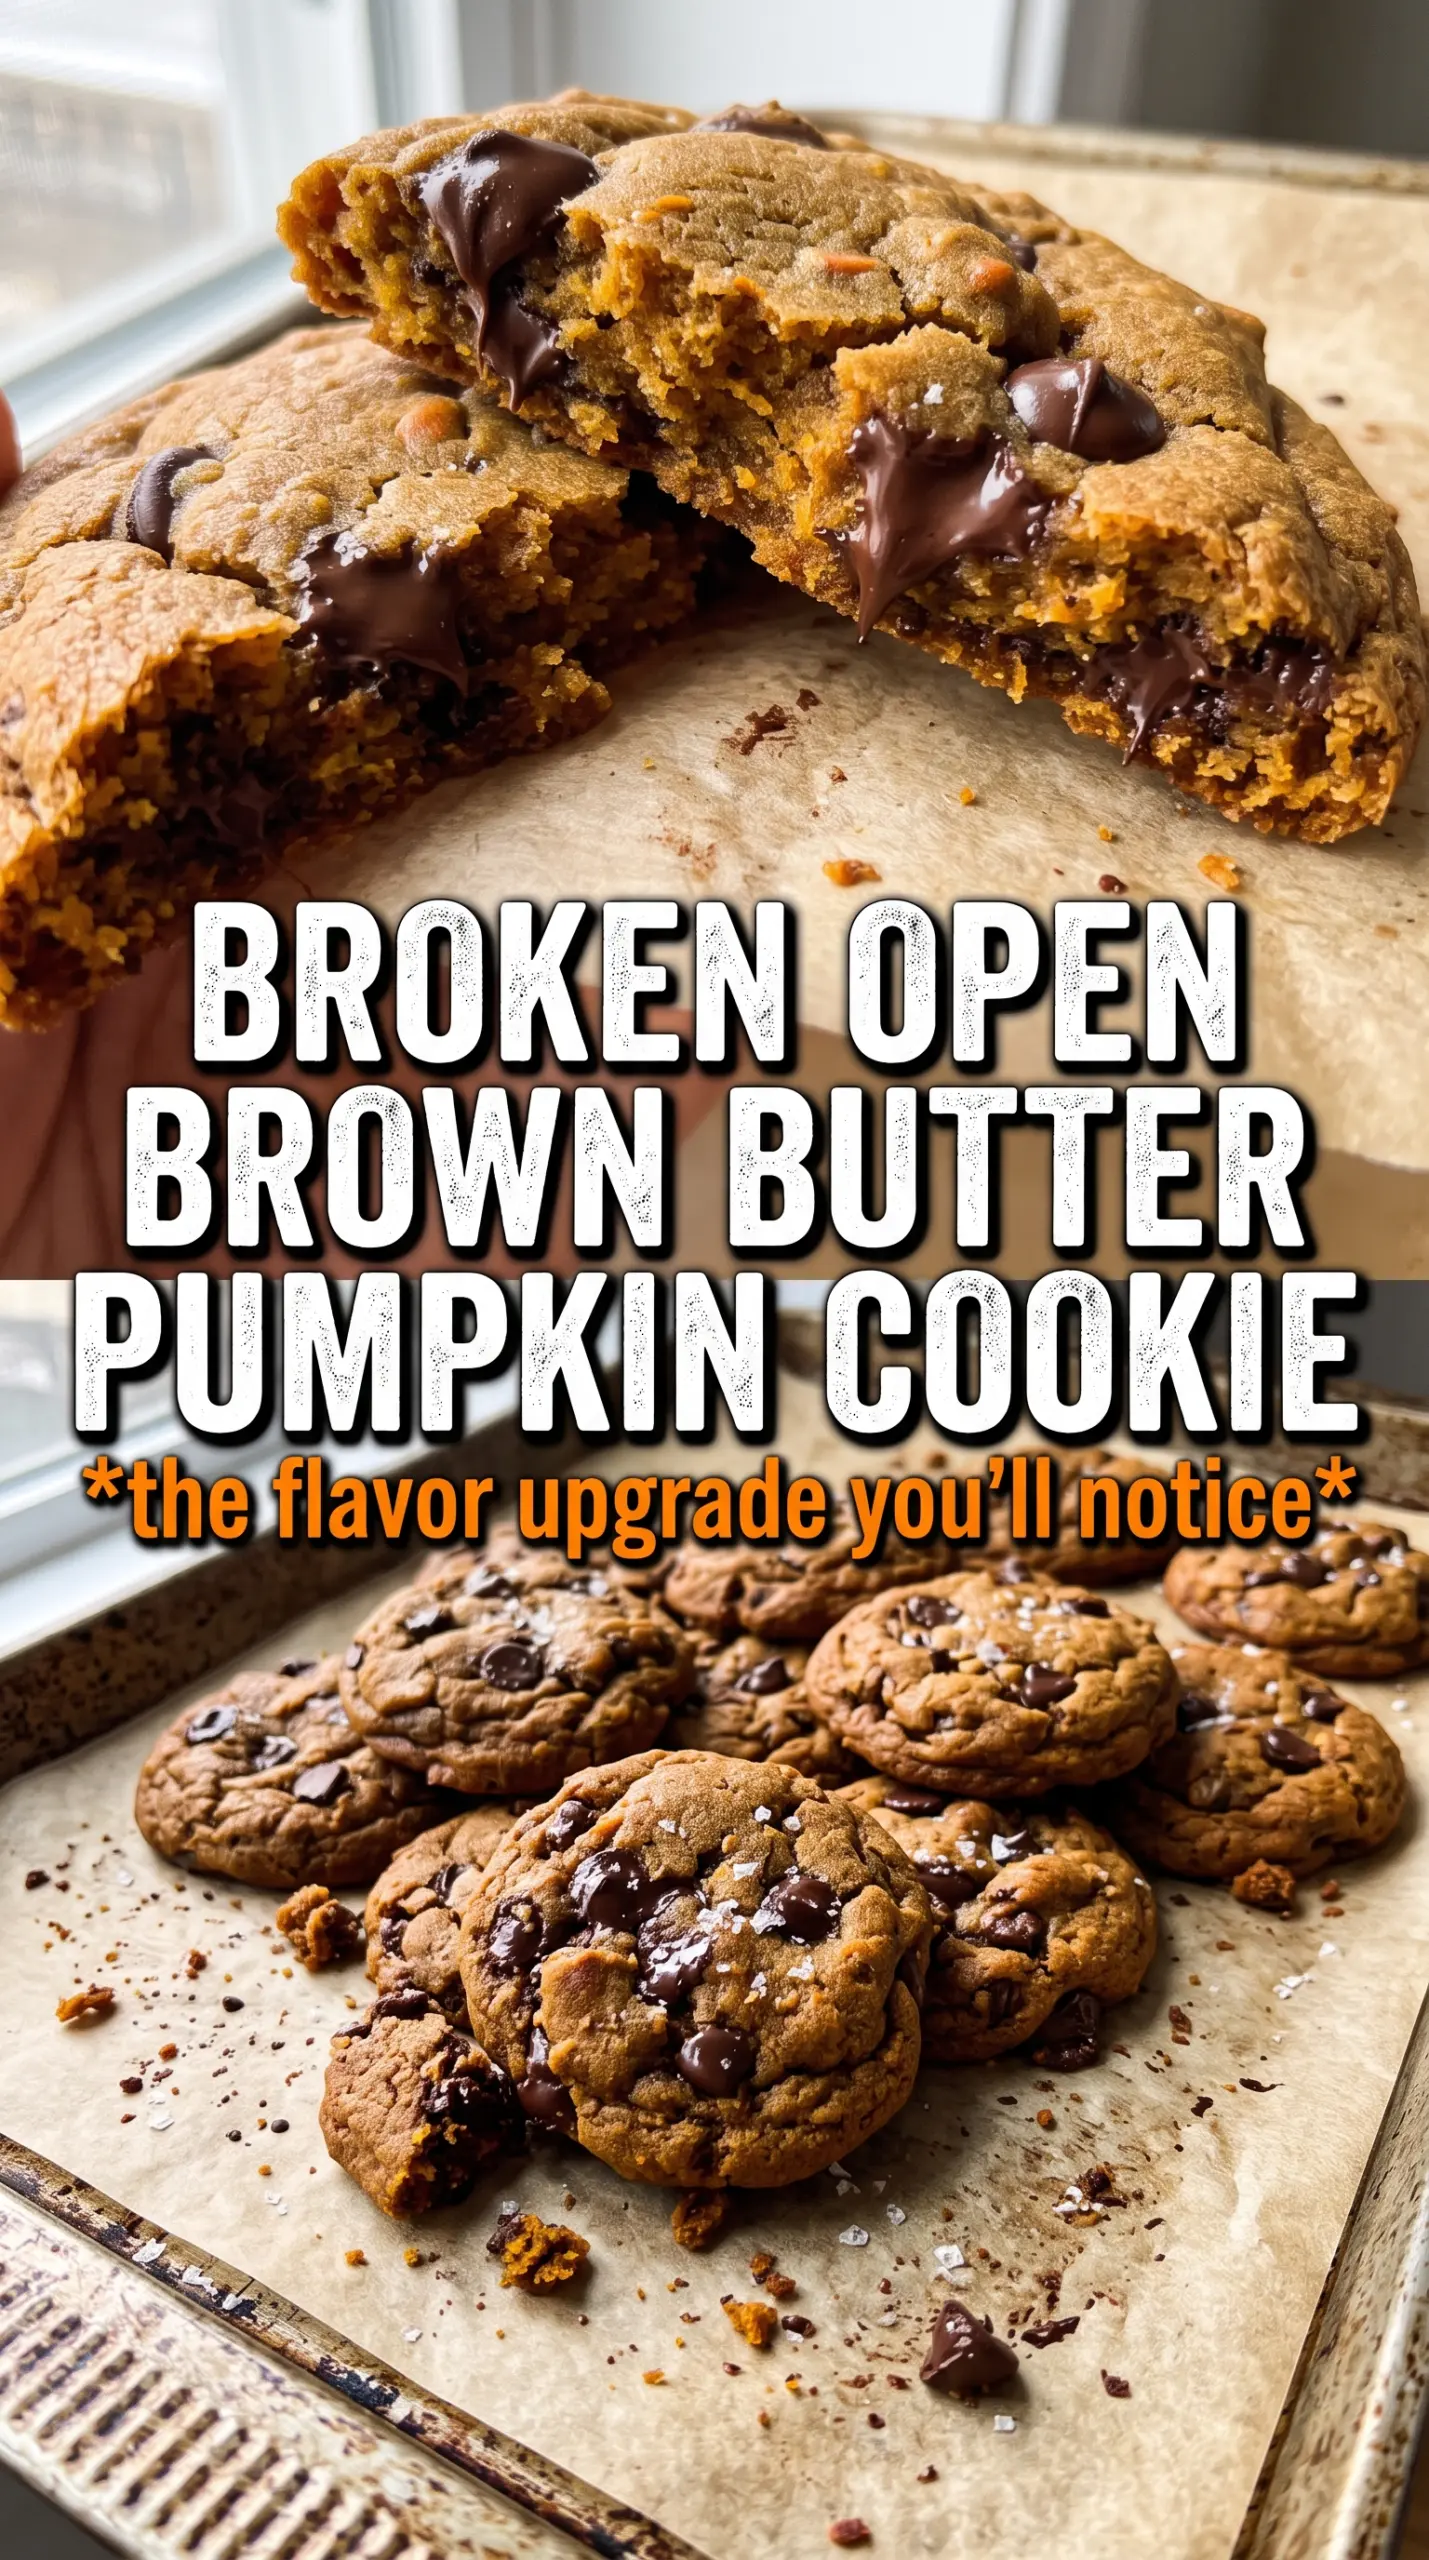
Brown butter pumpkin chocolate chip cookies bake up with crisp edges, soft centers, and pockets of melted chocolate that stay glossy for minutes after they come out of the oven. The pumpkin brings a gentle earthy sweetness, but the browned butter is what gives these cookies their depth. You get a warm, toasty flavor that keeps them from tasting flat or overly cakey.
The trick is managing the moisture. Pumpkin puree sounds like it should make cookies soft in a good way, but too much of it can turn the dough heavy and bready. Blotting it dry first helps the cookies spread in a controlled way, while chilling the browned butter back to solid gives the dough enough structure to hold those edges and puddles of chocolate. A little flaky salt on top finishes the whole thing with just enough contrast.
Below, I’ve added the few details that matter most: how to handle the brown butter so it doesn’t wreck the dough, why the pumpkin has to be dry, and the small timing cue that tells you when these cookies are done without overbaking them.
The browned butter made them taste like pumpkin spice cookies with caramel notes, and the centers stayed soft without getting gummy. I followed the dry pumpkin tip and they spread beautifully instead of turning cakey.
Save these brown butter pumpkin chocolate chip cookies for the days when you want chewy centers, crisp edges, and a little flaky salt on top.
The Reason These Cookies Stay Soft Without Turning Cakey
Most pumpkin cookies go one of two ways: they spread too much and bake up greasy, or they stay domed and cakey because the pumpkin adds too much moisture. This version avoids both problems by treating the pumpkin like a flavoring, not a main liquid. The dough gets enough structure from the browned butter, sugars, and flour to bake into a cookie with real chew.
Brown butter matters here because it changes the flavor and the texture at the same time. Once the butter is browned, it has to cool and solidify again before it goes into the dough. If you use it melted, the cookies will spread unpredictably and lose that dense, chewy center. The dry pumpkin puree helps even more, since excess water is what makes pumpkin cookies puff instead of brown.
- Browned butter — This gives the cookies their toasted, nutty backbone. Cool it until it firms up again; that step is what keeps the dough scoopable and the cookies thick enough to hold chocolate pockets.
- Blotted pumpkin puree — The pumpkin should look dry and a little pasty, not wet. That’s the difference between a cookie with chew and a cookie that bakes up like a muffin top.
- Brown sugar — This brings moisture and a deeper caramel note that works with the browned butter. White sugar alone won’t give you the same soft texture or flavor.
- Flaky sea salt — Skip fine salt on top here. The flakes stay visible and give you tiny bursts of contrast against the sweet chocolate and spiced dough.
What Each Ingredient Is Actually Doing in This Recipe
- Primary ingredient (the star) — Quality matters most. Choose the best you can find.
- Cooking medium (oil, butter, or broth) — This carries flavors and prevents dryness.
- Seasonings (salt, pepper, spices, herbs) — Layer flavors so nothing overpowers. Build depth gradually.
- Aromatics (garlic, onion, herbs) — Cook with fat to bloom flavors. Become the foundation.
- Supporting ingredients — Complement the main ingredient without overpowering it.
- Sauce or liquid (if applicable) — Brings flavors together. Balance richness with acid.
- Acid (lemon, vinegar, wine, or other) — Brightens and prevents flat-tasting results.
- Final finish (garnish, glaze, or sauce) — Prevents one-dimensional taste and adds visual appeal.
How to Keep the Dough Thick Enough to Bake Into Cookies, Not Muffins
Brown the Butter Until the Milk Solids Turn Deep Gold
Cook the butter over medium heat until it foams, then starts to smell nutty and the milk solids sink and turn golden brown. Pull it off the heat as soon as you see that color; if you wait for it to look dark in the pan, it can tip into burnt and taste bitter. Pour it into a heatproof bowl and chill it until solid again, which usually takes about an hour. The butter should feel soft enough to beat, but not liquid.
Dry the Pumpkin Before It Hits the Bowl
Press the pumpkin puree between layers of paper towel or a clean kitchen towel until most of the moisture is gone. You’re not trying to remove every trace of pumpkin, just enough water so the dough doesn’t get loose and sticky. If the puree still looks glossy or drips, keep blotting. This one move is the difference between cookies that spread in a controlled way and cookies that bake up puffy and damp.
Mix Only Until the Flour Disappears
Beat the solidified butter with both sugars until the mixture looks creamy and slightly fluffy, then mix in the pumpkin, eggs, and vanilla. Once the flour goes in, stop as soon as you no longer see dry streaks. Overmixing tightens the dough and makes the cookies tough, especially because pumpkin already pushes the texture toward soft. Fold in the chocolate chips by hand so they stay in big, even pockets instead of getting smashed.
Watch the Edges, Not the Center
Scoop the dough into 2-tablespoon mounds and bake just until the edges are set and lightly golden. The centers should still look a little soft when you pull the tray out. They finish baking on the pan, and that short rest is what keeps the middle tender instead of dry. Sprinkle the flaky salt right away so it sticks to the warm surface.
Three Ways to Adjust These Cookies Without Losing the Good Parts
For a deeper chocolate finish
Use dark chocolate chips instead of semi-sweet if you want a less sugary cookie with a sharper chocolate edge. The pumpkin spice reads more clearly against dark chocolate, and the bittersweet notes keep the cookies from tasting one-note.
For a gluten-free version
Swap in a good 1:1 gluten-free flour blend that includes xanthan gum. The texture will be a little more delicate and less chewy, but the cookies will still hold together if you don’t overbake them.
For a dairy-free batch
Use a plant-based butter that browns well, but keep a close eye on it because some brands go from foamy to scorched faster than dairy butter. You’ll lose a little of the classic nutty brown butter flavor, but the cookies will still bake up with good edges and a soft center.
For extra spice
Add another 1/2 teaspoon pumpkin pie spice if you want the cinnamon and clove notes to stand out more. I wouldn’t go much farther than that unless you want the spice to take over the brown butter flavor.
Storage and Reheating
- Refrigerator: Store in an airtight container for up to 5 days. The edges soften a little, but the centers stay pleasantly chewy.
- Freezer: Freeze baked cookies for up to 2 months, or freeze scooped dough balls and bake from frozen with 1 to 2 extra minutes.
- Reheating: Warm cookies in a 300F oven for 3 to 5 minutes to bring back the soft center. The mistake people make is microwaving them until the chocolate gets greasy and the texture turns rubbery.
Questions I Get Asked About This Recipe
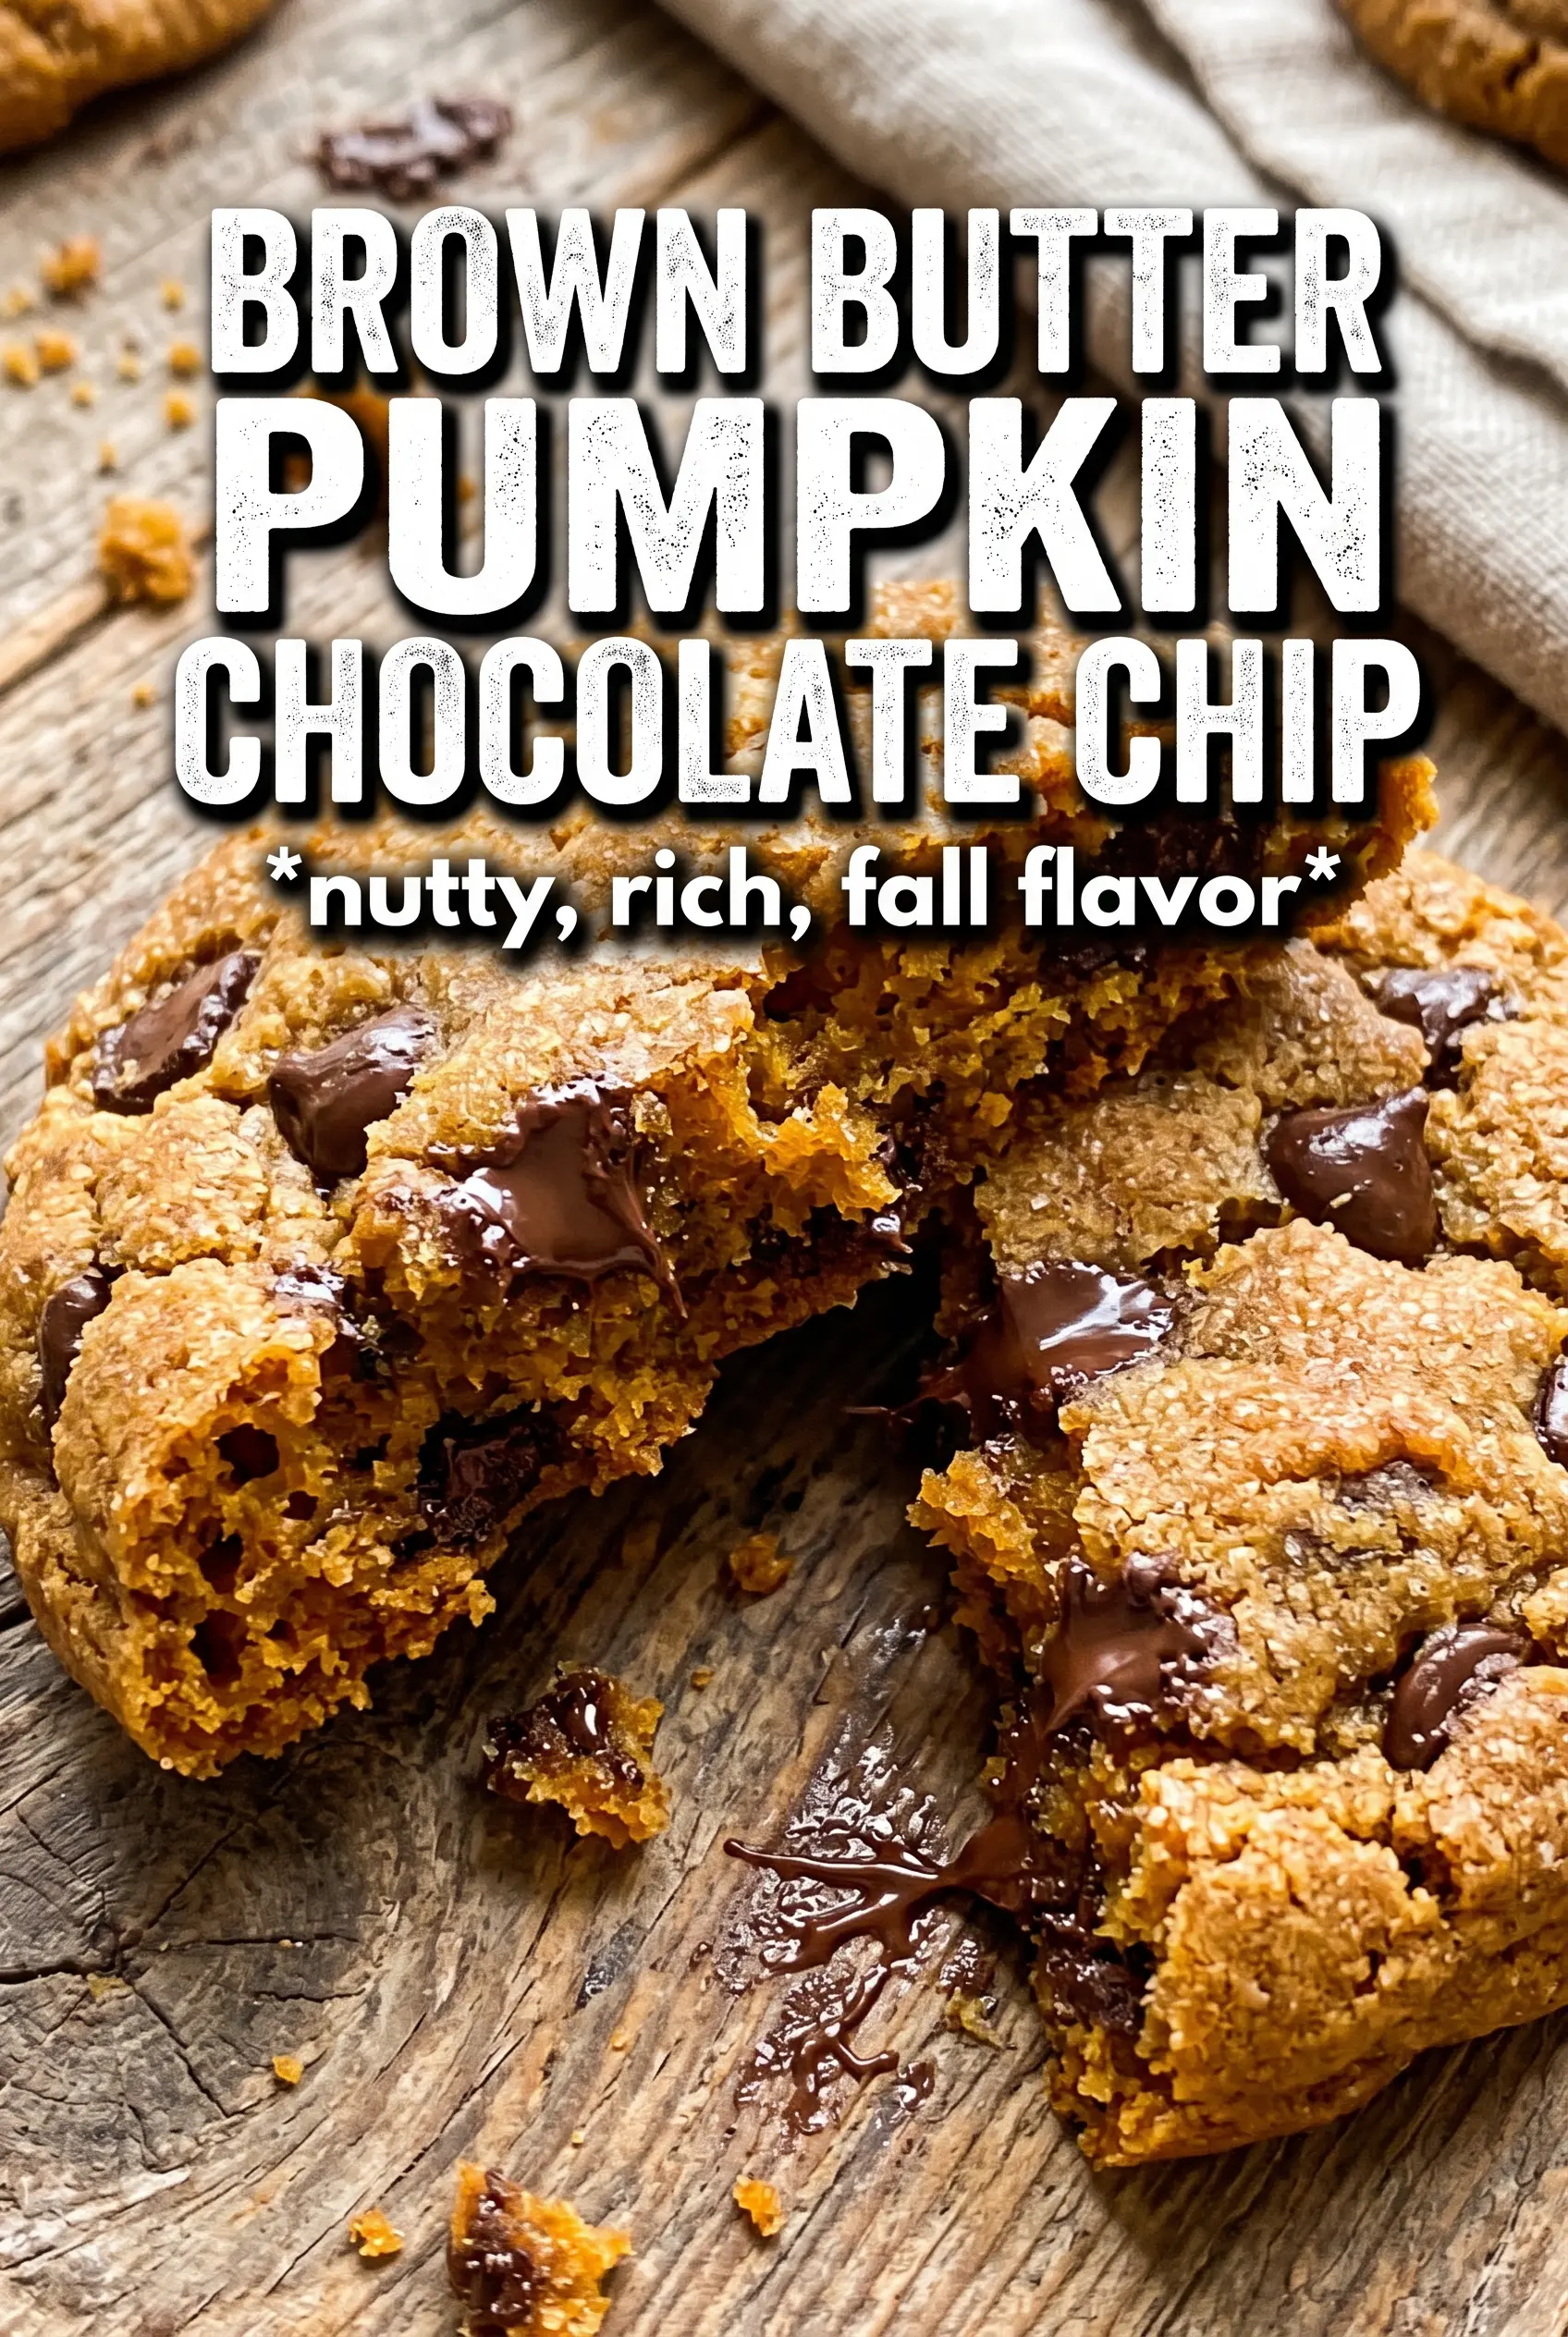
Brown Butter Pumpkin Chocolate Chip Cookies
Ingredients
Equipment
Method
- Melt and brown the butter in a saucepan over medium heat until golden-brown, then cool in the fridge until solid, about 1 hour.
- Preheat the oven to 375°F and line baking sheets with parchment.
- Whisk the all-purpose flour, baking soda, pumpkin pie spice, and salt in a bowl until evenly combined.
- Beat the solidified brown butter with the brown sugar and granulated sugar until creamy, then mix in the blotted pumpkin puree, eggs, and vanilla extract.
- Fold the flour mixture into the wet ingredients until just combined, then fold in the chocolate chips.
- Scoop the dough into 2-tablespoon rounds and bake for 10–12 minutes, until the edges are golden.
- Sprinkle with flaky sea salt immediately, then cool on the pan for 5 minutes.