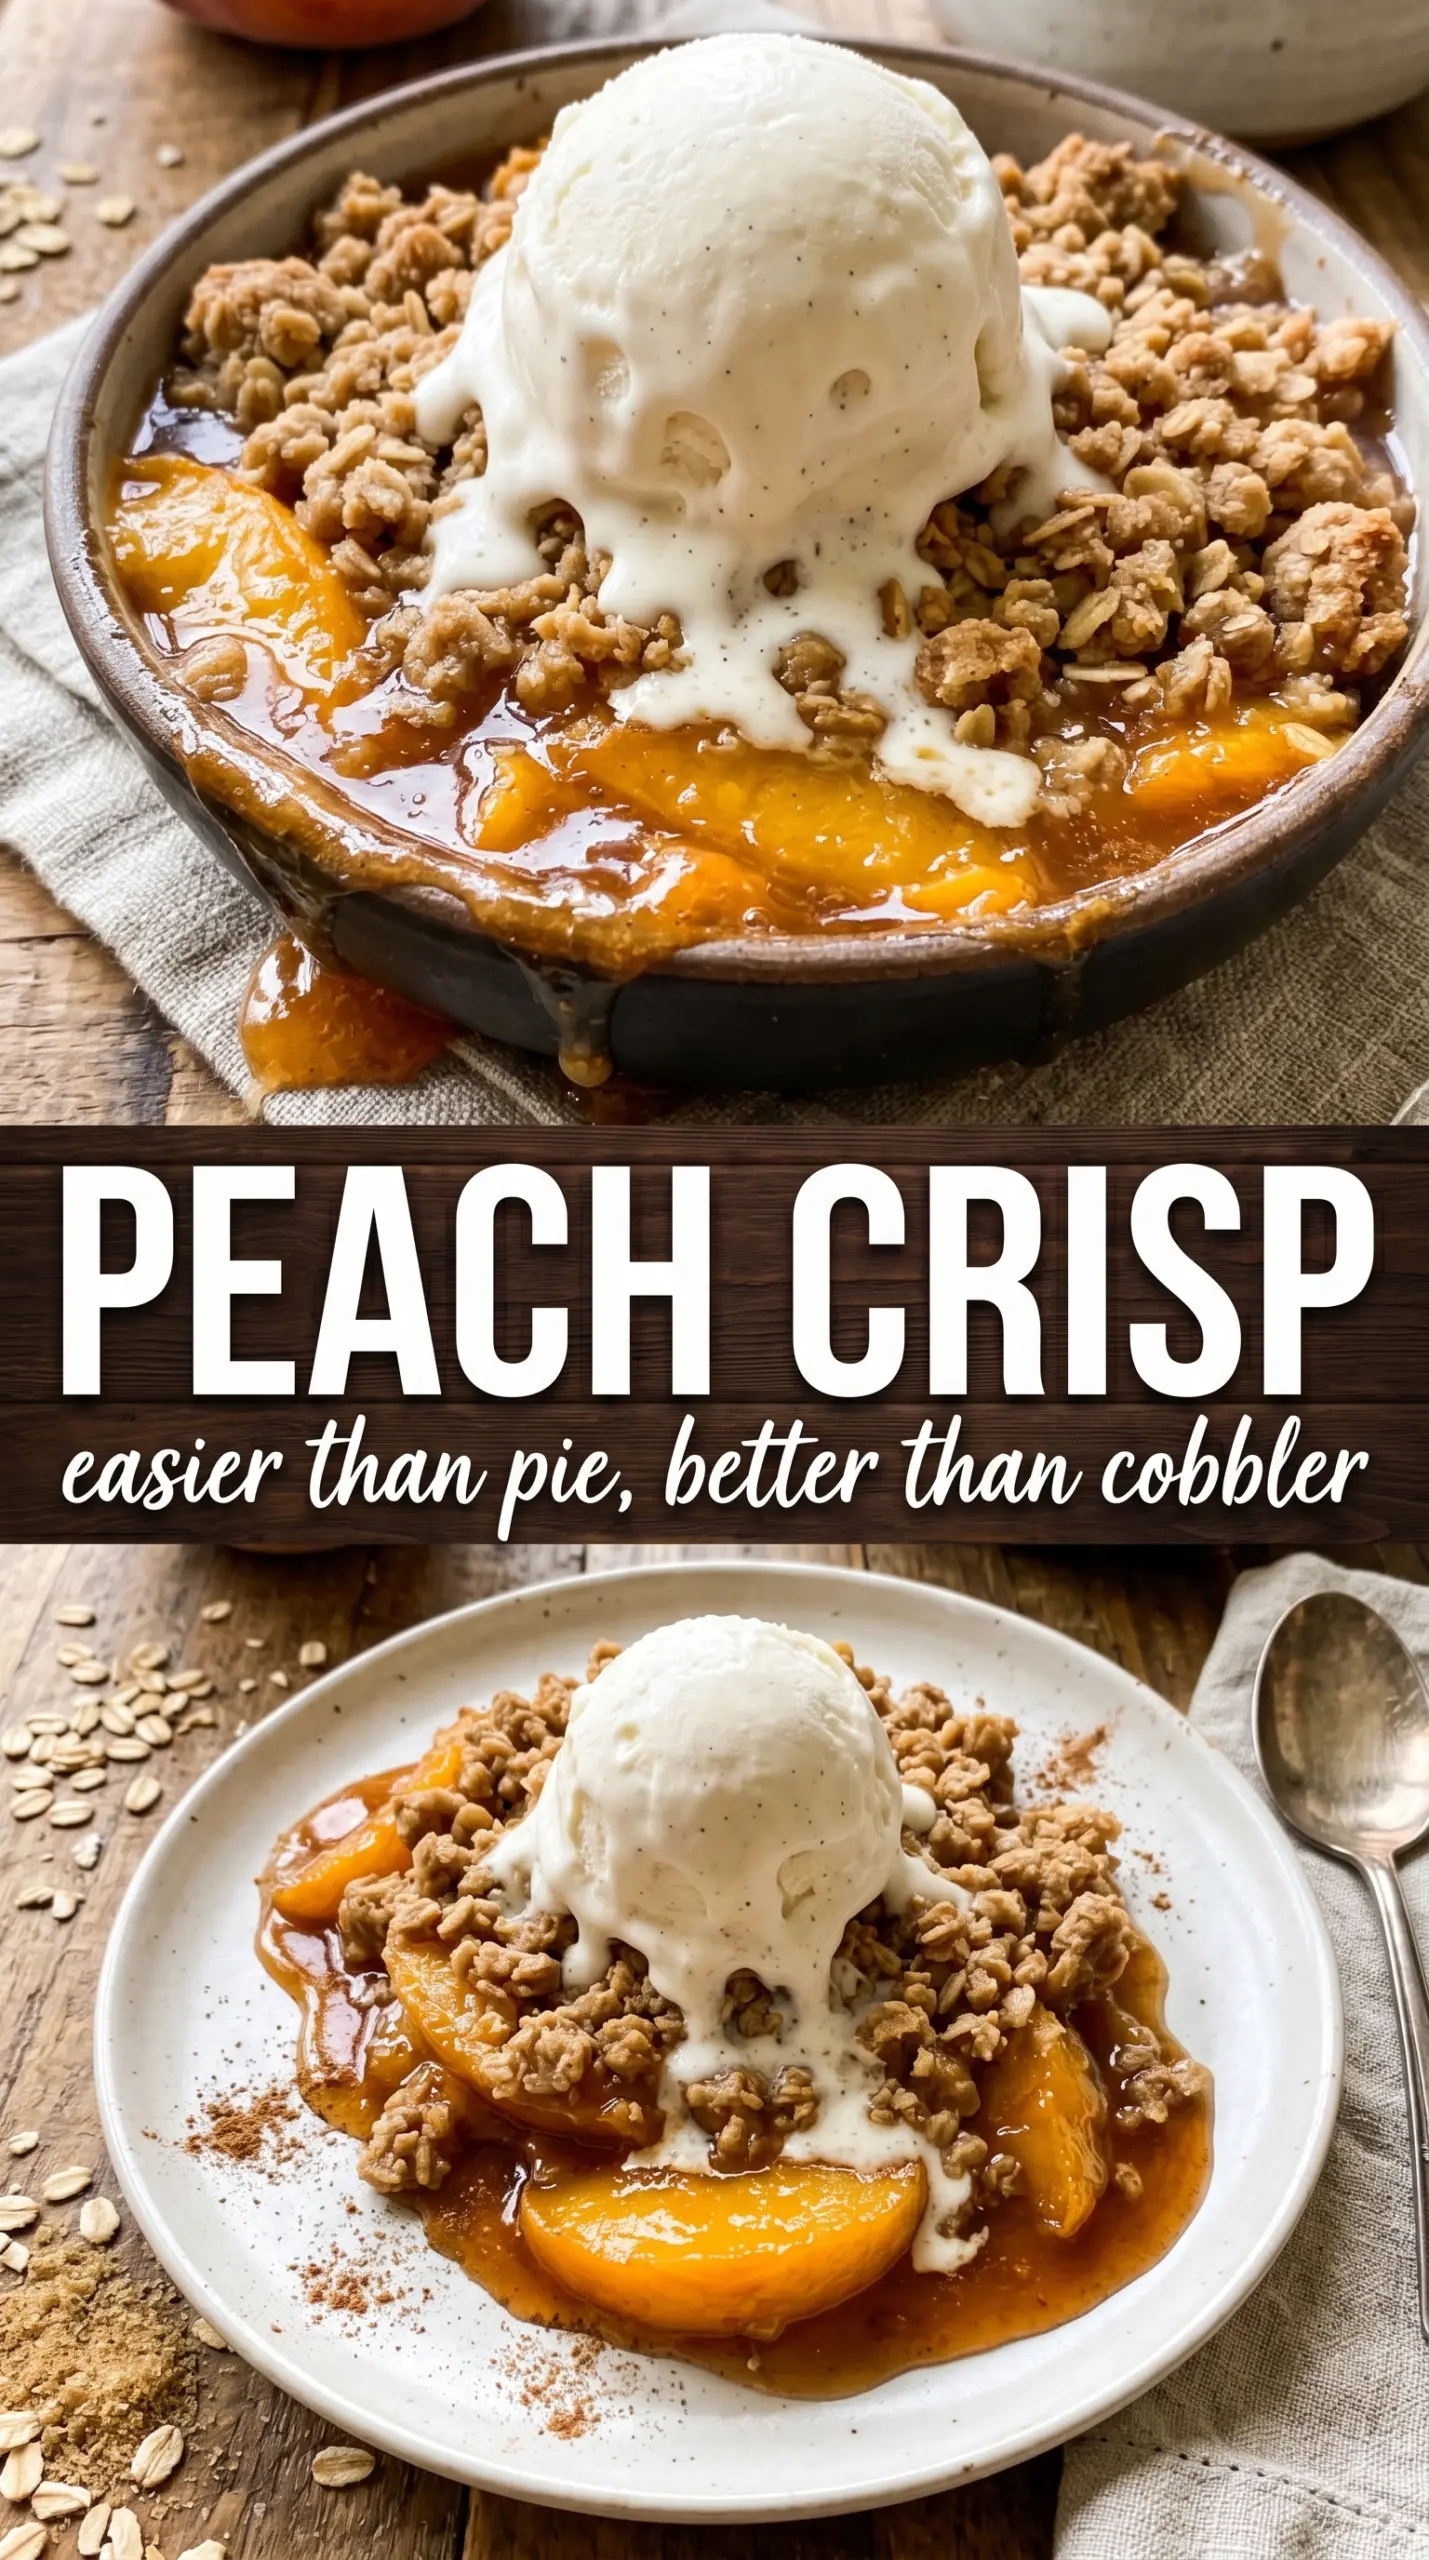
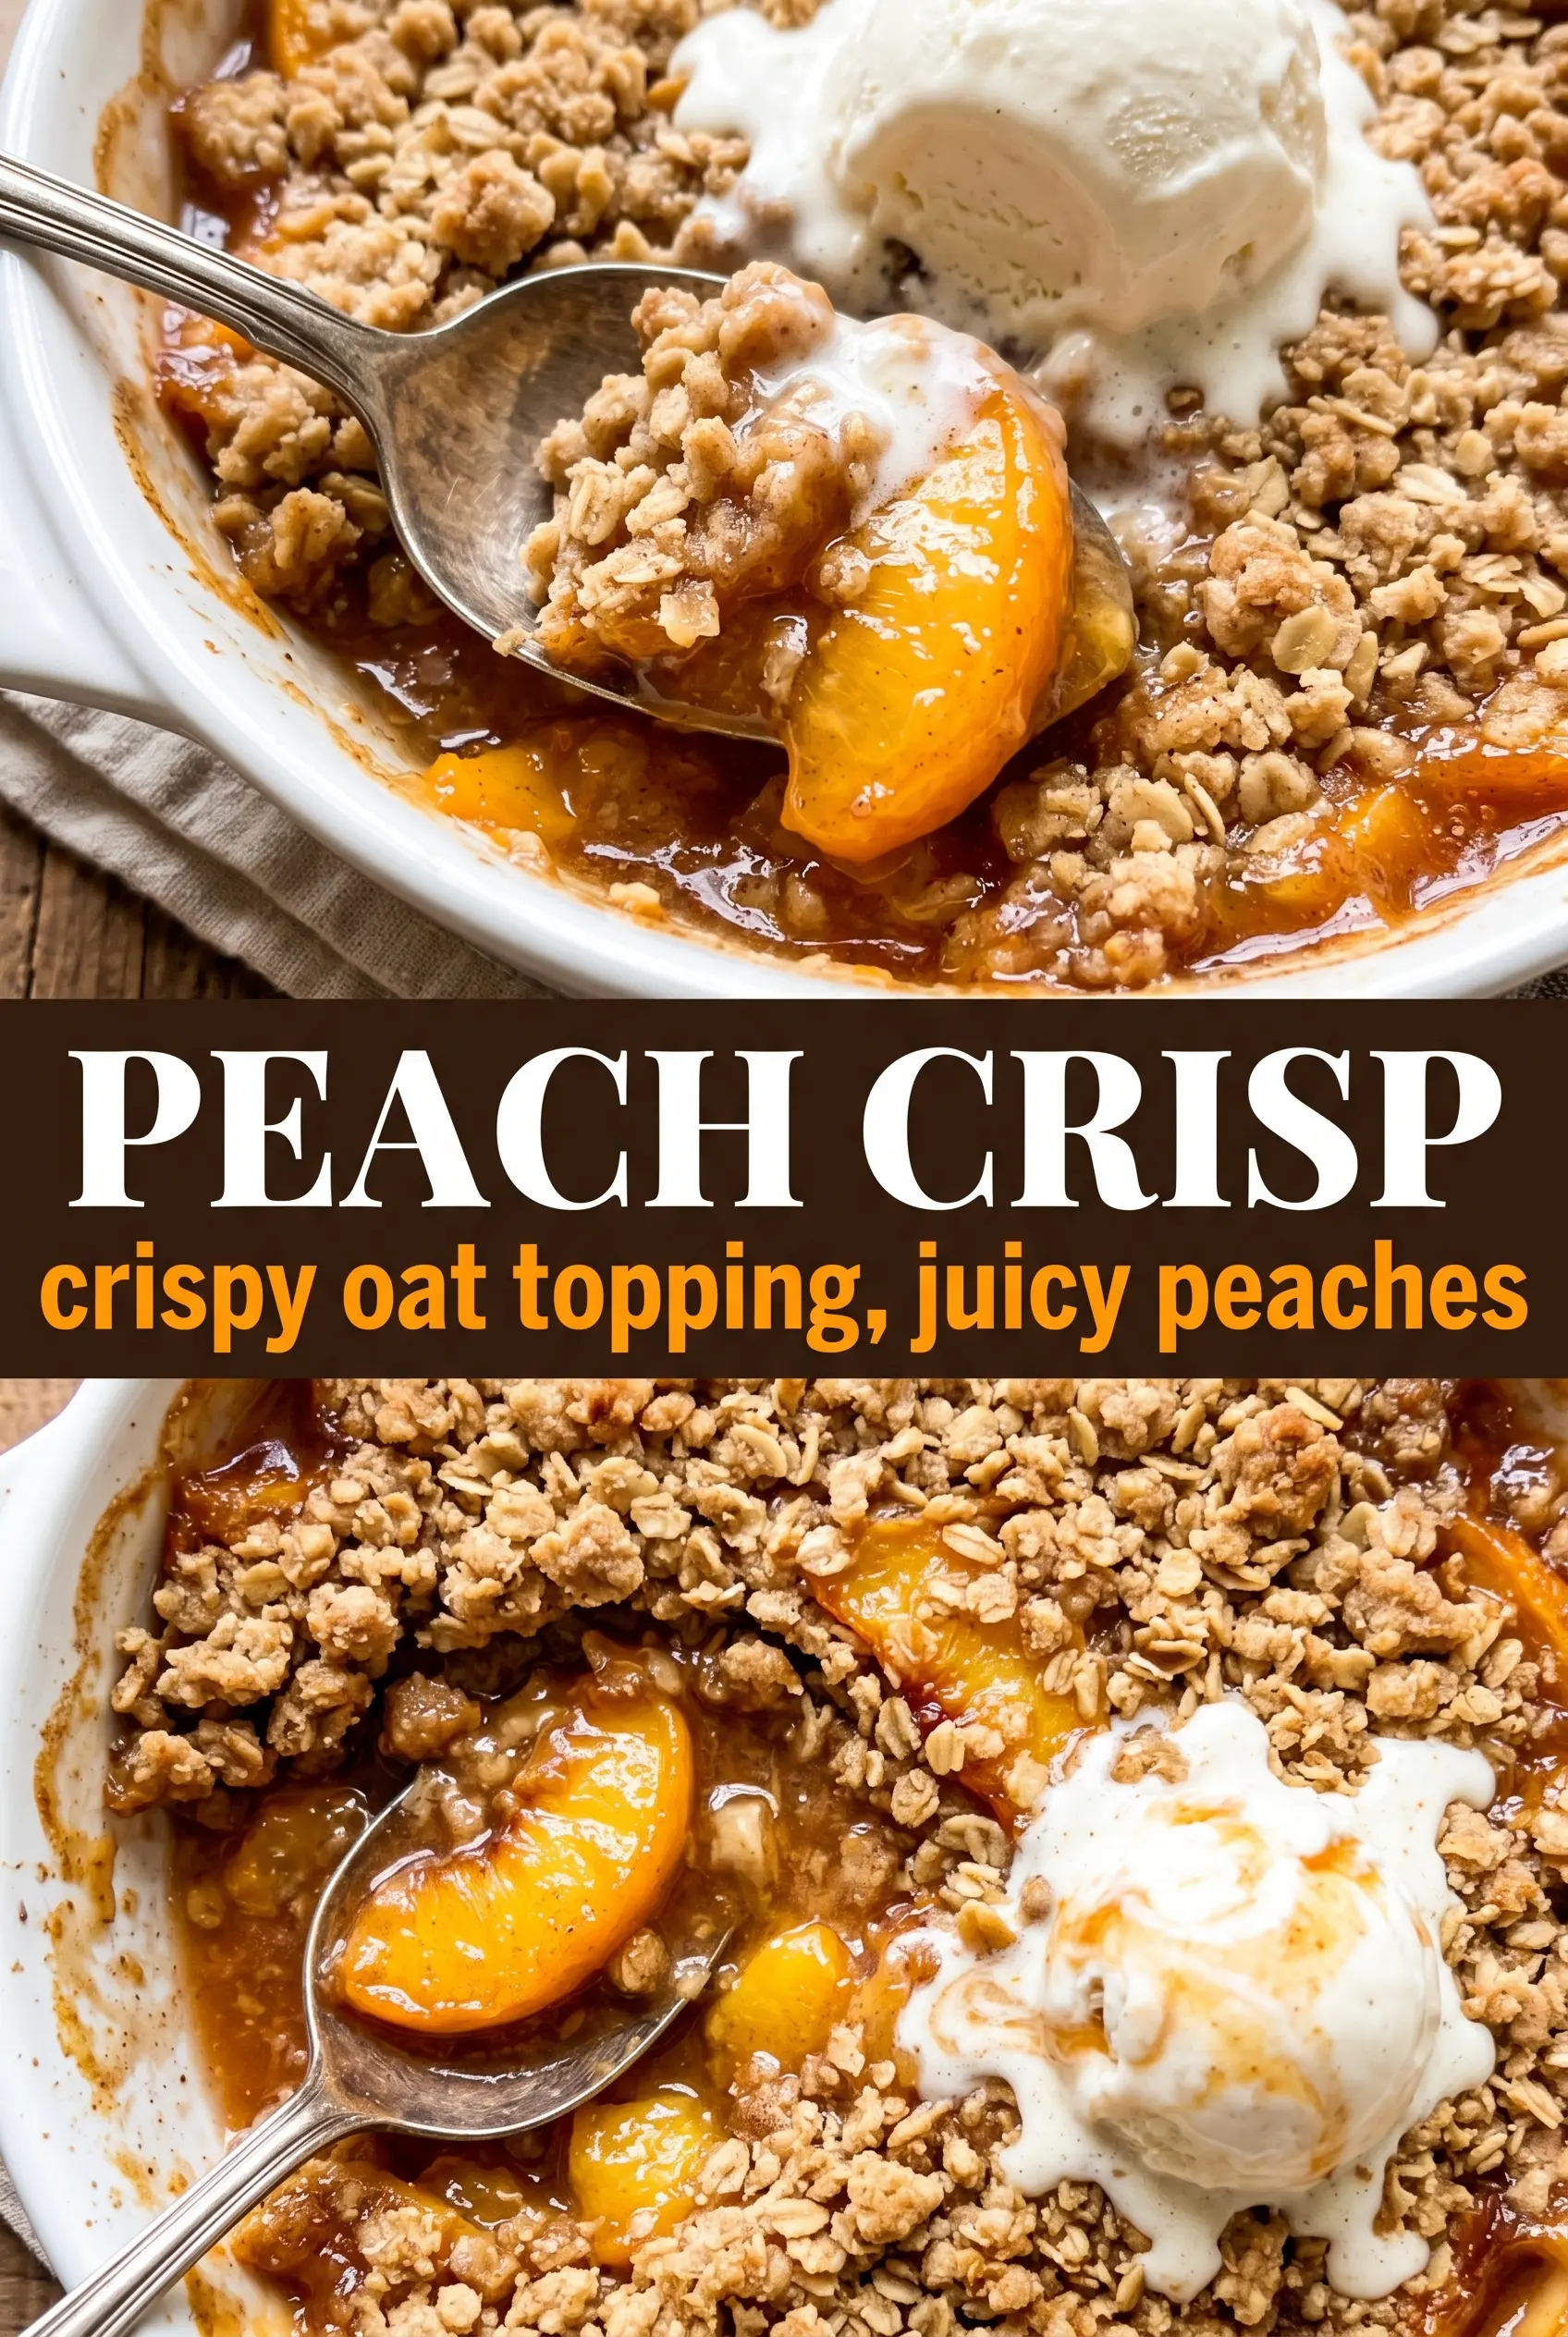
Juicy peaches tucked under a thick oat crumble turn into the kind of dessert that disappears fast once it hits the table. The filling bubbles up around the edges, the topping bakes into crisp, buttery clumps, and every spoonful gives you soft fruit against those toasted oat bits. It’s the balance that keeps this one in rotation: simple fruit, a little sugar, and a topping that stays crunchy long enough to matter.
The key is giving the peaches enough help to thicken without turning them gummy. Cornstarch does that job, but the fruit still needs to bake until the juices are visibly bubbling at the edges of the pan. That’s how you know the filling has cooked through and the starch has had time to do its work. Cold butter matters in the topping too. When it stays in small pieces, it melts late and leaves behind those craggy, golden pockets instead of a sandy layer.
Below, I’m walking through the part that makes the biggest difference: how to keep the topping crisp and the filling jammy instead of watery. There are also a few smart swaps if your peaches are extra sweet, extra ripe, or you want to serve this with what you already have on hand.
The peach filling baked up thick instead of watery, and the oat topping stayed crunchy even after dinner. I served it with vanilla ice cream and my husband asked if there was enough left for breakfast.
Save this peach crisp for the nights when you want a jammy fruit filling and a crunchy oat topping with almost no fuss.
The Difference Between Crisp Topping and Peach Soup
The most common mistake with peach crisp is treating the filling and topping like they finish on the same timeline. They don’t. The peaches need enough sugar and heat to release juices, then the cornstarch has to simmer in those juices long enough to thicken them. If you pull it too soon, the filling looks fine in the oven but turns loose on the plate.
The topping has its own job. It should look rough and clumpy before it goes in the oven, because those uneven pieces are what bake into crunchy edges and chewy centers. If you work the butter in until the mixture turns pasty, you lose the texture that makes crisp worth making in the first place.
- Use ripe peaches, but not mushy ones. Soft fruit breaks down too fast and can make the filling muddy.
- Let the crisp bake until the filling bubbles at the edges. That bubbling is the signal that the cornstarch has activated.
- Keep the butter cold for the topping. Warm butter turns the crumble dense instead of crisp.
- If your peaches are very sweet, reduce the sugar slightly and keep the lemon juice. The acid keeps the flavor bright.
What Each Ingredient Is Actually Doing in This Peach Crisp
- Peaches — Fresh peaches are the whole point here. They soften into a jammy layer that still tastes like fruit, not canned filling. If peaches are underripe, give them another day on the counter before baking.
- Cornstarch — This is what turns the peach juices into a glossy filling instead of a puddle. Arrowroot can work in a pinch, but cornstarch gives the most reliable set once the fruit starts bubbling.
- Rolled oats — Oats bring the crisp texture and help the topping hold together in uneven crumbles. Quick oats will work, but the topping will be finer and less shattery.
- All-purpose flour — Flour binds the crumble so it bakes into clusters instead of loose dry crumbs. For a gluten-free version, use a 1:1 gluten-free flour blend and certified gluten-free oats.
- Brown sugar — Brown sugar gives the topping its caramel note and helps it brown deeply. If you swap in white sugar, the topping bakes up lighter and less rich.
- Cold butter — Cold butter is what creates those crisp pockets and golden edges. Cut it in fast with your fingers so it stays in little chunks; if it melts before baking, the topping loses its crunch.
Building the Peach Filling and Topping So They Finish Together
Coating the Peaches
Toss the sliced peaches with sugar, lemon juice, cornstarch, and cinnamon until every piece looks lightly coated. You want the cornstarch mixed in evenly so it doesn’t clump and leave pockets of raw starch in the baked filling. Spread the fruit in the dish in an even layer; if it piles up in the center, the middle will stay too juicy while the edges overcook.
Making the Crumble
Mix the oats, flour, brown sugar, cinnamon, and salt first, then cut in the butter until the mixture forms large, uneven clumps. Stop before it becomes sandy. Those bigger pieces bake into the best texture, with browned ridges on top and crisp edges around the pan.
Baking to the Right Point
Slide the pan into a 350°F oven and bake until the topping is deeply golden and the peach juices are actively bubbling around the sides, usually 35 to 40 minutes. If the top browns before the filling bubbles, tent it loosely with foil and keep baking. That bubbling is what tells you the fruit has thickened enough to hold together once it cools.
Three Ways to Make This Peach Crisp Fit What You Have
Gluten-Free Peach Crisp
Use certified gluten-free oats and swap the all-purpose flour for a 1:1 gluten-free baking blend. The topping will still crisp up nicely, though it may bake a touch more delicately, so let it cool for a few minutes before serving.
Frozen Peaches When Fresh Aren’t Available
Thaw the peaches first and drain off excess liquid before mixing them with the sugar and cornstarch. Frozen fruit gives you a softer filling, so baking a few extra minutes is normal and helps the juices thicken properly.
Less Sweet, More Peach-Forward
Cut the granulated sugar in the filling to 2 tablespoons if your peaches are peak-ripe and naturally sweet. The topping can stay the same, but the finished dessert will taste brighter and less syrupy.
Make-Ahead for Easier Dessert Service
You can assemble the crisp a few hours ahead and keep it refrigerated until baking. If the dish goes into the oven cold, add a few extra minutes so the filling can come fully to a bubble before you pull it out.
Storage and Reheating
- Refrigerator: Store covered for up to 4 days. The topping softens a bit, but the flavor stays good.
- Freezer: Freeze baked crisp for up to 2 months. Thaw in the refrigerator overnight; the topping won’t stay as crunchy as fresh, but it reheats better than you might expect.
- Reheating: Warm in a 325°F oven until the filling is hot and the top re-crisps, about 15 to 20 minutes. The microwave will heat the fruit, but it turns the topping soft, so use the oven when texture matters.
Answers to the Questions Worth Asking
Peach Crisp
Ingredients
Equipment
Method
- Preheat oven to 350F and grease a 9x13 baking dish.
- Toss sliced fresh peaches with granulated sugar, lemon juice, cornstarch, and 1/2 teaspoon cinnamon, then spread into the greased baking dish.
- Combine rolled oats, all-purpose flour, brown sugar, 1/2 teaspoon cinnamon, and salt in a bowl.
- Cut cold unsalted butter into the oat mixture with your fingers until large, crumbly clumps form and the butter is evenly distributed.
- Scatter the oat topping evenly over the peach filling, covering completely.
- Bake for 35-40 minutes at 350F until the topping is deeply golden and the peach filling is bubbling at the edges.
- Serve warm with vanilla ice cream or heavy cream.