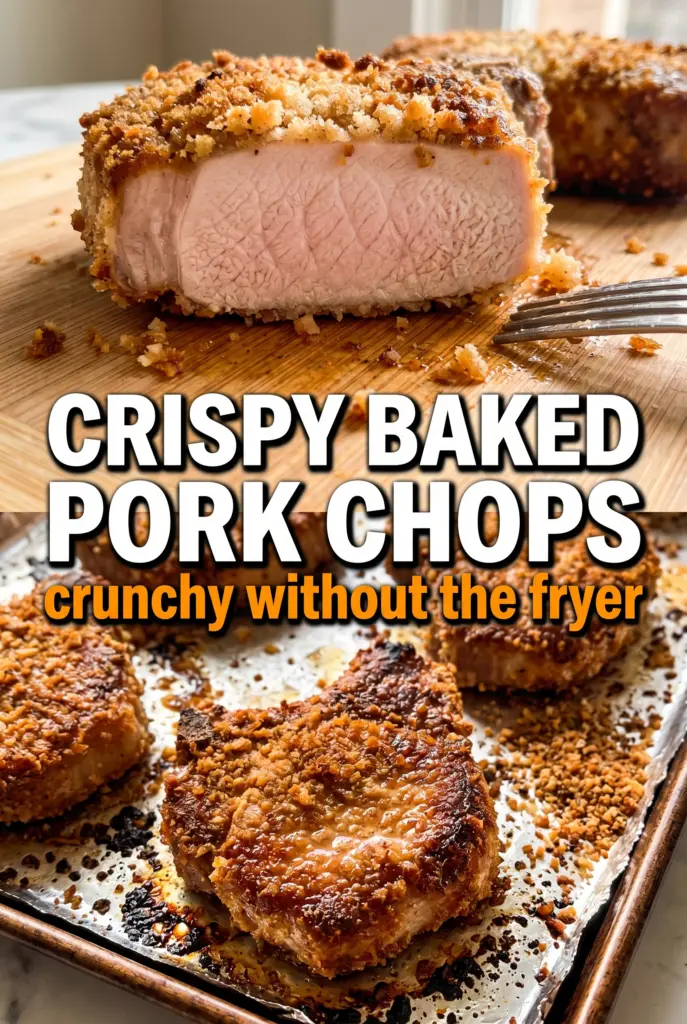
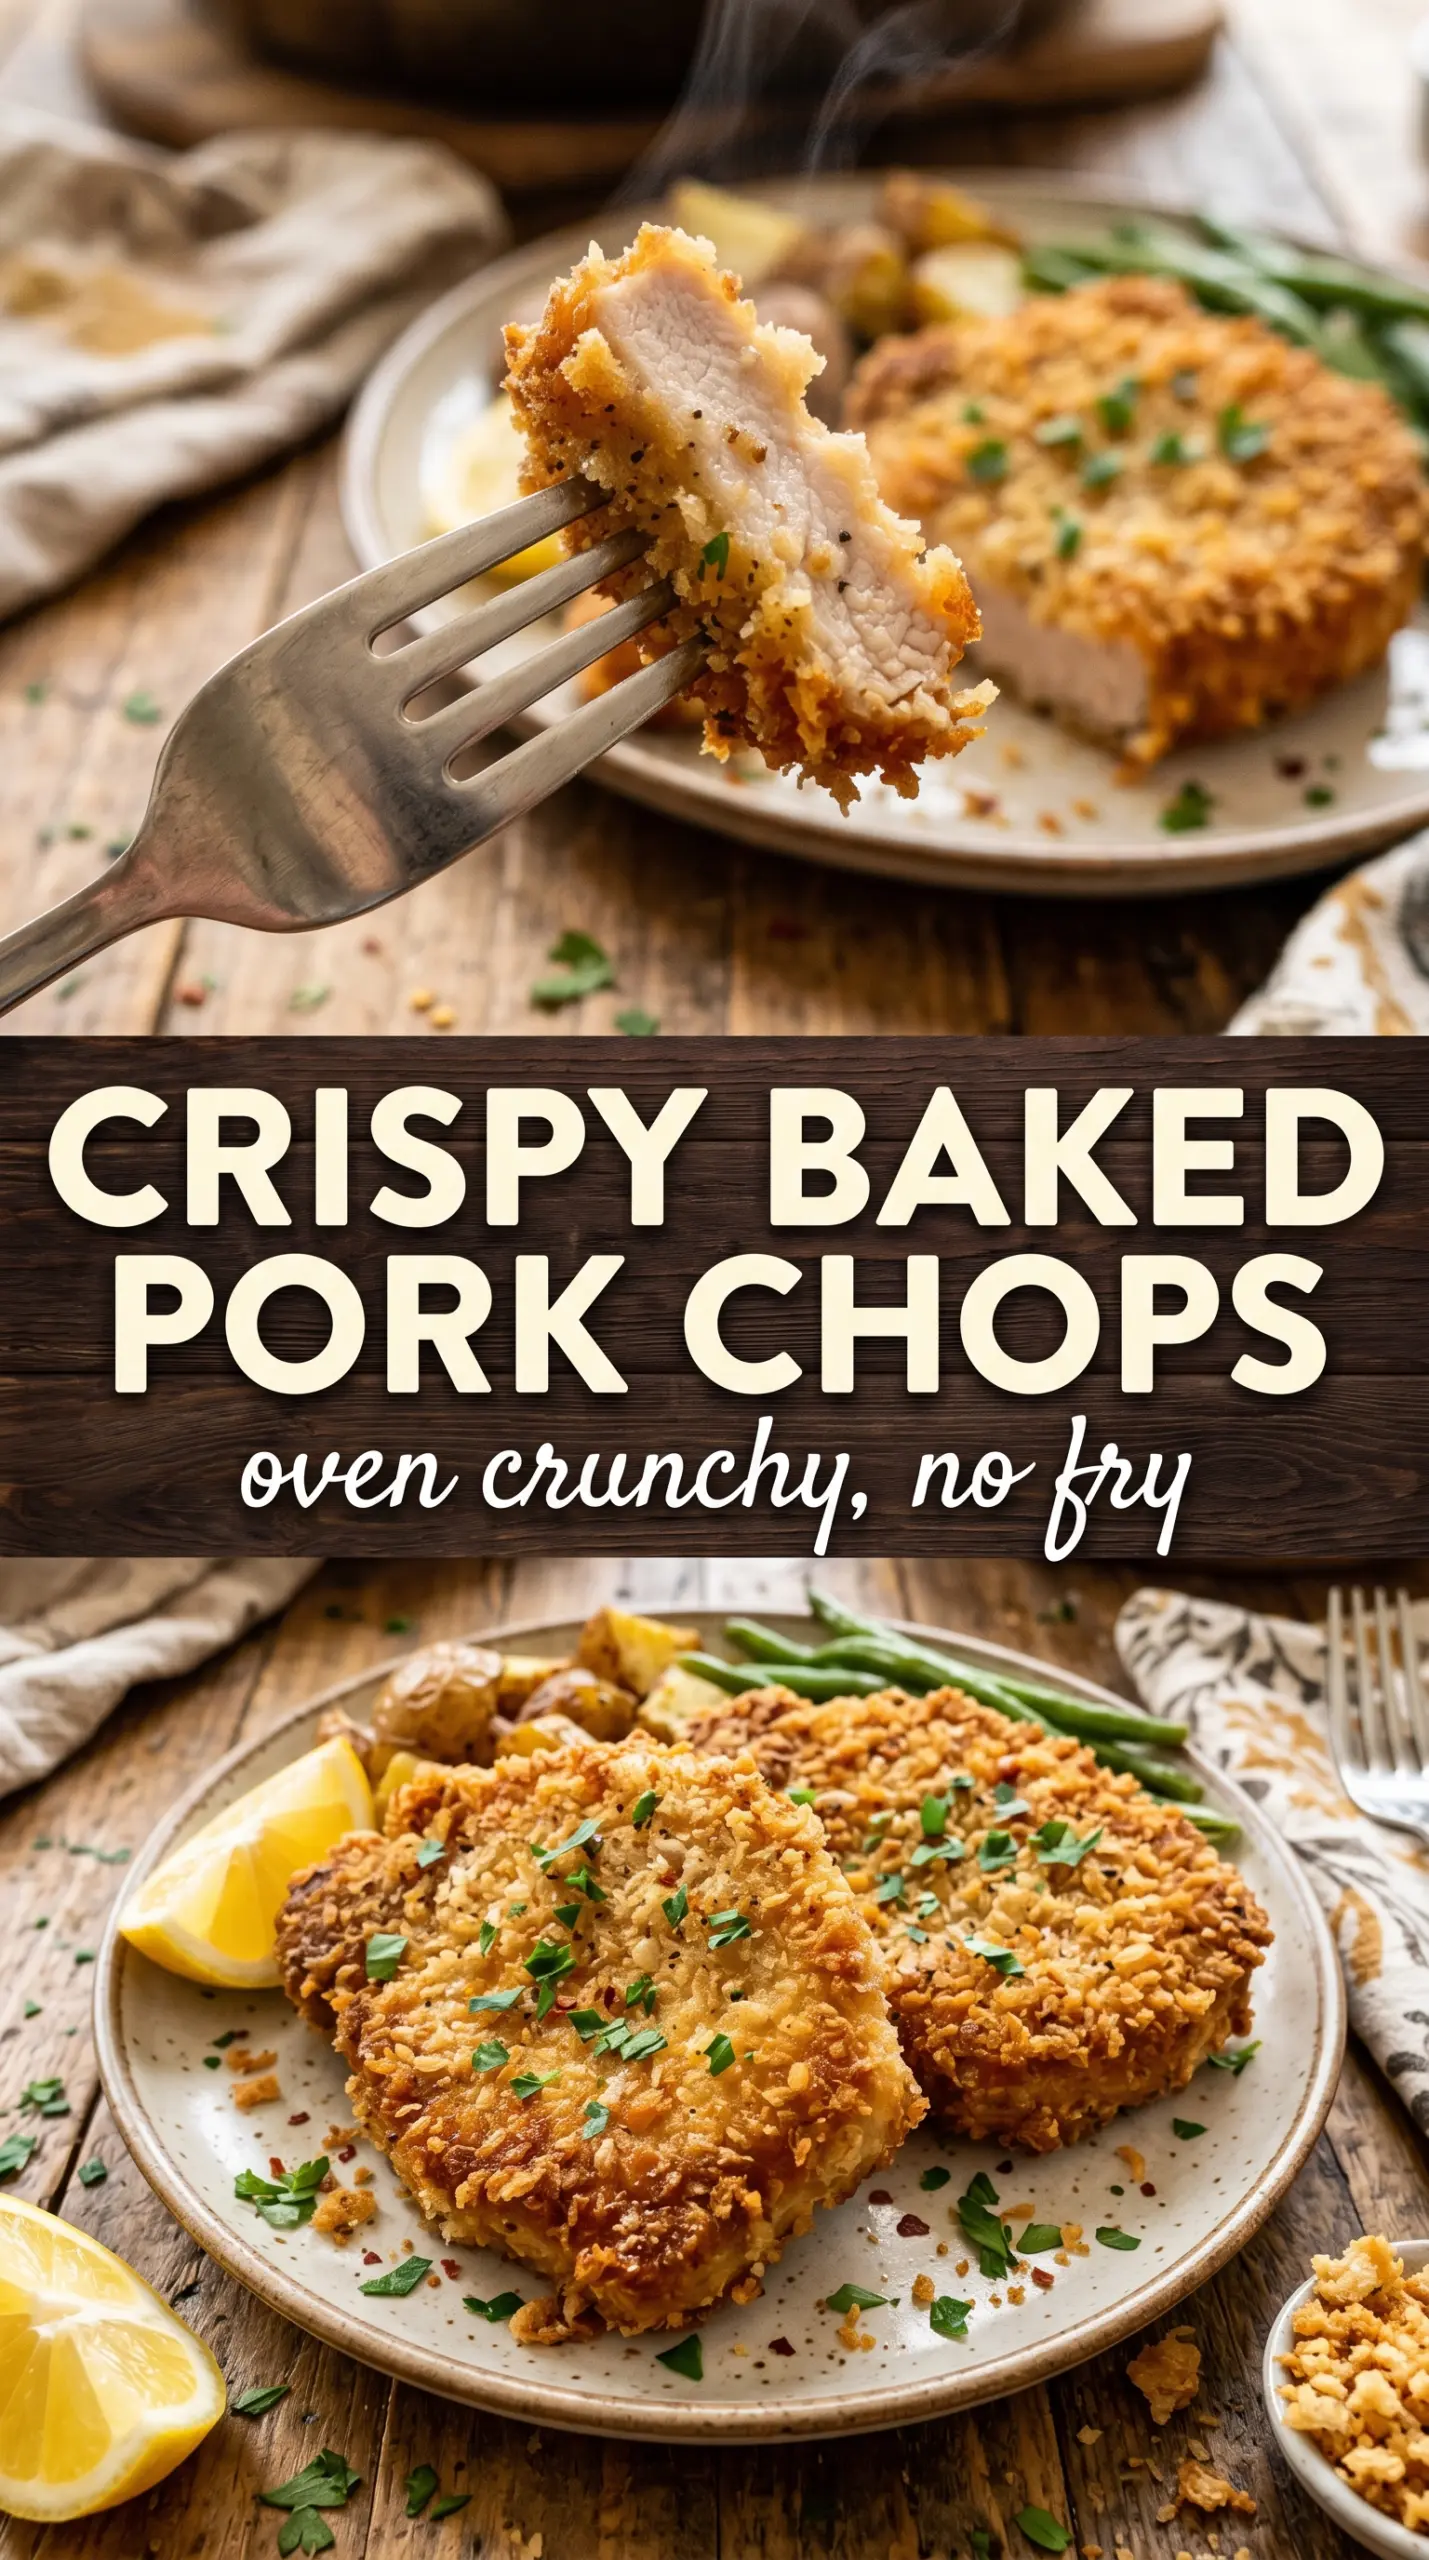
These crispy baked pork chops come out with a crackly panko crust that stays put, even after the chops rest for a minute or two. The outside turns deep golden and crunchy while the pork inside stays juicy, which is the whole point of baking them instead of frying. You get that oven-fried texture without standing over a skillet or dealing with a greasy coating that softens before dinner hits the table.
The trick is a proper three-step breading setup and a generous hit of oil on the crust before the chops go into a hot oven. Panko is the bread crumb that matters here; it’s lighter and airier than standard crumbs, so it browns fast and shatters cleanly when you cut into it. The wire rack helps too, since it lets hot air move around the chops and keeps the bottom from steaming.
Below, I’ll walk through the part that keeps the coating crisp, the ingredient swaps that actually work, and the timing cue that tells you the pork is done without drying it out.
The panko crust came out shatter-crisp and the chops were still juicy at 145°F. I used the wire rack like you said, and the bottoms stayed crunchy instead of getting soggy.
Save these crispy baked pork chops for the night you want a shattering panko crust without frying.
The One Step That Keeps the Coating from Falling Off
The breading only stays crisp when each layer has a job. Flour gives the egg something dry to grab onto, and the egg gives the panko a sticky surface to cling to. Skip the flour or rush the coating, and the crumbs slip off in patches while the pork bakes.
The second mistake is crowding the pan or setting the chops directly on a baking sheet. Without airflow underneath, the bottom of the crust steams and softens. The wire rack fixes that by letting the heat hit every side, and the oil spray helps the panko toast into a hard, golden shell instead of staying dusty and pale.
- Boneless pork chops — Choose chops that are about 3/4 inch thick so they cook through in the same window that the coating browns. Thinner chops dry out before the crust is ready, and much thicker ones need a longer bake that can darken the breading too far.
- Panko breadcrumbs — This is the key texture ingredient. Standard breadcrumbs work in a pinch, but they won’t give you the same airy crunch. If you need gluten-free, use gluten-free panko and keep the rest of the method the same.
- Eggs — The eggs act as the glue. Beat them well enough that the whites and yolks are fully combined, or you’ll get uneven patches that don’t coat cleanly.
- Olive oil spray — Don’t skip it. A light but thorough coating helps the panko brown evenly in the oven and gives you that fried look without a frying pan.
- Lemon wedges — The acid cuts through the richness and wakes up the crust. That squeeze at the end matters more than it sounds like it should.
What Each Ingredient Is Actually Doing in This Recipe
- Primary ingredient (the star) — Quality matters most. Choose the best you can find.
- Cooking medium (oil, butter, or broth) — This carries flavors and prevents dryness.
- Seasonings (salt, pepper, spices, herbs) — Layer flavors so nothing overpowers. Build depth gradually.
- Aromatics (garlic, onion, herbs) — Cook with fat to bloom flavors. Become the foundation.
- Supporting ingredients — Complement the main ingredient without overpowering it.
- Sauce or liquid (if applicable) — Brings flavors together. Balance richness with acid.
- Acid (lemon, vinegar, wine, or other) — Brightens and prevents flat-tasting results.
- Final finish (garnish, glaze, or sauce) — Prevents one-dimensional taste and adds visual appeal.
Building the Crust Before the Pork Goes in the Oven
Season the flour first
Mix the flour with salt and pepper before you touch the pork. That first layer seasons the meat right against the surface, so the crust doesn’t taste flat after baking. Dust off any heavy excess flour; a thick paste-like layer makes the coating gummy instead of crisp.
Press the panko on firmly
After the egg dip, press the pork chops into the panko mixture with real pressure. You want the crumbs attached in a solid layer, not loosely scattered across the surface. If the crumbs look patchy, pick the chop up and press it again before it goes on the rack.
Spray, then bake hot
Lay the chops on the rack and spray both sides generously with olive oil. The oven needs to be fully preheated to 425°F before the pan goes in, because the crust needs immediate heat to start browning. Bake until the coating is deep golden and the pork reaches 145°F at the thickest part; if the chops are still pale, they need a few more minutes, but if the crust darkens too fast, the oven is running hot and the pan should move to a lower rack.
Serve the second they’re done
These are at their best the moment they come out of the oven. The crust is loud and crisp right away, and that texture softens as steam rises from the meat. Let them sit long enough to stop dripping, then get them to the plate with the lemon wedges immediately.
How to Adapt These Pork Chops Without Losing the Crunch
Gluten-Free Crispy Pork Chops
Swap the all-purpose flour for a gluten-free flour blend and use gluten-free panko. The texture stays close to the original because the breading method does the heavy lifting, but regular gluten-free breadcrumbs usually bake up denser, so panko-style crumbs are the better choice.
Dairy-Free and Weeknight-Friendly
This recipe is already dairy-free as written, which makes it a nice no-fuss main dish for mixed crowds. Keep the seasoning simple and bright, then use the lemon at the end to give the chops the lift that butter or cheese would normally add in other baked breaded recipes.
Bone-In Pork Chops
You can use bone-in chops, but they’ll need more time in the oven and the breading may darken before the center reaches temperature. Start checking early, and if the crust is browning too fast, loosely tent the top with foil for the last few minutes while the pork finishes.
Storage and Reheating
- Refrigerator: Store leftovers in an airtight container for up to 3 days. The crust will soften a bit in the fridge, which is normal.
- Freezer: These freeze well after baking. Cool completely, wrap each chop tightly, and freeze for up to 2 months. The panko won’t stay quite as crisp after thawing, but it still reheats better than most breaded pork.
- Reheating: Reheat on a rack in a 375°F oven or air fryer until hot and the crust firms back up. The common mistake is microwaving, which turns the breading limp and steamy before the center even warms through.
Answers to the Questions Worth Asking
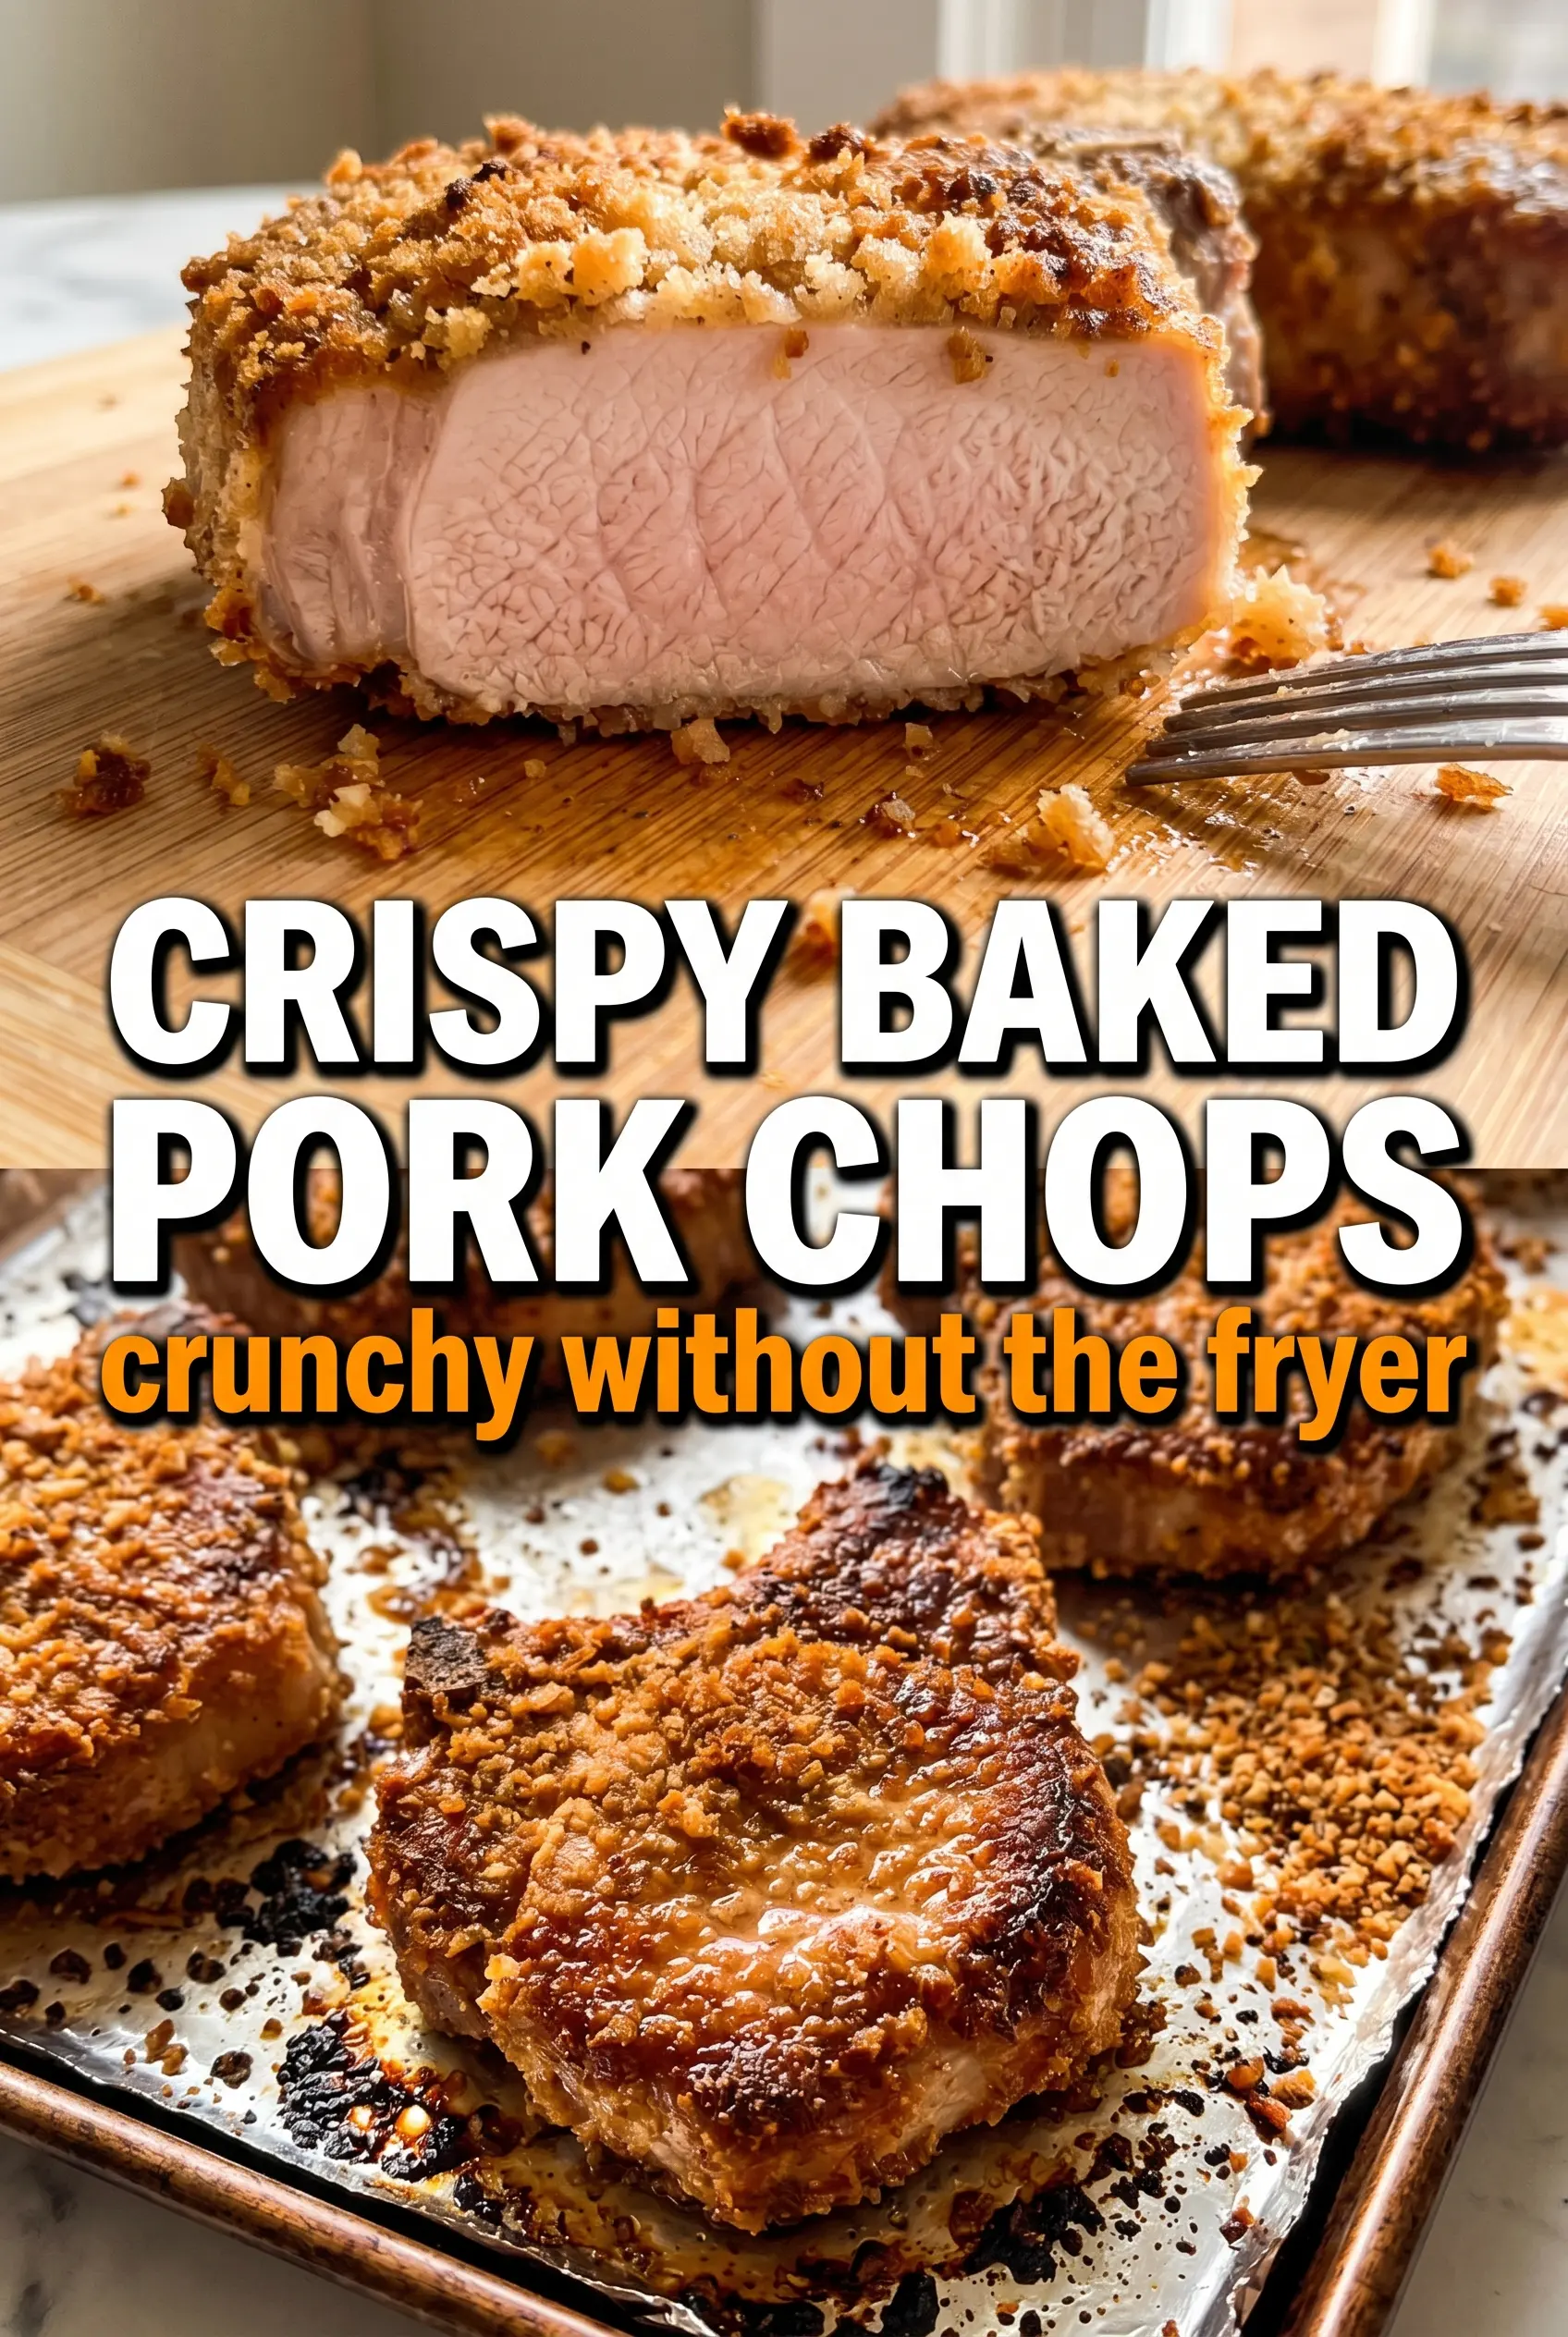
Crispy Baked Pork Chops
Ingredients
Equipment
Method
- Preheat the oven to 425°F and place a wire rack over a baking sheet so air can circulate under the pork. You should see the oven fully reach 425°F before baking.
- Set up three dishes: flour seasoned with salt and pepper, beaten eggs, and panko mixed with garlic powder, smoked paprika, and Italian seasoning. Stir until the panko looks evenly speckled with seasonings.
- Coat the pork chops in the seasoned flour, then dip into the beaten eggs. The surface should look lightly coated and sticky before the next step.
- Press the panko mixture firmly onto both sides of each pork chop. Press hard enough that the crust clings in an even layer with no loose crumbs.
- Place the pork chops on the wire rack and spray generously with olive oil on both sides. Bake for 18–20 minutes until the crust is deep golden brown and the pork reaches 145°F.
- Serve immediately with lemon wedges. The crust will be at its crispiest while hot, and the lemon adds brightness to the breaded coating.