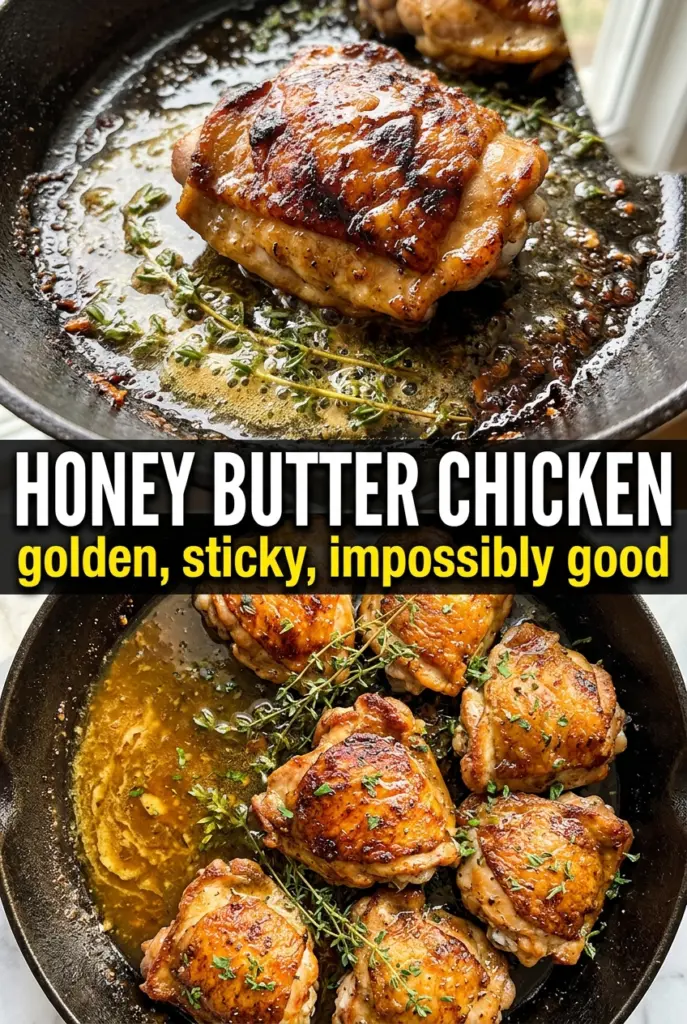
Honey butter chicken lands on the table with glossy, caramelized edges and a sauce that clings instead of pooling at the bottom of the pan. The chicken stays juicy, the glaze turns amber and sticky, and every bite gets that sweet-salty-buttery balance that makes people keep cutting off “just one more” piece. It feels indulgent, but it comes together fast enough for a weeknight.
The trick is building the sauce in the same skillet after the chicken sears. Those browned bits left behind are the backbone of the flavor, and the vinegar keeps the honey and butter from tasting flat or heavy. A short simmer is all you need; push it too far and the sauce turns thick and stubborn before the chicken has a chance to glaze properly.
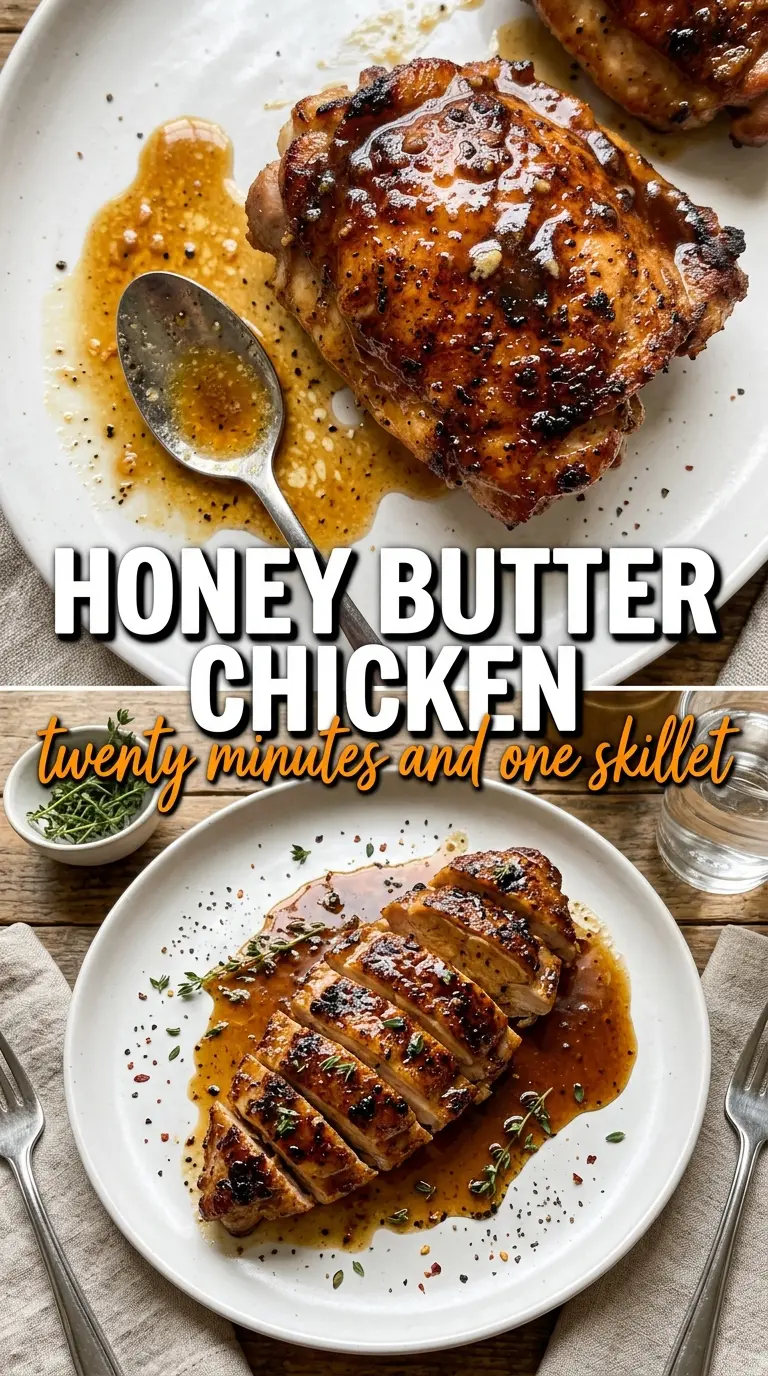
Below you’ll find the exact moment to turn the heat down, plus a few smart swaps if you need to work with what’s already in your kitchen. The finished chicken should be shiny, deeply golden, and spooned with enough sauce to catch in the corners of the plate.
The glaze came together fast and stayed silky instead of burning, and the chicken was still juicy after the final baste. My kids kept asking for the “sticky chicken” again the next night.
Love that glossy honey butter coating? Save this skillet chicken for a fast dinner with sweet, savory glaze and crispy golden edges.
The part that keeps the honey glaze from turning cloying
Honey and butter can drift into heavy territory fast, especially once the pan heat is high enough to reduce everything down. The small splash of apple cider vinegar is what keeps this dish bright. It doesn’t make the sauce taste sharp; it just gives the honey enough edge to stay balanced against the richness of the butter.
The other detail that matters is getting the chicken properly browned before the sauce goes in. If the chicken is still pale, the glaze has nothing to grab onto and you end up with bland sauce on top of cooked chicken. A good sear also leaves those dark bits in the pan, which melt right into the sauce once the butter and garlic hit the heat.
What each ingredient is actually doing here
- Chicken breasts — Boneless, skinless breasts cook fast and give you a clean surface for the glaze. If yours are thick on one end and thin on the other, pound them lightly to an even thickness so the thinner side doesn’t dry out before the center is done.
- Honey — This is the body of the glaze, not just the sweetness. A runny, standard grocery-store honey works perfectly here; a very strong wildflower honey will bring more character, while a dark buckwheat honey can overpower the butter.
- Butter — Butter gives the sauce its silky finish and helps it cling to the chicken. Don’t swap in margarine here; it won’t emulsify the same way and the glaze can taste thin.
- Soy sauce and apple cider vinegar — Soy sauce adds salt and depth, while vinegar keeps the sauce from tasting flat. If you need a gluten-free version, use tamari in the same amount and keep everything else the same.
- Garlic — Fresh minced garlic is worth using. It perfumes the sauce in a way garlic powder can’t, but it only needs about a minute in the butter; if it browns, it turns bitter fast.
Building the glaze in the same skillet
Searing the chicken until the crust sets
Season the chicken generously with salt, pepper, garlic powder, and smoked paprika, then lay it in a hot skillet with olive oil. You want a steady sizzle the second the meat hits the pan. Let it cook without moving it for the first few minutes so a golden crust can form; if you keep nudging it, the surface steams and the color stays pale. Flip once the underside releases easily and cook until the internal temperature reaches 165°F.
Starting the sauce from the browned bits
Take the chicken out, then lower the heat to medium before adding the butter. That drop in temperature matters because butter burns fast after a high-heat sear. Stir in the garlic and cook just until fragrant, then add the honey, soy sauce, and vinegar. The sauce should bubble gently, not rage; a hard boil can make the honey taste scorched instead of glossy.
Coating and finishing the chicken
Return the chicken to the pan and spoon the sauce over the top as it simmers for the last few minutes. Turn the pieces once or twice so the glaze catches on all sides. You’re looking for the sauce to thicken enough to coat a spoon and leave a shiny film on the chicken, not a sticky mass that sits in clumps. Finish with thyme and flaky salt while the sauce is still hot so they stick to the surface.
How to adjust this skillet chicken without losing the glaze
Use chicken thighs for a richer version
Boneless, skinless thighs stay juicier and handle a little more heat, so they’re a great swap if you want a more forgiving cut. They’ll need a few extra minutes in the skillet, but the glaze works the same way and clings beautifully to the darker meat.
Make it gluten-free with tamari
Swap the soy sauce for tamari in the same amount. You’ll keep the salty depth without changing the texture of the glaze, and nothing else in the recipe needs to move.
Add heat without muddying the sauce
A pinch of red pepper flakes or a little cayenne gives the glaze a warm finish, but add it with the garlic so it blooms in the butter. If you throw it in at the end, the heat tastes raw instead of rounded.
Storage and Reheating
- Refrigerator: Store leftovers in an airtight container for up to 3 days. The glaze thickens as it chills, but the chicken stays tender if you reheat it gently.
- Freezer: It freezes well for up to 2 months, though the sauce may separate slightly after thawing. Wrap the chicken tightly and freeze with a little extra sauce so it reheats more smoothly.
- Reheating: Warm it covered in a skillet over low heat with a spoonful of water to loosen the glaze. The common mistake is blasting it in the microwave, which makes the chicken tough and the sauce sticky in the wrong way.
Questions I Get Asked About This Recipe
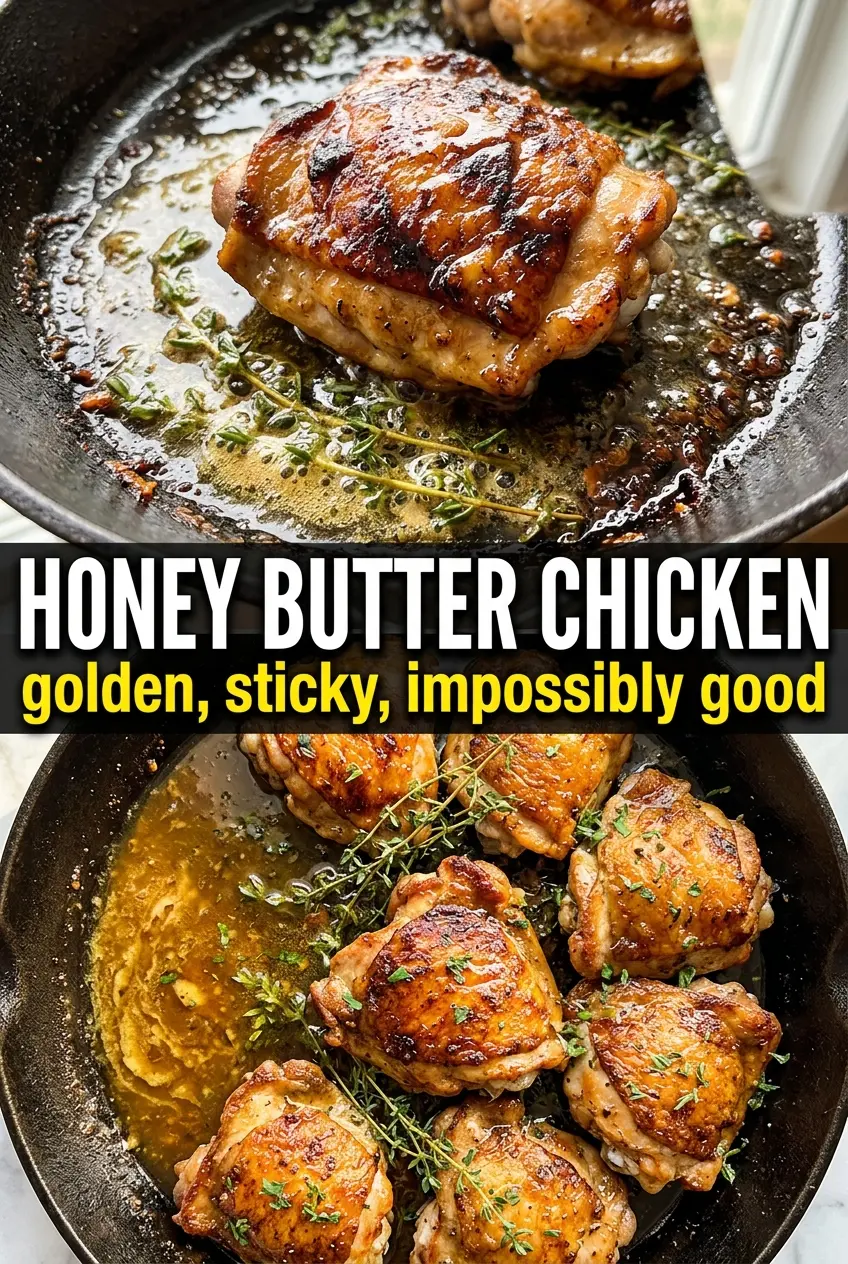
Honey Butter Chicken
Ingredients
Equipment
Method
- Season the chicken breasts with the salt, pepper, garlic powder, and smoked paprika to taste, then heat the olive oil in a large cast iron skillet over medium-high heat until shimmering. Sear for 5-6 minutes per side until golden and the internal temperature reaches 165°F, then remove the chicken.
- Melt the butter in the same pan over medium heat, then add the minced garlic and cook for 1 minute until fragrant. Stir to prevent browning.
- Stir in the honey, soy sauce, and apple cider vinegar, then bring the mixture to a simmer for 1-2 minutes. It should look glossy and slightly thickened.
- Return the chicken to the pan and cook for 2-3 minutes, turning and basting with the honey butter sauce. Continue until the sauce caramelizes and coats the chicken in an amber sheen.
- Plate the chicken and drizzle with any remaining sauce from the skillet. Finish with fresh thyme leaves and flaky sea salt.