
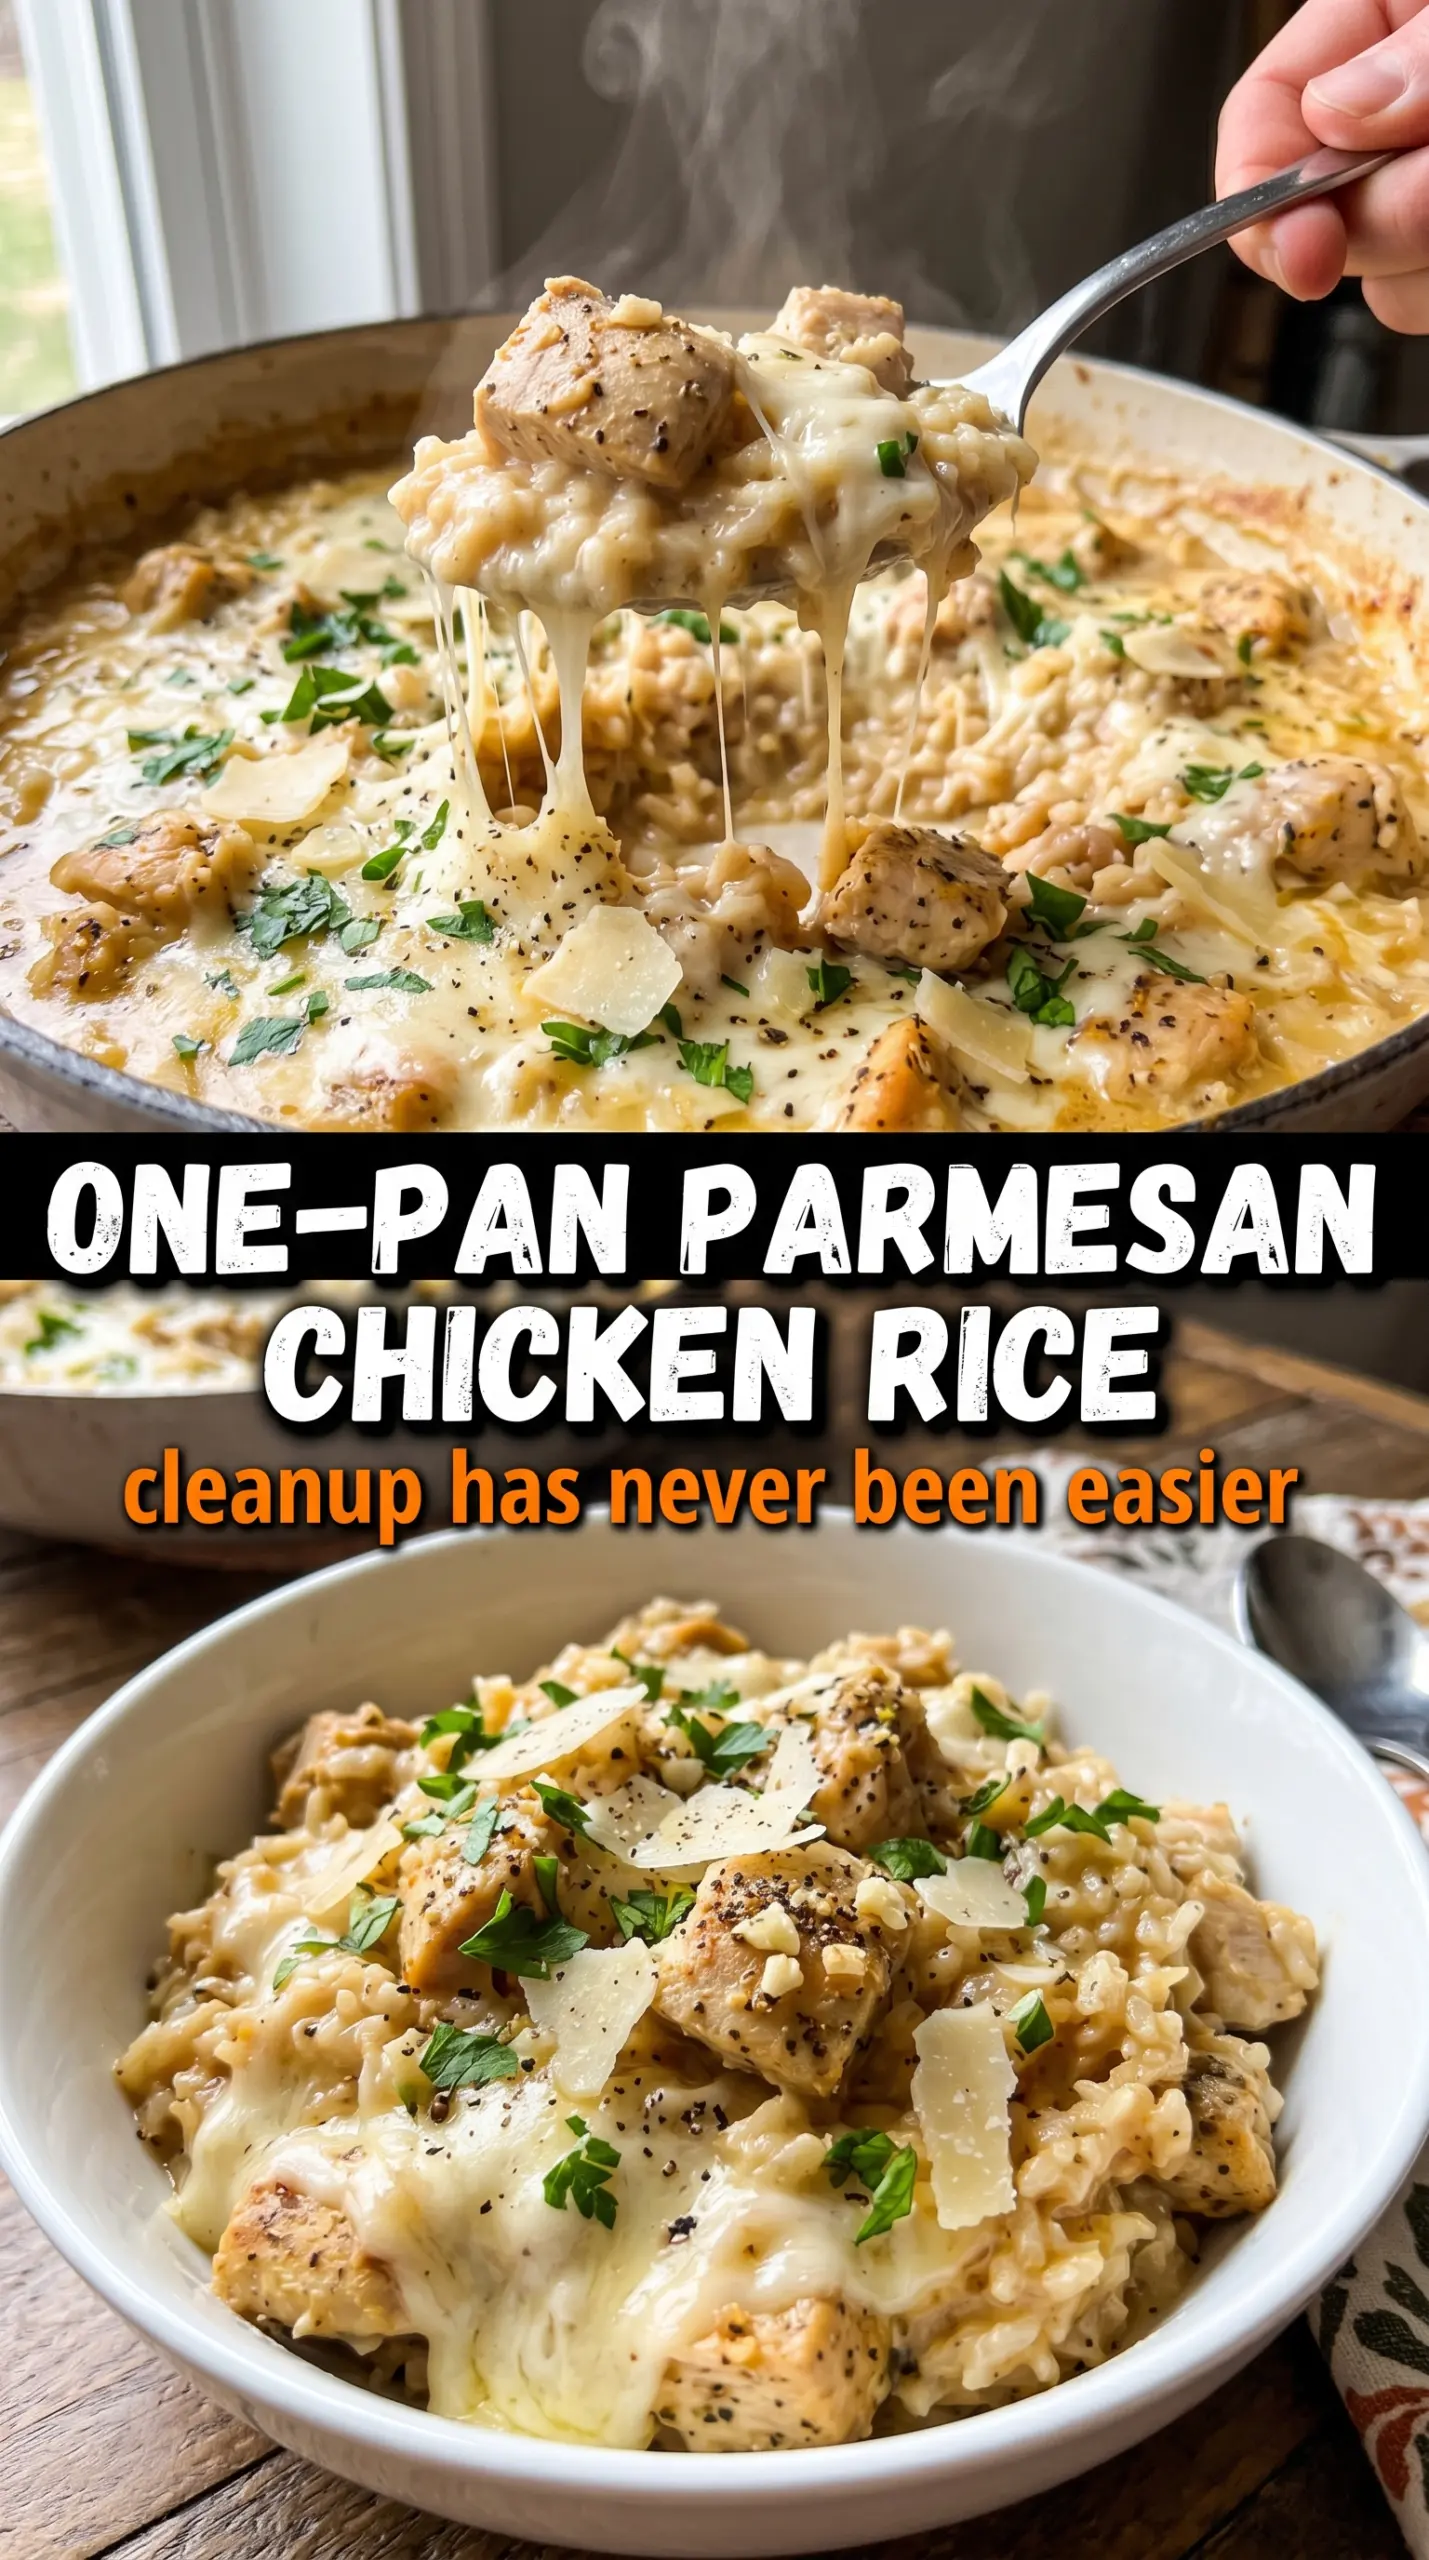
Crispy-skinned chicken thighs over Parmesan garlic rice is the kind of one-pan dinner that disappears fast and somehow still feels like a real meal, not a shortcut. The chicken stays deeply savory and the rice underneath turns creamy from the broth and cheese while still holding enough structure to spoon onto a plate without collapsing into mush. The best part is that the skin stays out of the liquid, so it bakes up golden instead of softening in the pan.
What makes this version work is the order. The chicken gets a hard sear first, which renders the skin and builds flavor in the pan, and the rice gets toasted before the broth goes in so each grain has a little more backbone. Parmesan goes into the hot broth-rice mixture, not on top alone, so it melts through the dish instead of clumping at the surface. If you’ve ever had chicken-and-rice recipes turn bland or gummy, the fixes are all built in here.
Below you’ll find the exact cues I watch for, the ingredient swap that matters most, and a few ways to stretch this into the kind of dinner you’ll want to repeat.
The rice came out creamy without turning mushy, and the chicken skin stayed crisp even after baking. I loved that the garlic flavor went all the way through the pan instead of sitting on top.
Love the crisp chicken and creamy garlic Parmesan rice? Save this one-pan chicken and rice bake for busy nights when you want big flavor with one skillet.
The Step That Keeps the Chicken Skin Crisp Instead of Soggy
The biggest mistake with chicken and rice bakes is putting everything together before the skin has a chance to brown. Once the thighs go into the oven, the rice releases steam and that steam works against crisp skin. Searing the chicken skin-side down first changes the whole dish. It renders fat, deepens the flavor of the pan, and gives the finished chicken that crackling top you want to hear when a knife cuts in.
The second detail that matters is keeping the chicken elevated on top of the rice, not buried in it. The rice should be moist and simmering underneath, but the skin needs direct oven heat to finish properly. If the thighs disappear too far into the liquid, they’ll still cook through, but you’ll lose that contrast between crisp skin and creamy rice.
- Chicken thighs — Bone-in, skin-on thighs hold up best here. They stay juicy through the bake and give you a better result than boneless chicken breasts, which can dry out before the rice is done.
- Long-grain white rice — This is the right rice for a fluffy, separate-grain finish. Short-grain rice turns softer and starchier, which pushes this dish toward porridge.
- Parmesan — Use a finely grated Parmesan that melts easily into the broth. Pre-shredded cheese can work in a pinch, but it often melts a little less smoothly because of anti-caking agents.
- Chicken broth — This carries the whole pan. Water will cook the rice, but broth brings the savory base that makes the garlic and Parmesan taste full instead of flat.
What Each Ingredient Is Doing in the Pan
Onion and garlic build the base flavor in the same skillet where the chicken seared, which means they pick up every bit of fond left behind. That browned residue is part of the final taste, so don’t rush this stage or scrape the pan clean.
Italian seasoning and smoked paprika give the chicken a deeper, warmer edge before it ever hits the oven. The paprika is subtle, but it helps the skin take on a darker, more savory color and keeps the dish from tasting one-note.
Fresh parsley matters more than garnish usually does. It cuts through the richness at the end and gives the finished pan a fresher smell right when it hits the table.
Building the Rice Around the Chicken, Not the Other Way Around
Searing the Thighs
Heat the oil until it shimmers, then lay the thighs in skin-side down and leave them alone long enough to brown properly. If you move them too early, the skin sticks and tears instead of crisping. You’re looking for a deep golden crust and rendered fat in the pan, not pale skin with a few patches of color. Pull the chicken out once the skin looks set and the pan has enough fat to cook the onion without drying it out.
Coaxing Flavor from the Rice Base
Cook the onion until it softens and starts to turn translucent, then add the garlic for just a minute. Garlic burns fast, and burnt garlic turns bitter underneath the cheese. Stir in the rice and toast it for a couple of minutes until the edges look slightly glossy. That quick toast helps the grains hold their shape during baking and keeps the final texture from going sticky.
Letting the Oven Finish the Work
Once the broth and Parmesan go in, the pan should look loose and soupy before it goes into the oven. That’s correct; the rice needs enough liquid to absorb while the chicken finishes cooking. Nestle the thighs skin-side up and keep the pan uncovered so the top can brown while the liquid reduces around the rice. If the rice still seems too wet at the end, give it five more minutes uncovered instead of covering the skillet, which traps steam and softens the skin.
Make It Lighter with Chicken Breasts
Boneless or bone-in chicken breasts can work, but they need a shorter bake and a little more attention so they don’t dry out. Sear them briefly, then pull them from the oven as soon as they reach 165°F. You’ll lose some of the rich chicken flavor that thighs bring, but the dish stays weeknight-friendly.
Dairy-Free Version
Swap the Parmesan for a dairy-free Parmesan-style alternative and use a broth with enough body to stand on its own. The flavor will be a little less savory and less creamy, but the rice still bakes up with good texture if you keep the liquid ratio the same.
Gluten-Free as Written
This dish is naturally gluten-free if your broth and Parmesan are certified gluten-free. That small label check matters more than people think, since some broths and grated cheeses include additives that don’t always fit a gluten-free kitchen.
Add More Vegetables Without Breaking the Texture
Stir in a handful of frozen peas or baby spinach near the end of baking. Peas hold their shape and sweetness, while spinach wilts right into the rice without stealing moisture. Skip watery vegetables like zucchini unless you pre-cook them first, or the rice can turn loose and soft.
Storage and Reheating
- Refrigerator: Store leftovers in an airtight container for up to 4 days. The rice firms up a little as it chills, which is normal.
- Freezer: This freezes well for up to 2 months, though the rice softens slightly after thawing. Freeze in portions and let it cool completely before packing it up.
- Reheating: Reheat covered in the oven at 325°F with a splash of broth to loosen the rice, or microwave in short bursts with a damp paper towel on top. The common mistake is blasting it until the rice dries out and the chicken skin turns rubbery.
Answers to the Questions Worth Asking

One-Pan Garlic Parmesan Chicken and Rice
Ingredients
Equipment
Method
- Preheat oven to 400°F, then pat the chicken thighs dry and season all over with salt, pepper, garlic powder, Italian seasoning, and smoked paprika.
- Heat olive oil in a large oven-safe skillet over medium-high heat and sear chicken skin-side down for 6-7 minutes until golden and crackling; remove to a plate.
- In the same skillet, cook the diced onion for 3 minutes until softened.
- Add the minced garlic and cook 1 minute, stirring, until fragrant.
- Add the uncooked long-grain white rice and toast for 2 minutes, stirring so grains are lightly coated.
- Pour in the chicken broth and stir in Parmesan and dried Italian seasoning; bring to a simmer.
- Nestle the chicken thighs skin-side up into the Parmesan rice and sprinkle with extra Parmesan.
- Transfer to the oven and bake uncovered for 30-35 minutes at 400°F, until the rice is cooked through and the chicken skin is golden.
- Garnish with fresh parsley and serve hot.